Published on: 07/08/2025 Updated on: 18/11/2025
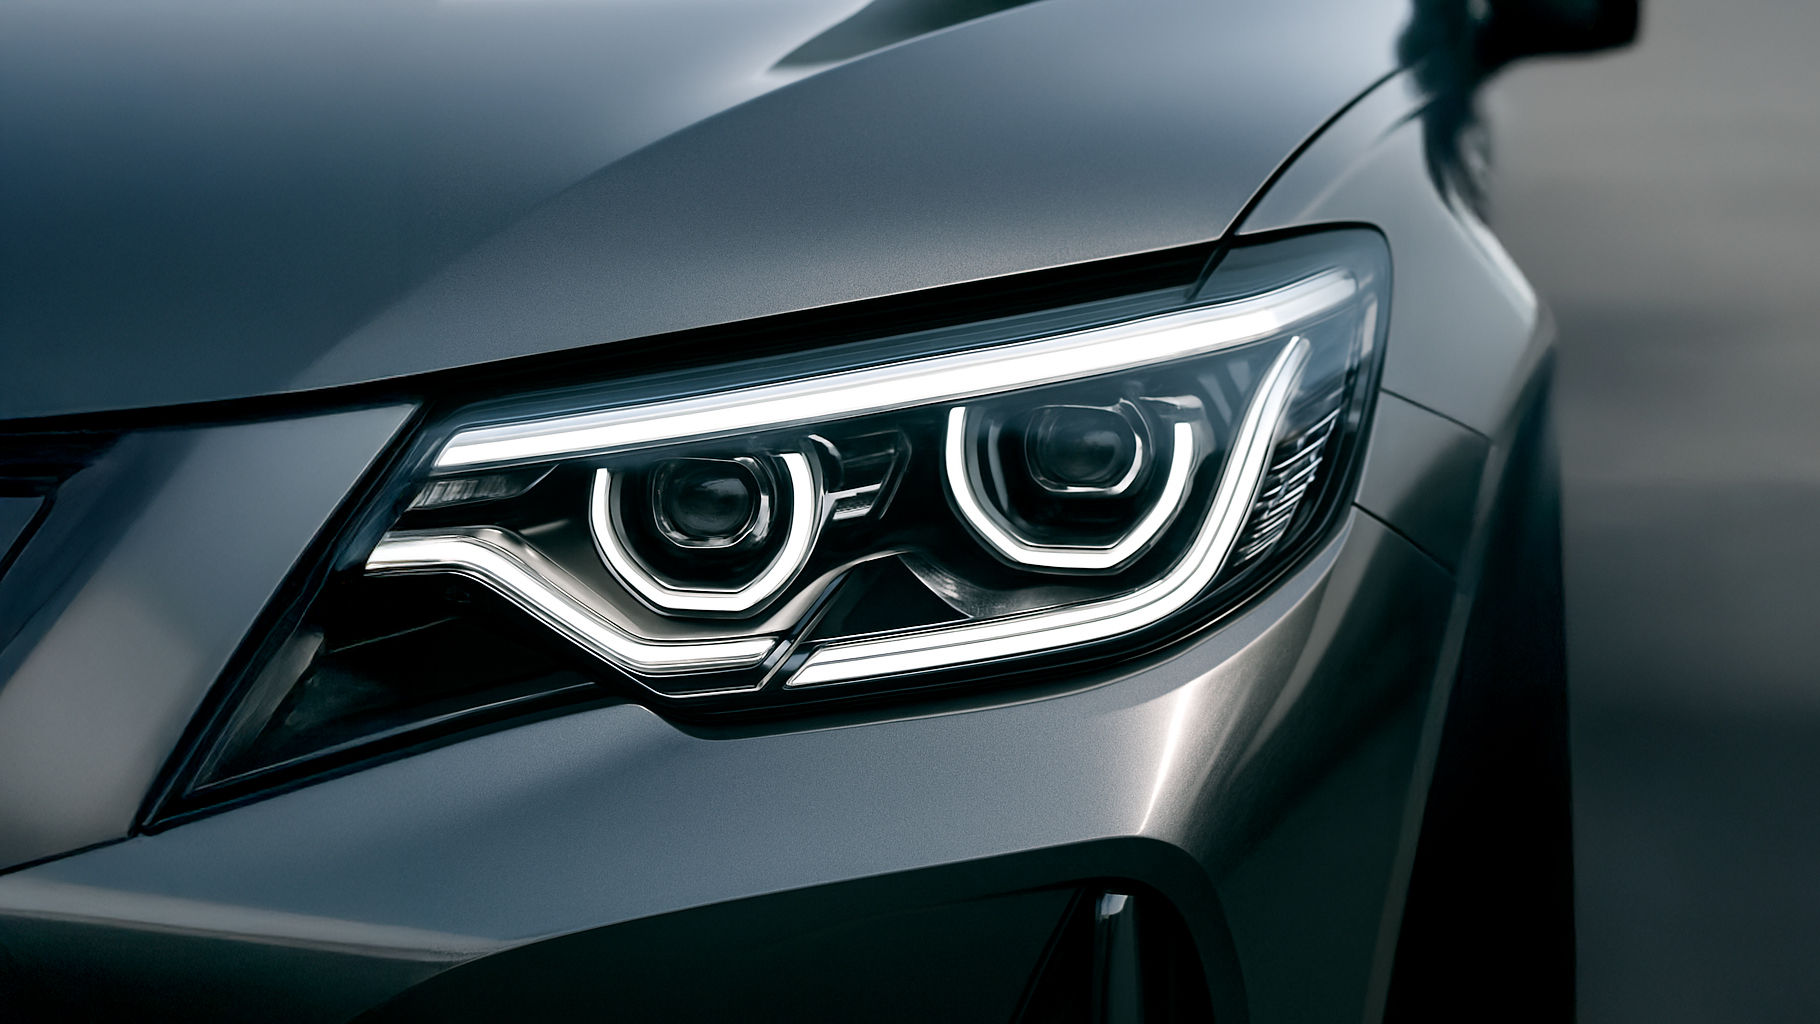
Here's how cleaning yellowed headlights can restore them to their original transparency, improving both aesthetics and driving safety. Have your car's headlights turned yellow, dull, looking old and dull? You are not the only one. This is a very common problem for people who have been driving for a few years and want to freshen up their vehicle. In this comprehensive guide, we'll take a step-by-step look at all the methods, from DIY to professional polishing, to effectively, inexpensively, and lastingly bring your headlights back to life.
How to clean yellowing headlights and why car headlights turn yellow
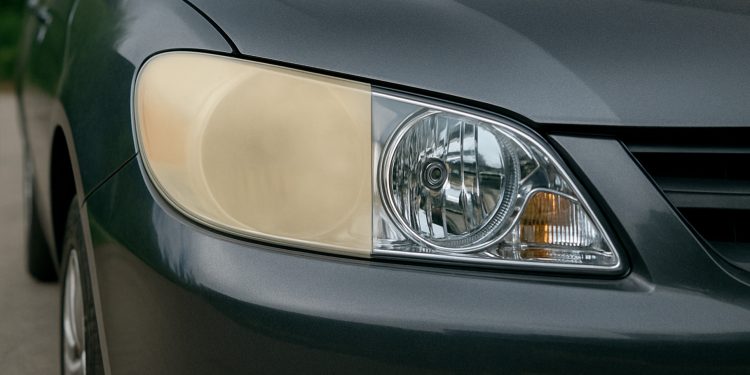
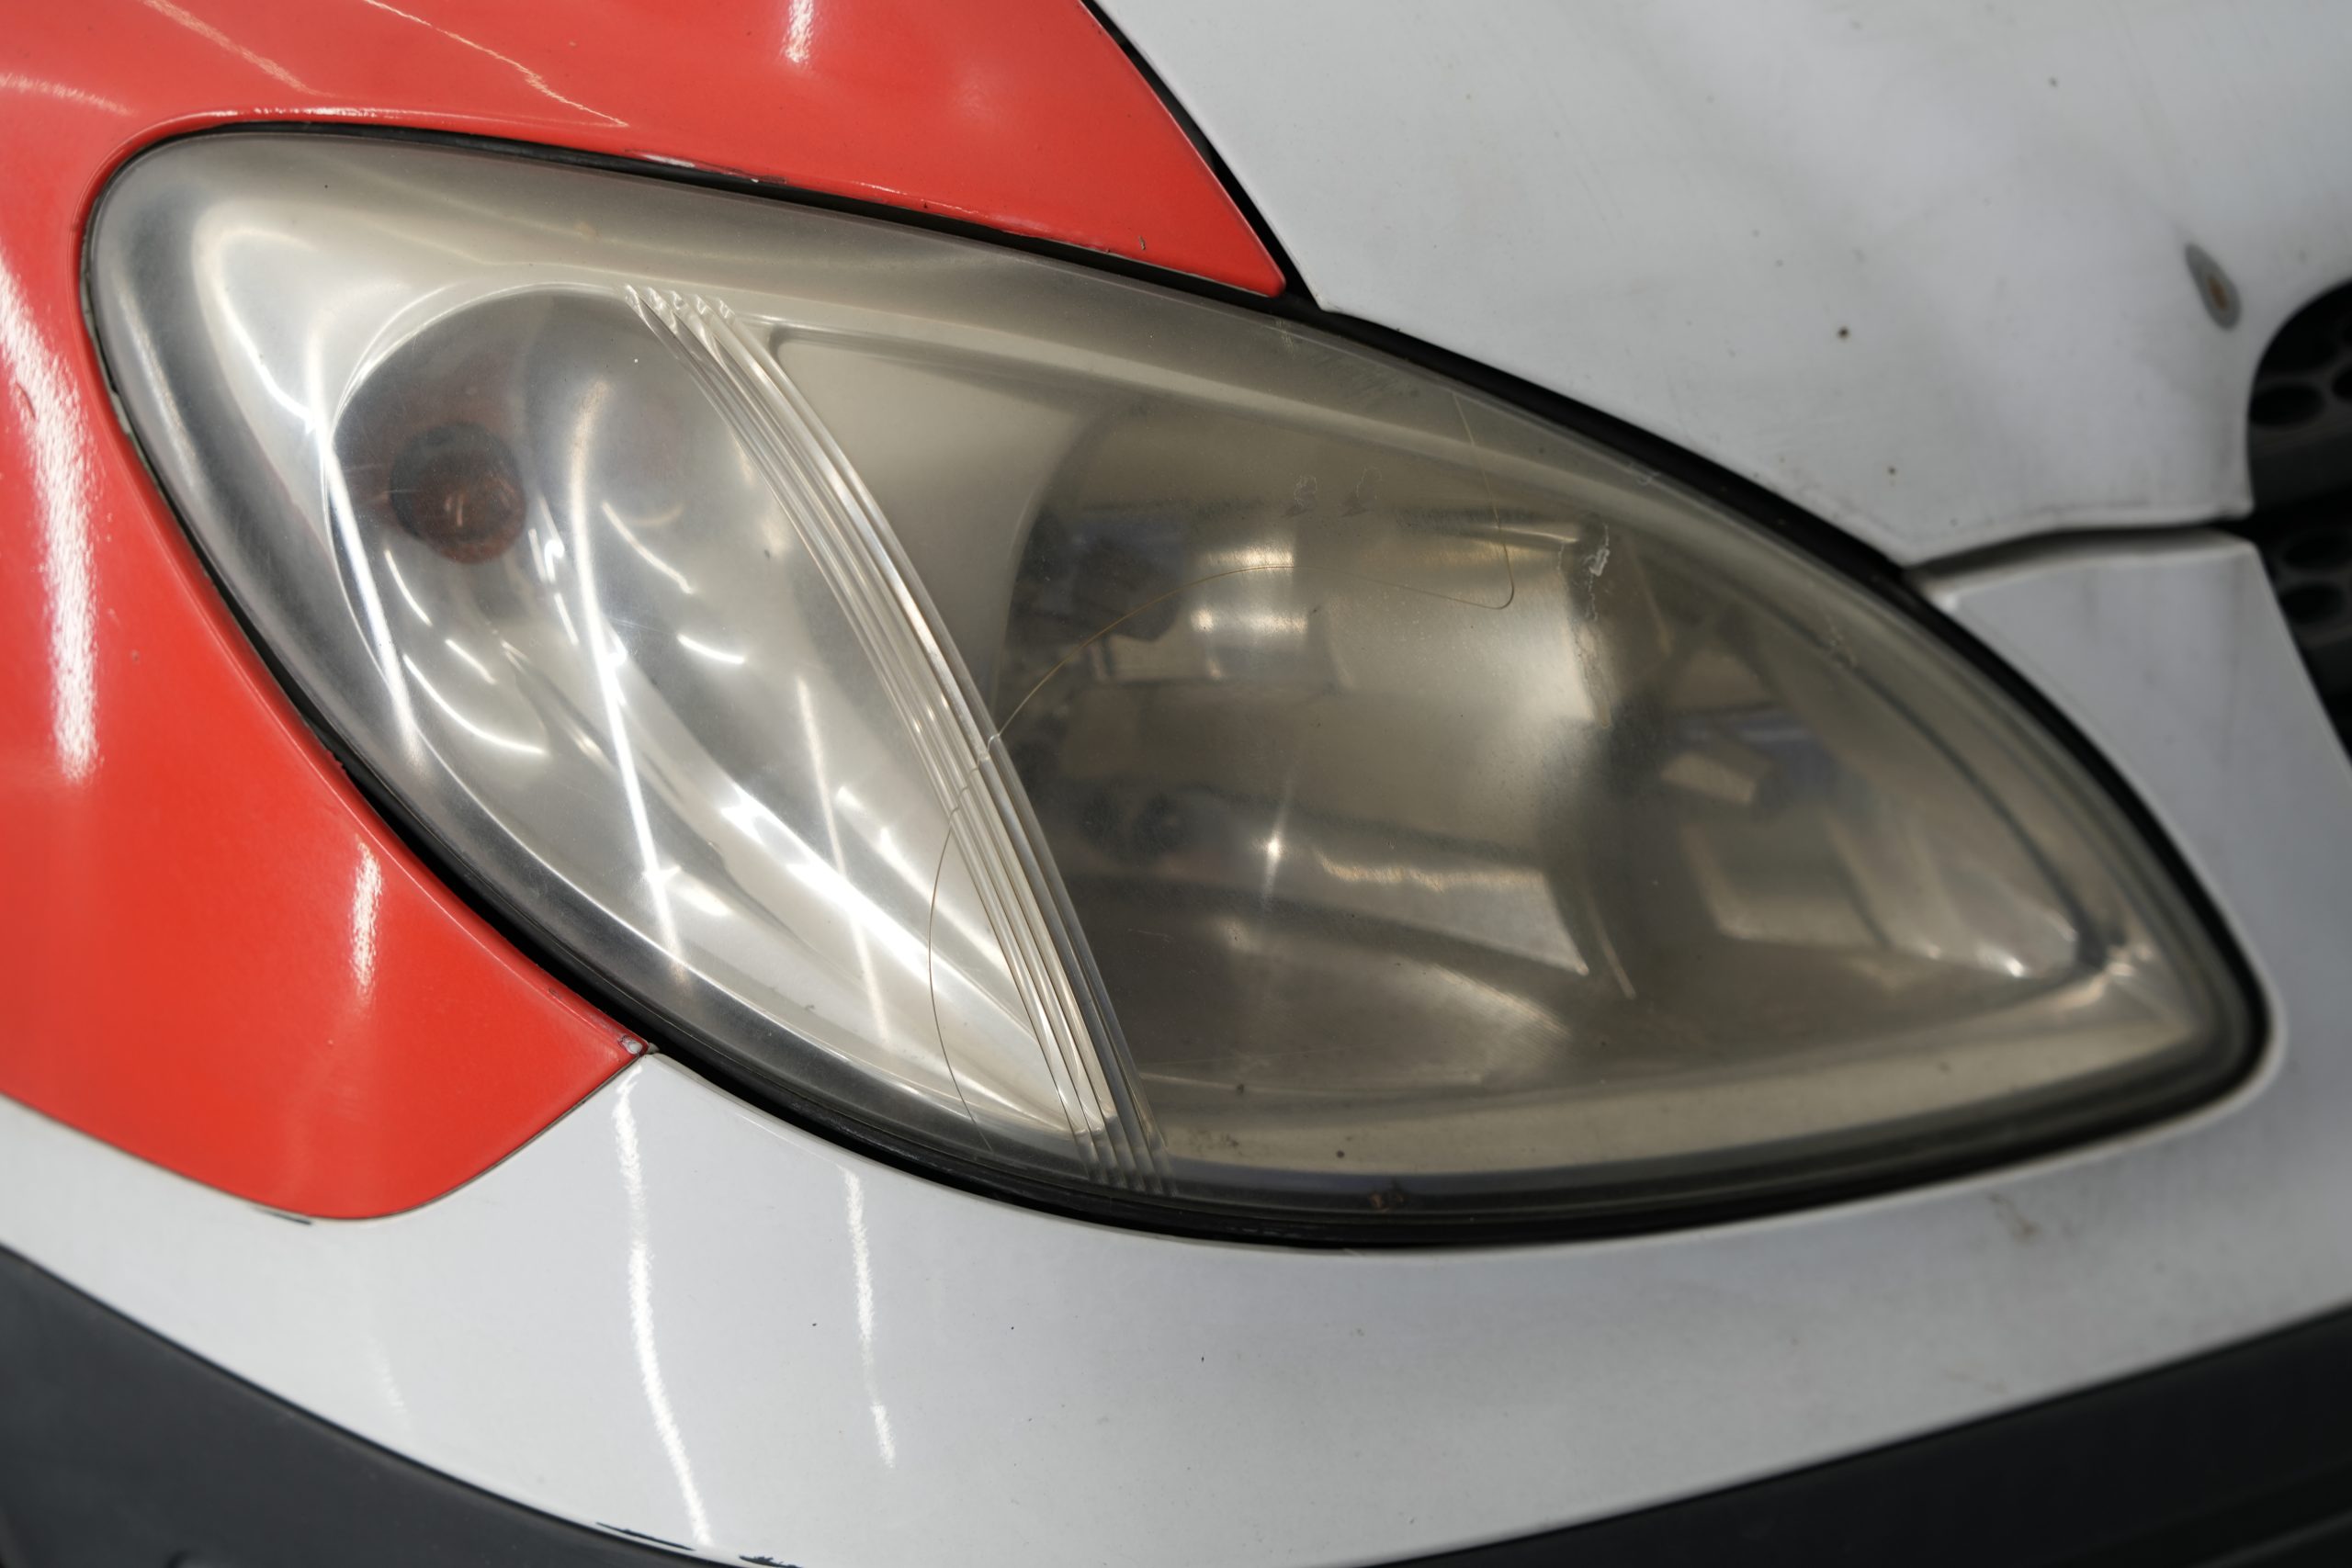
In recent decades, automobile manufacturers have abandoned glass in favor of polycarbonate for making headlights. This lighter, more impact-resistant and versatile material has revolutionized vehicle design and safety. That said, it presents a major problem: it is extremely vulnerable to UV rays. Over time, and without proper treatment, polycarbonate tends to yellow and become dull, compromising both the aesthetics and functionality of headlights. This is precisely the reason why more and more motorists are looking for effective solutions to permanently clean their car headlights.
I dulled headlightss are the direct result of the combined action of sunlight, rain, pollution, dust and road debris. These elements, acting day after day, deteriorate the original protective film of the headlight, leaving the underlying material exposed and easily attacked. After just two to three years, especially if the car is often parked outdoors, the headlights begin to lose transparency and take on an annoying yellow hue.
Daily wear and tear and poor maintenance contribute to the situation. Overly aggressive washing, abrasive sponges, sand and dry dirt can scratch the surface, facilitating UV absorption. To prevent it from reaching a critical condition, it is essential to act early: cleaning car headlights with appropriate products and protective treatments can really make a difference. Preventive maintenance is the key to preserving bright, functioning and, above all, safe driving headlights.
Dangers of yellowed and dulled headlights
Driving with dull headlights is equivalent to driving with dirty glasses. Light is scattered ineffectively and unevenly, drastically reducing visibility at night or in adverse weather conditions. This can impair your ability to see obstacles, road signs or pedestrians in a timely manner.
Lower visibility not only affects you, but also other road users. Yellowed headlights emit a dimmer, less directional light, which can make you less visible to other motorists, especially when cornering or during overtaking maneuvers. Basically, you increase the risk of accidents without even realizing it.
In Italy, the periodic car inspection also includes checking the condition of the headlights. If they are too dull or do not provide sufficient illumination, you may fail the inspection. This would result in an unexpected expense and the need to quickly restore the headlights.
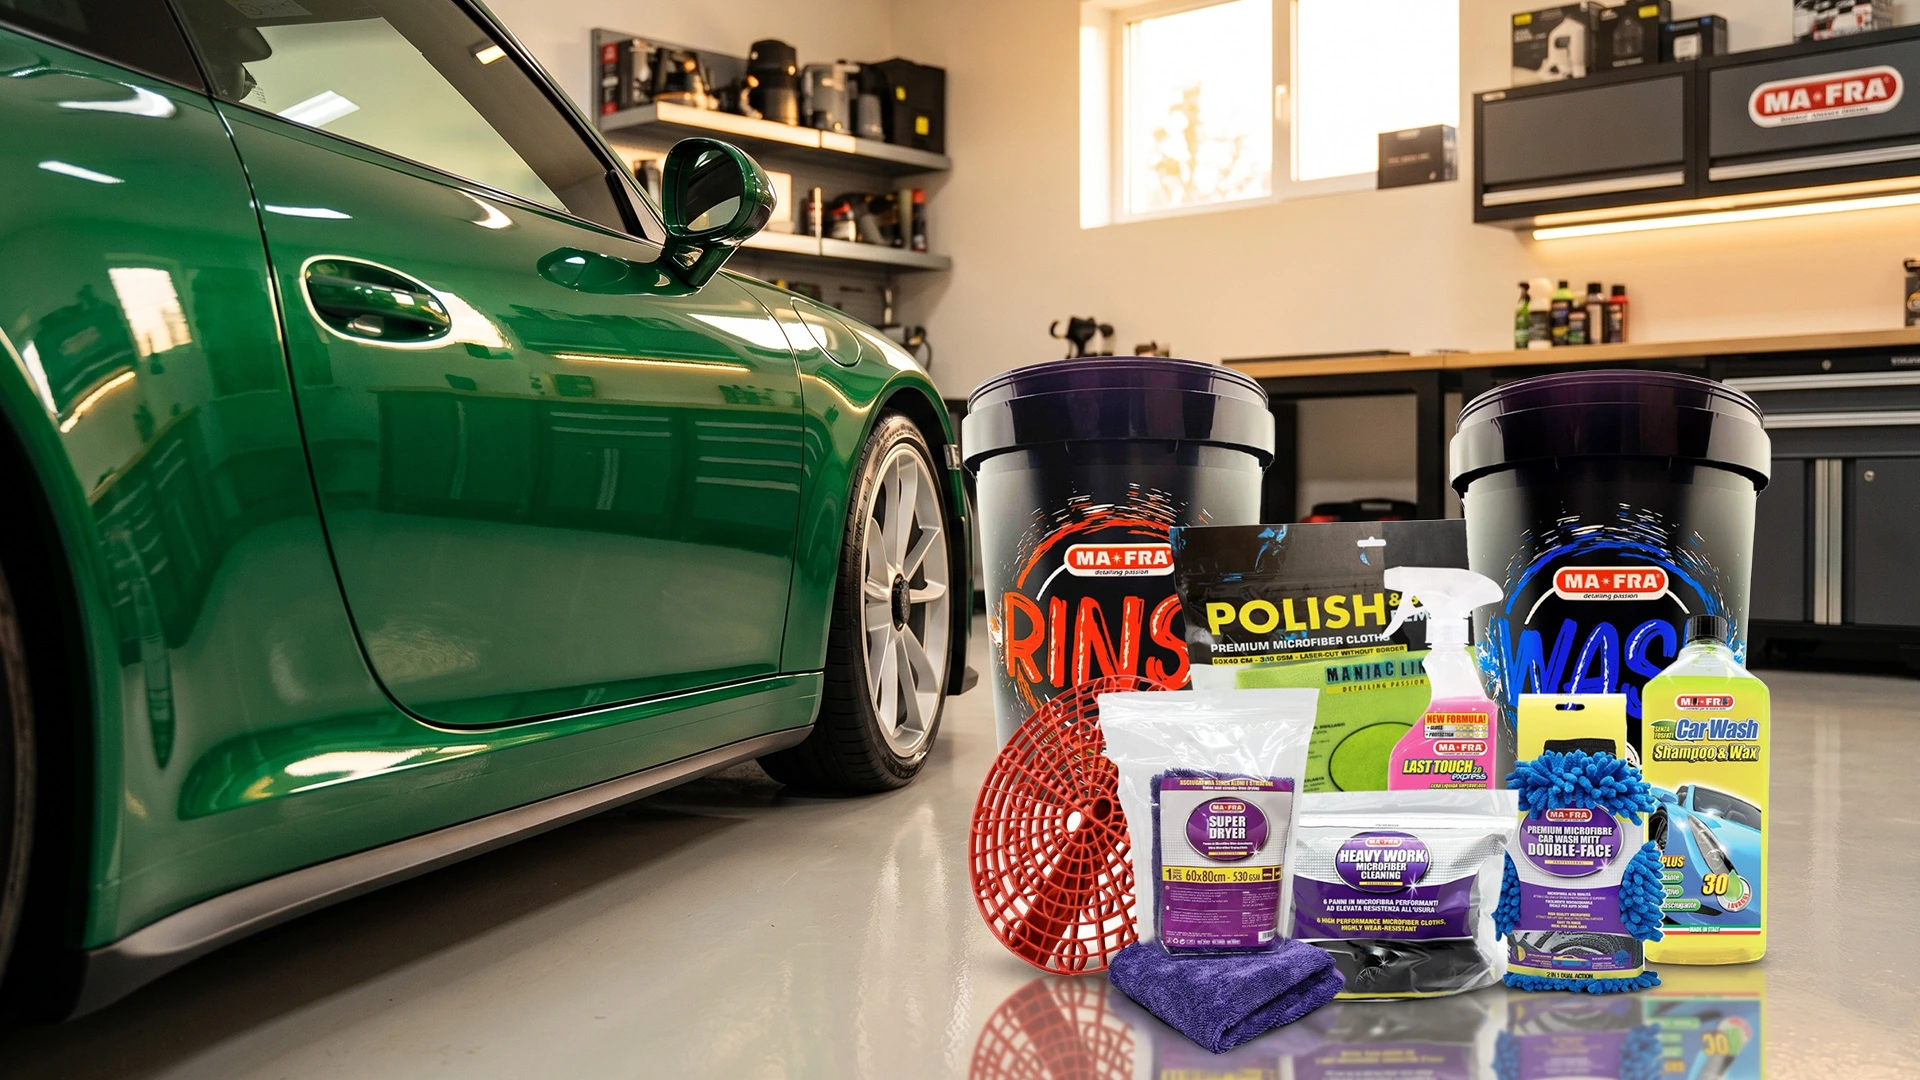
Recommended products for headlight treatment: MA-FRA Regénera Kit
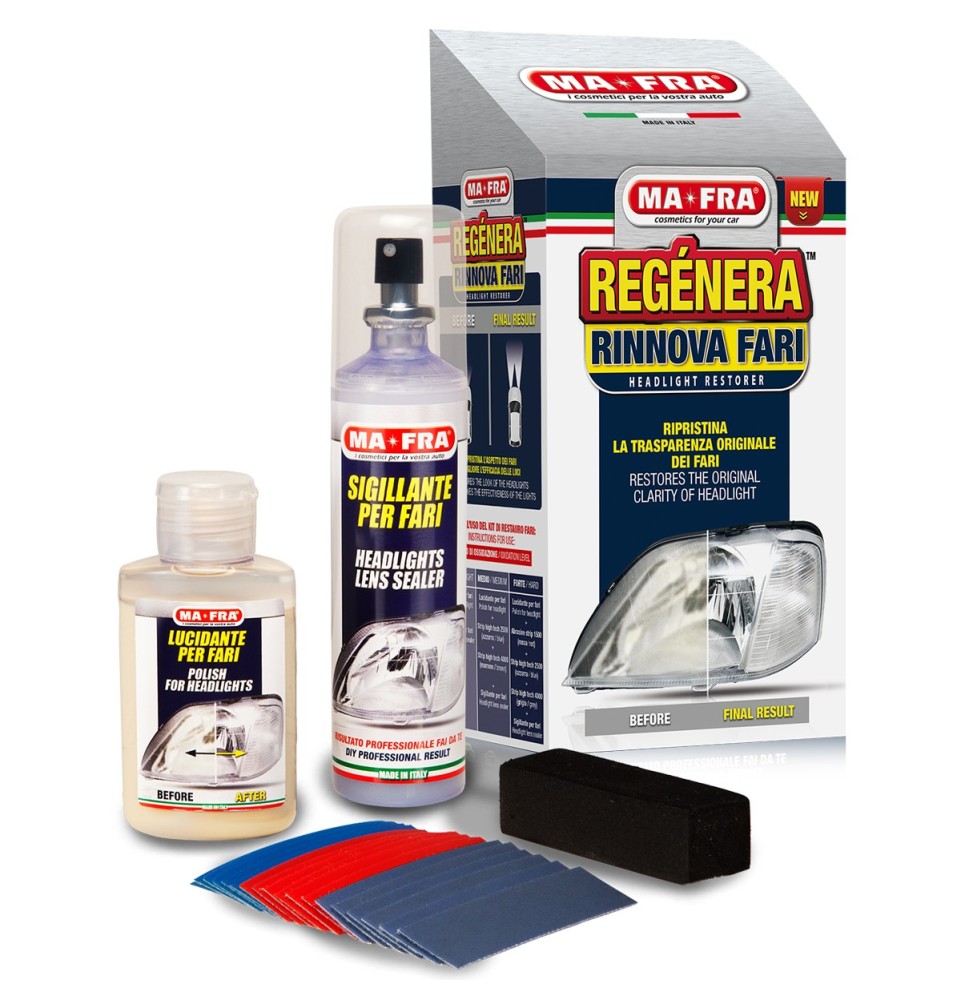
Kit Regénera Headlights
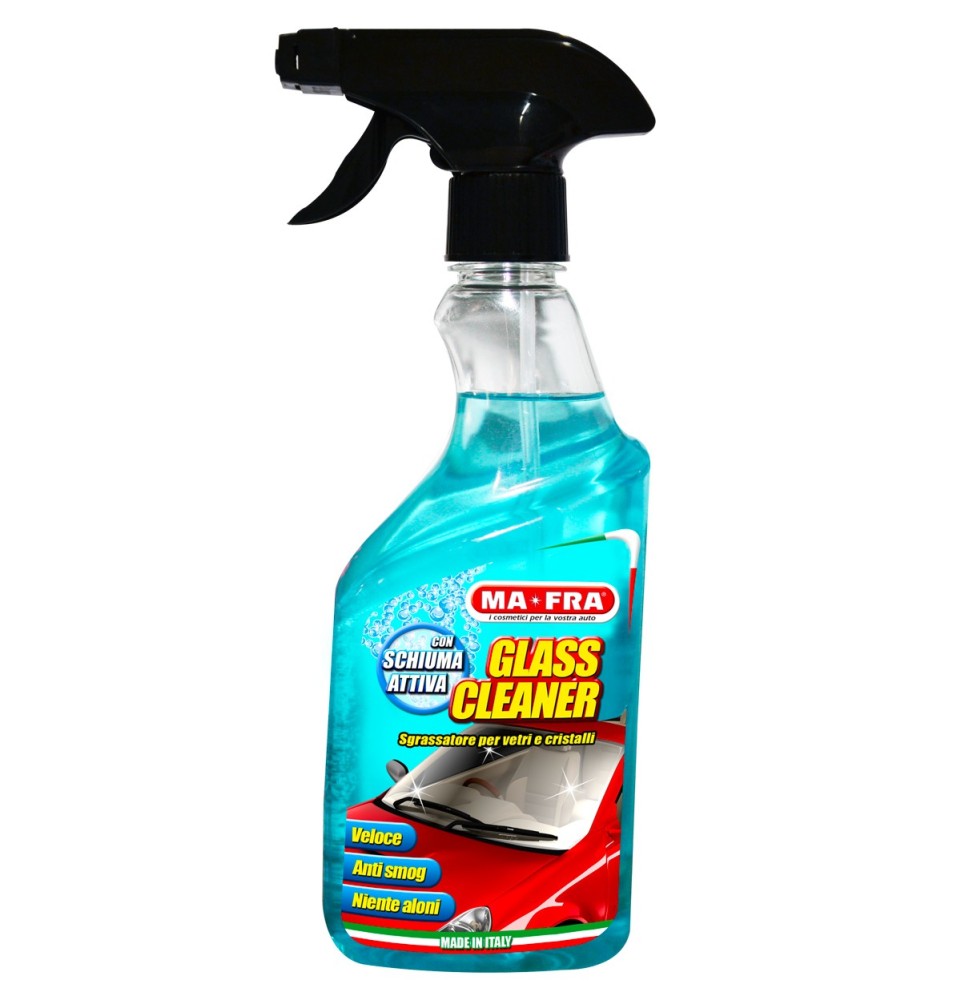
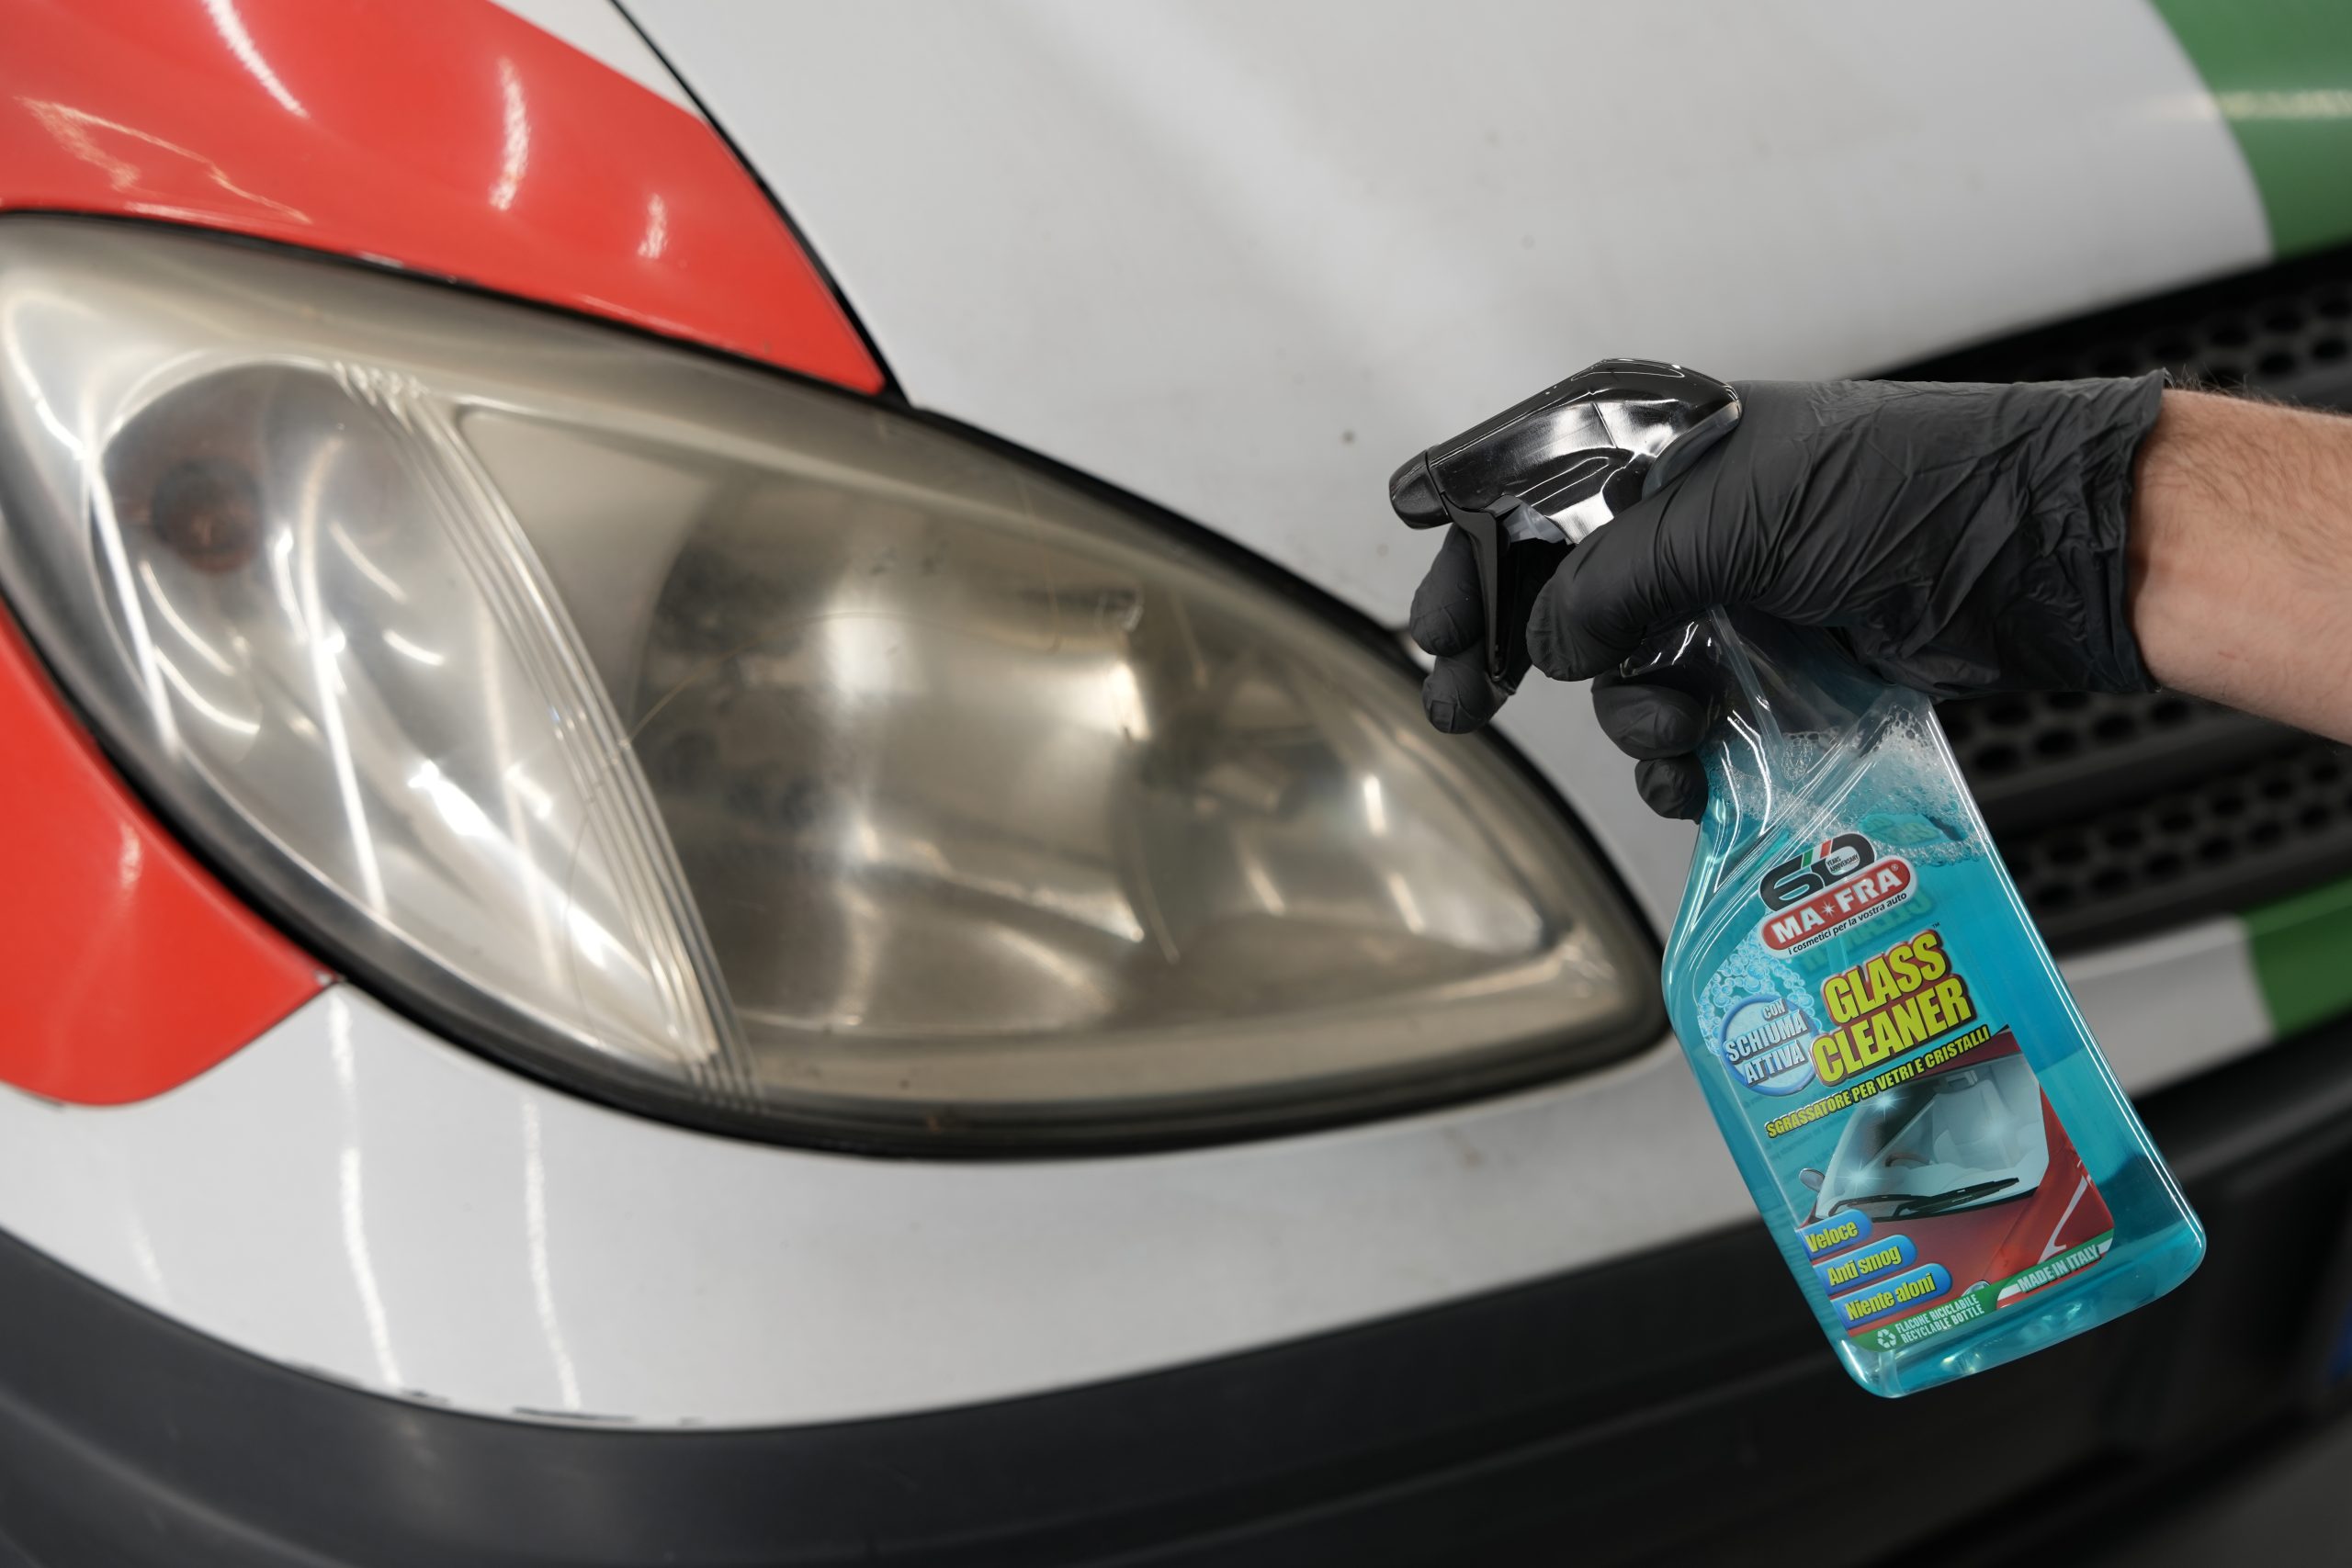
Glass Cleaner
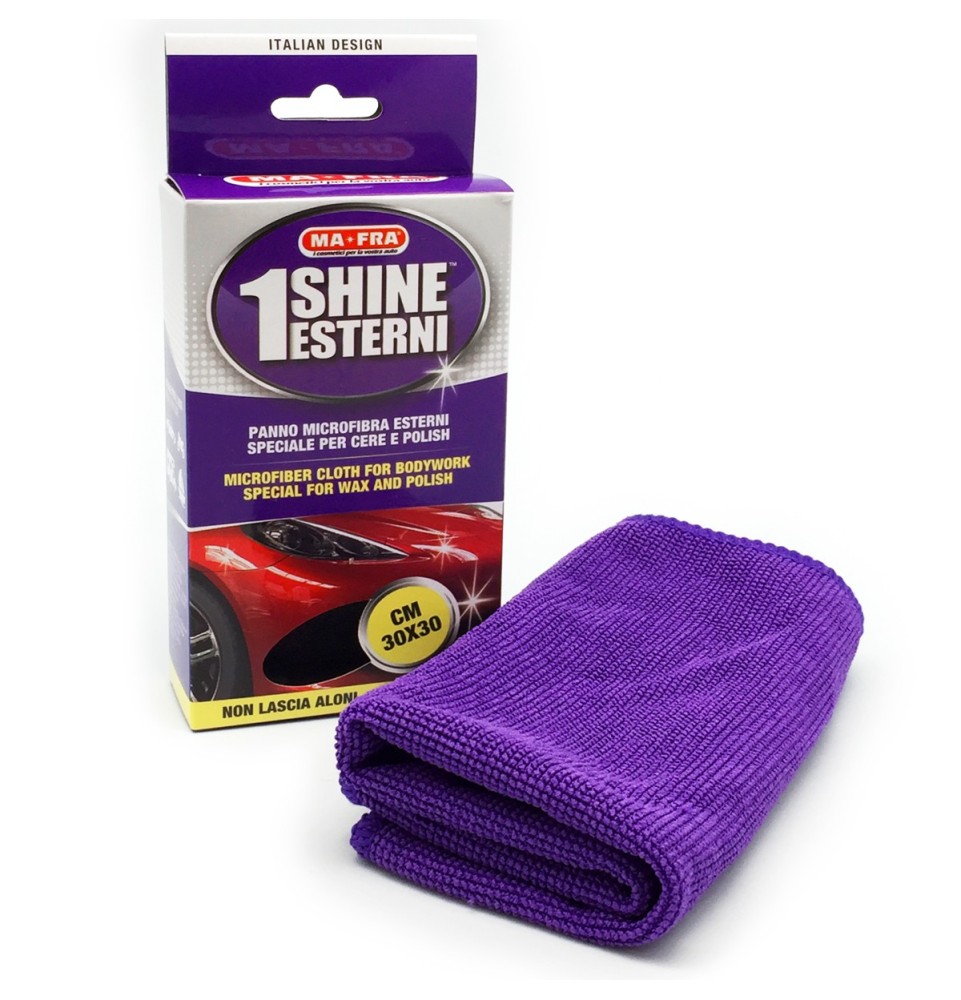
1Shine Exterior
Heavy Work
Professional methods for cleaning and polishing headlights
1 - Using Headlight Regenerating Kits
One of the most effective systems for permanently polishing car headlights is Mafra's Regénera Fari Kit. Consisting of abrasive papers of different grits, polish, sealant and accessories, it is designed to restore the original appearance of headlights with professional results. The process is more time-consuming than home remedies, but it provides long-lasting transparency and visibly improves the lights' effectiveness.
2 - Sanding
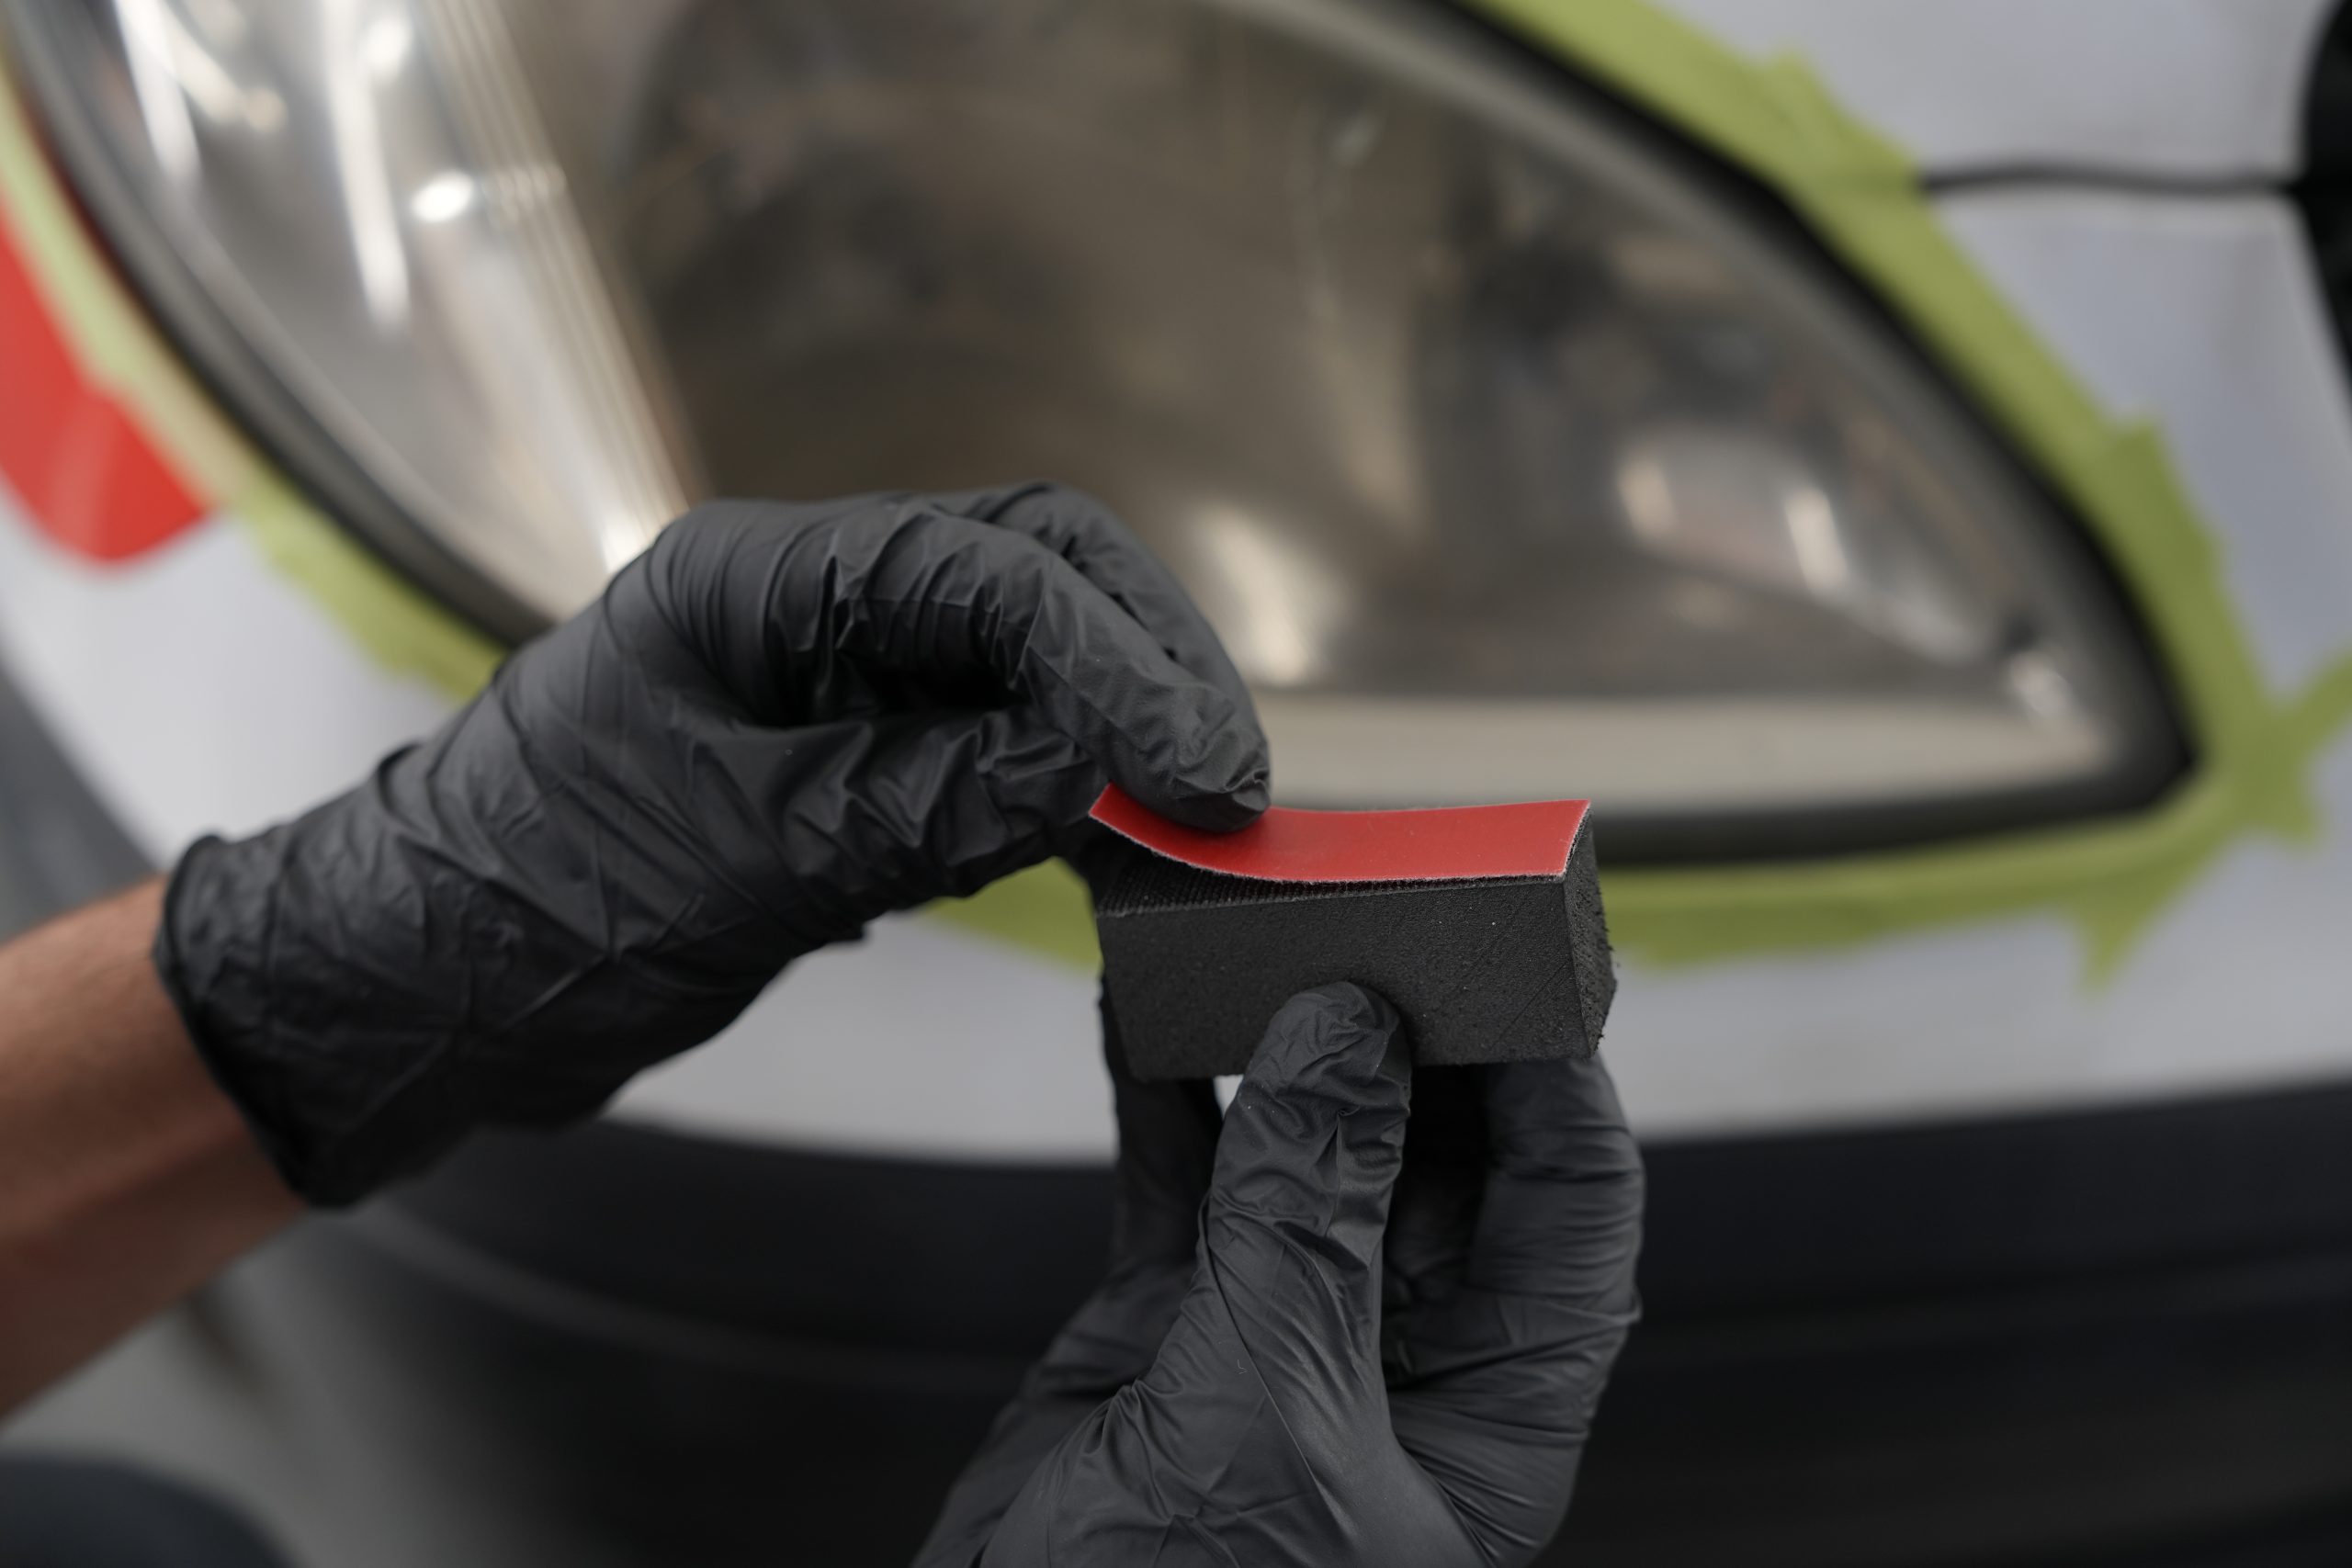
Sanding is the heart of professional treatment. It starts with a 1500 grit sandpaper, then moves to a 2500 grit paper and finally to a 4000 grit paper. Each pass removes some of the opacity, smoothing the surface. The key is to keep the surface wet with a Glass Cleaner, make straight strokes (not circular) and dry well between each step.
3 - Application of polish and protective sealant
Once sanded, the headlight should be polished with a special polish, applied with circular motions and light pressure. After obtaining a shiny, even finish, sealant is applied to create a barrier against UV rays. This step is crucial: without it, the headlight will become dull again within a few months.


How to properly use a headlight polishing kit
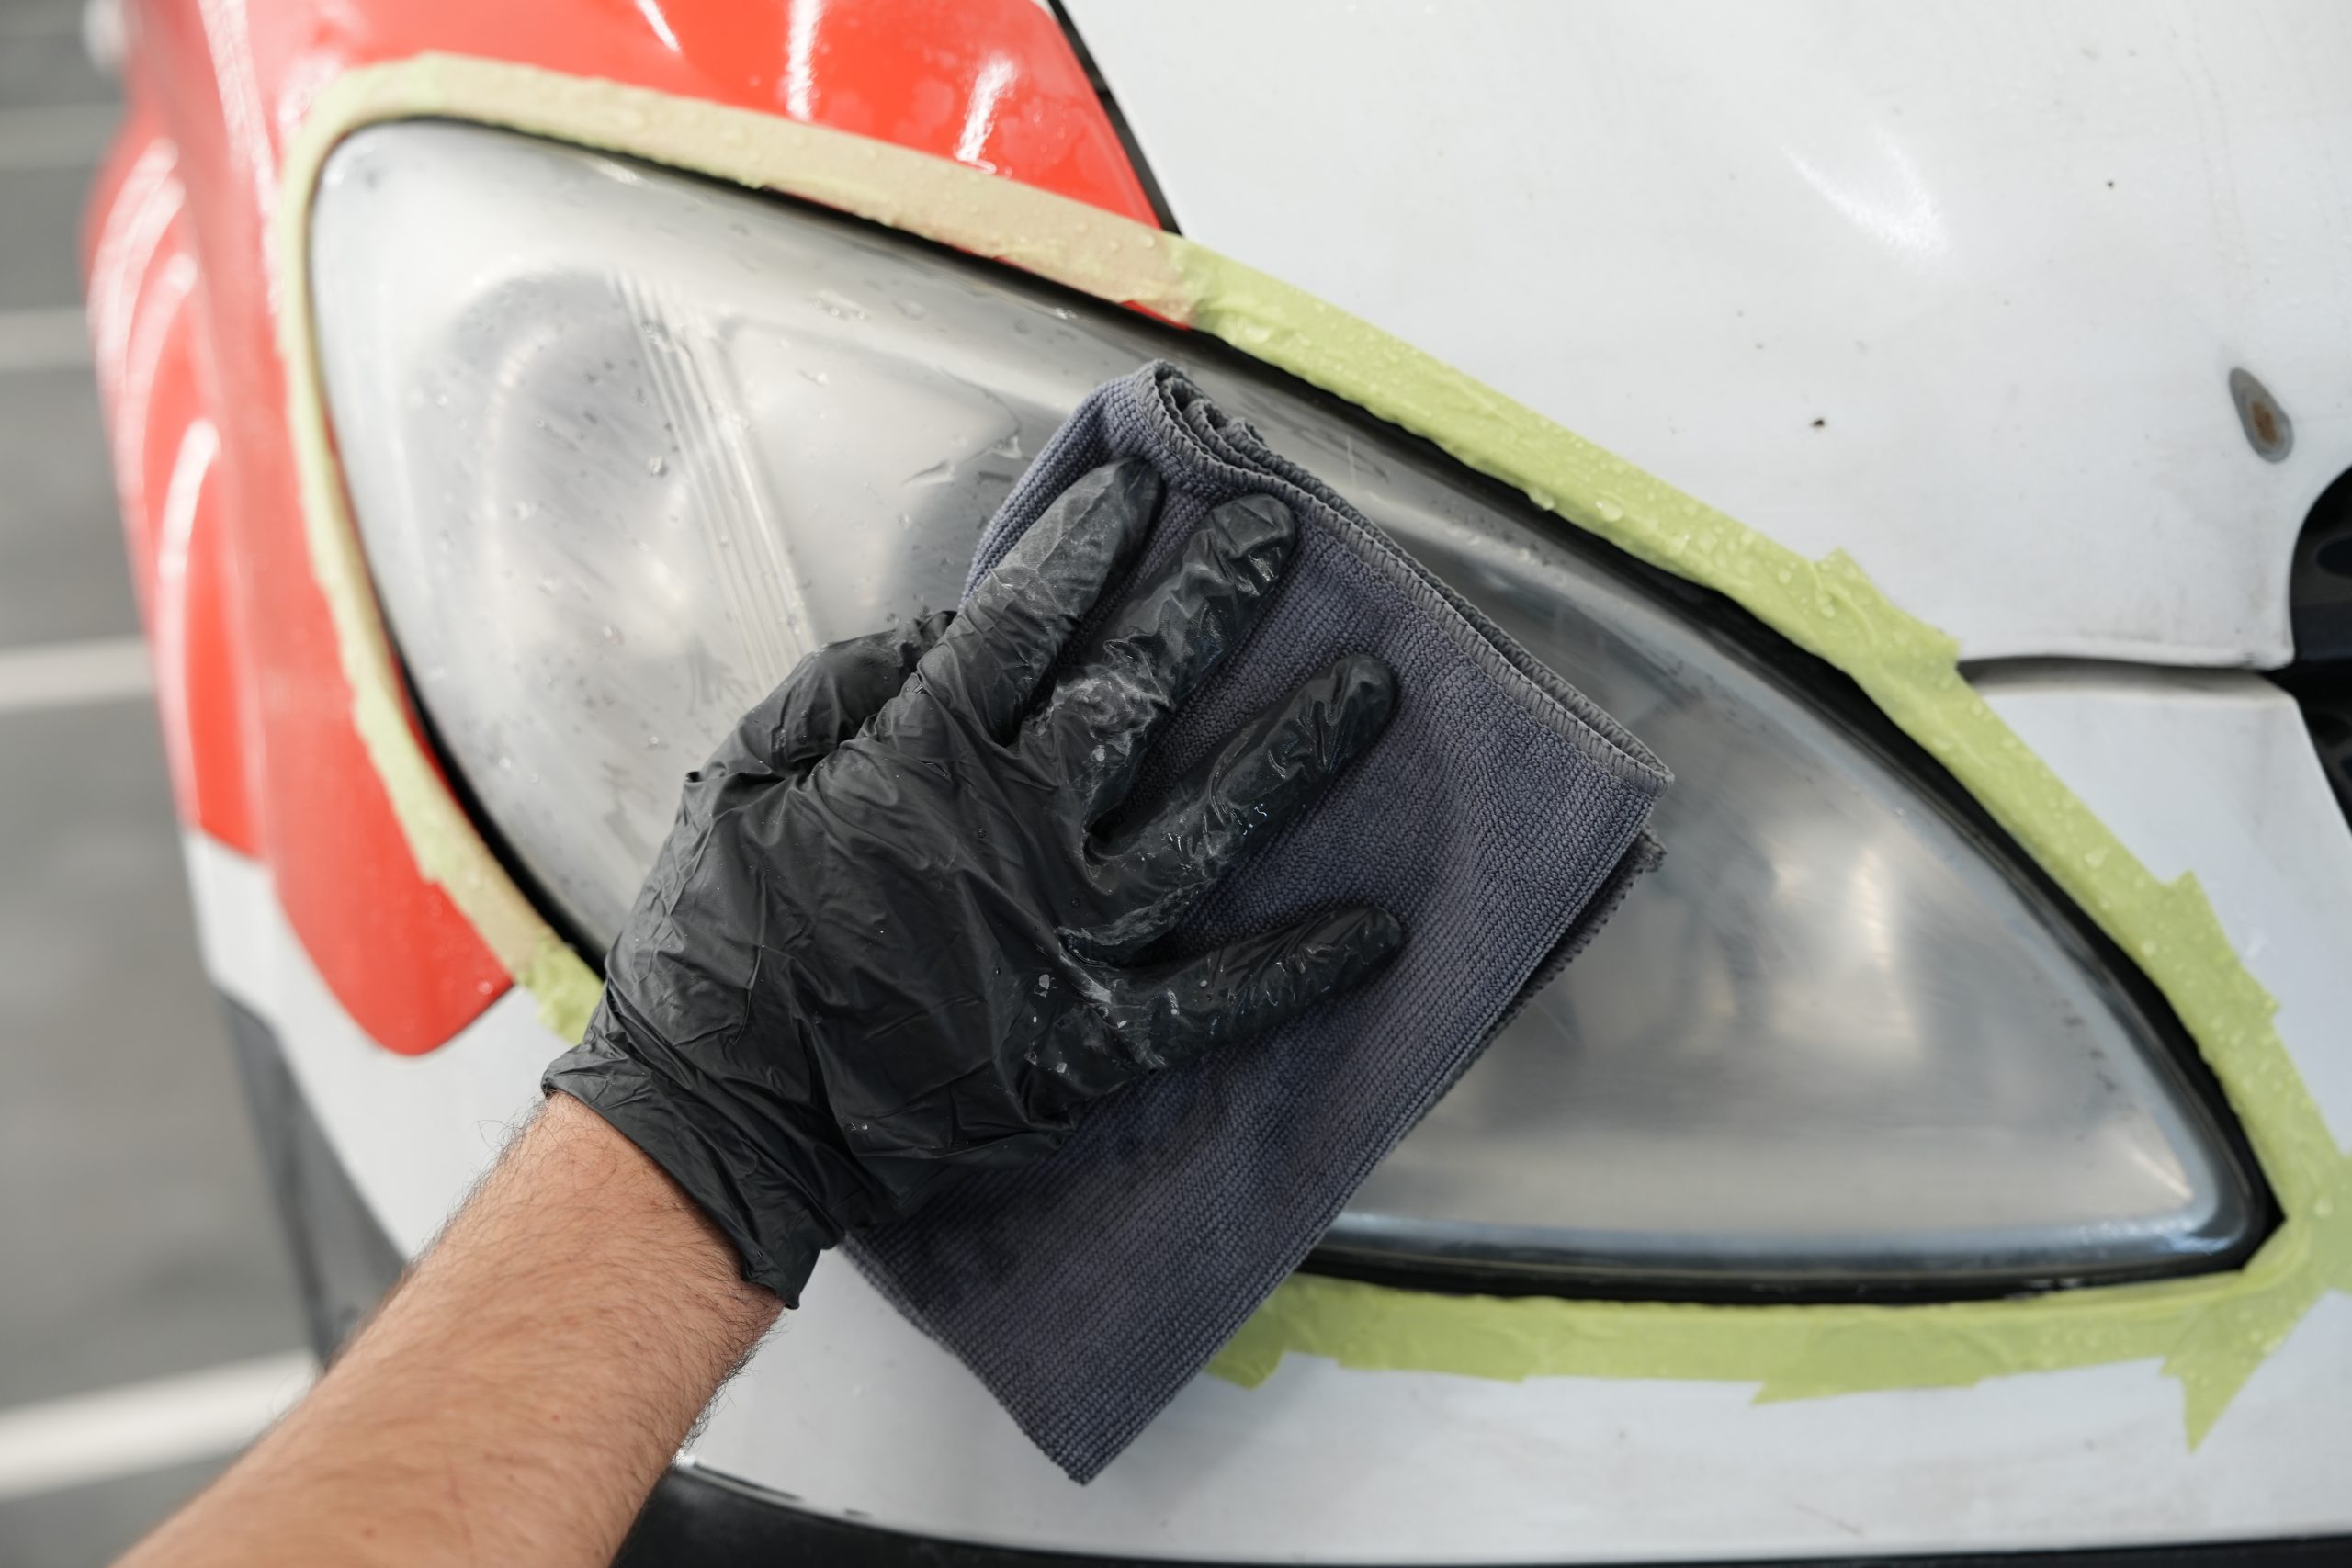
Before starting any intervention, it is essential to prepare the work area. The first golden rule? Work on a cool surface, in the shade and preferably in the morning or late afternoon. Start by thoroughly cleaning the headlights with a Glass Cleaner, such as "1Shine Glass", to remove dust, dirt and oily residue that might interfere with sanding.
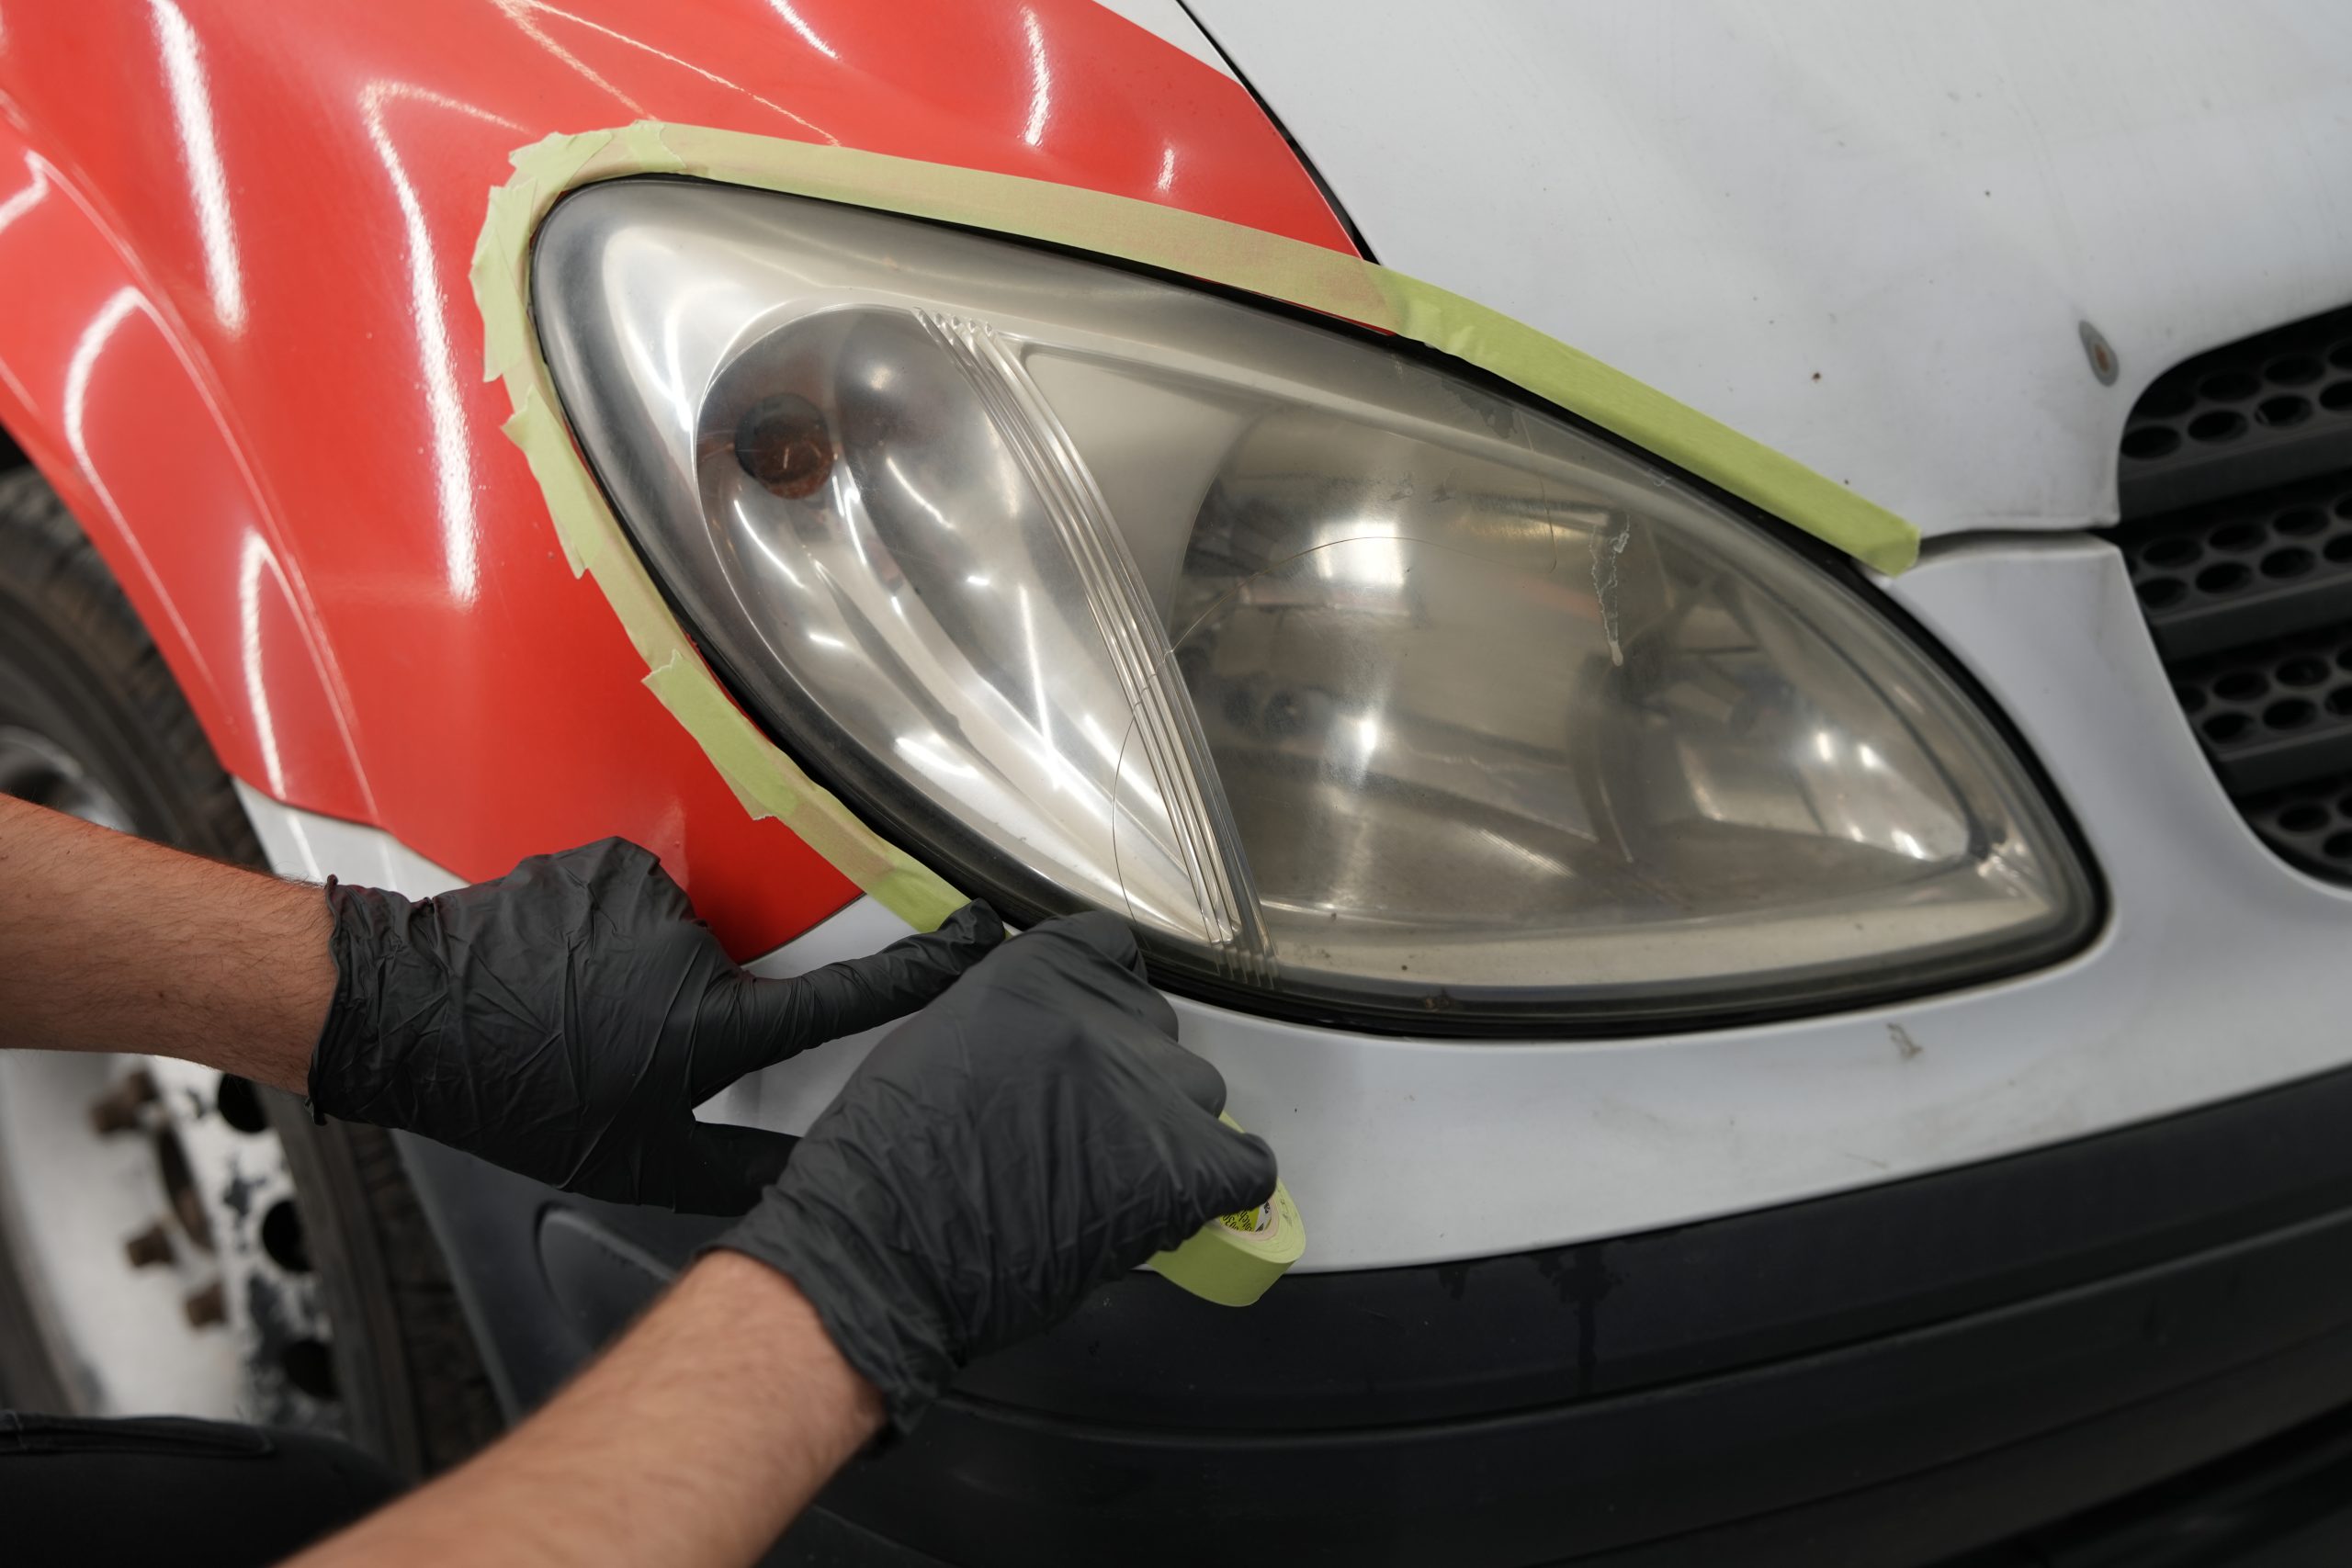
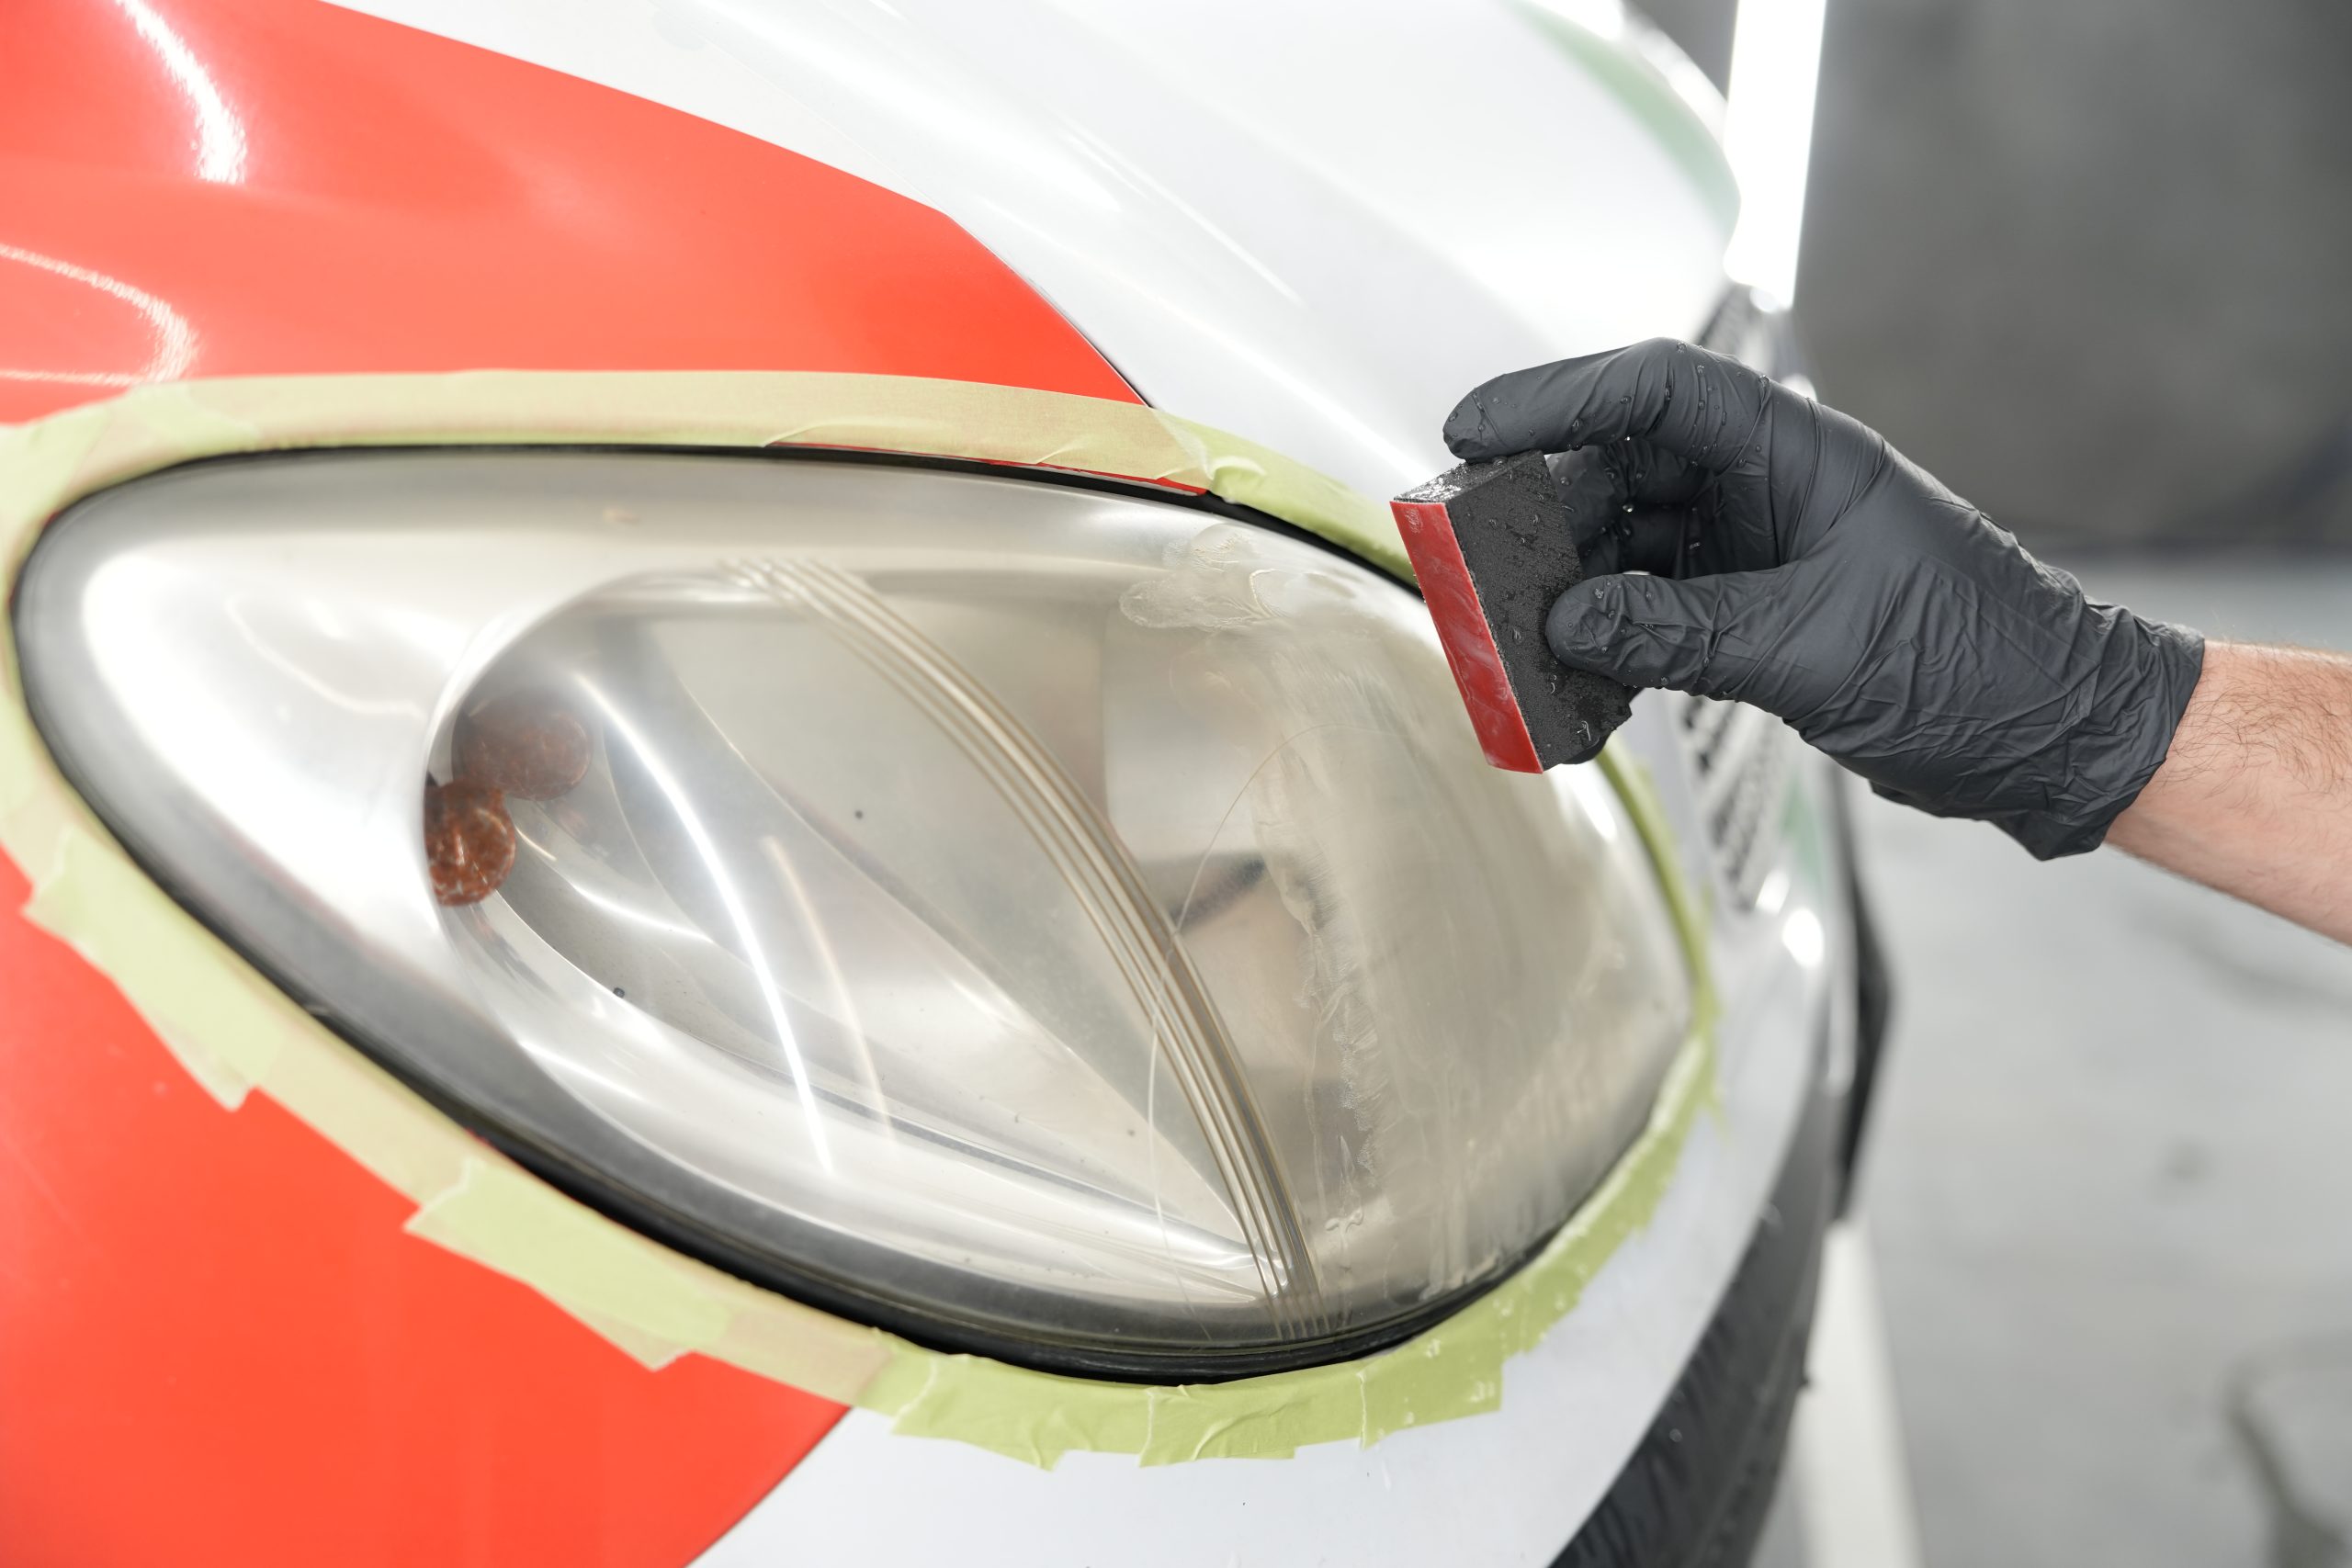
Next, carefully protect the bodywork around the headlight. Use a car body tape to outline the perimeter of the headlight, paying special attention to the inner edges and rubber seals. This will prevent accidental scratches during sanding operations. You can also cover parts of the hood and fender with microfiber cloths or protective films.


Stages of sanding: correct grits and movements
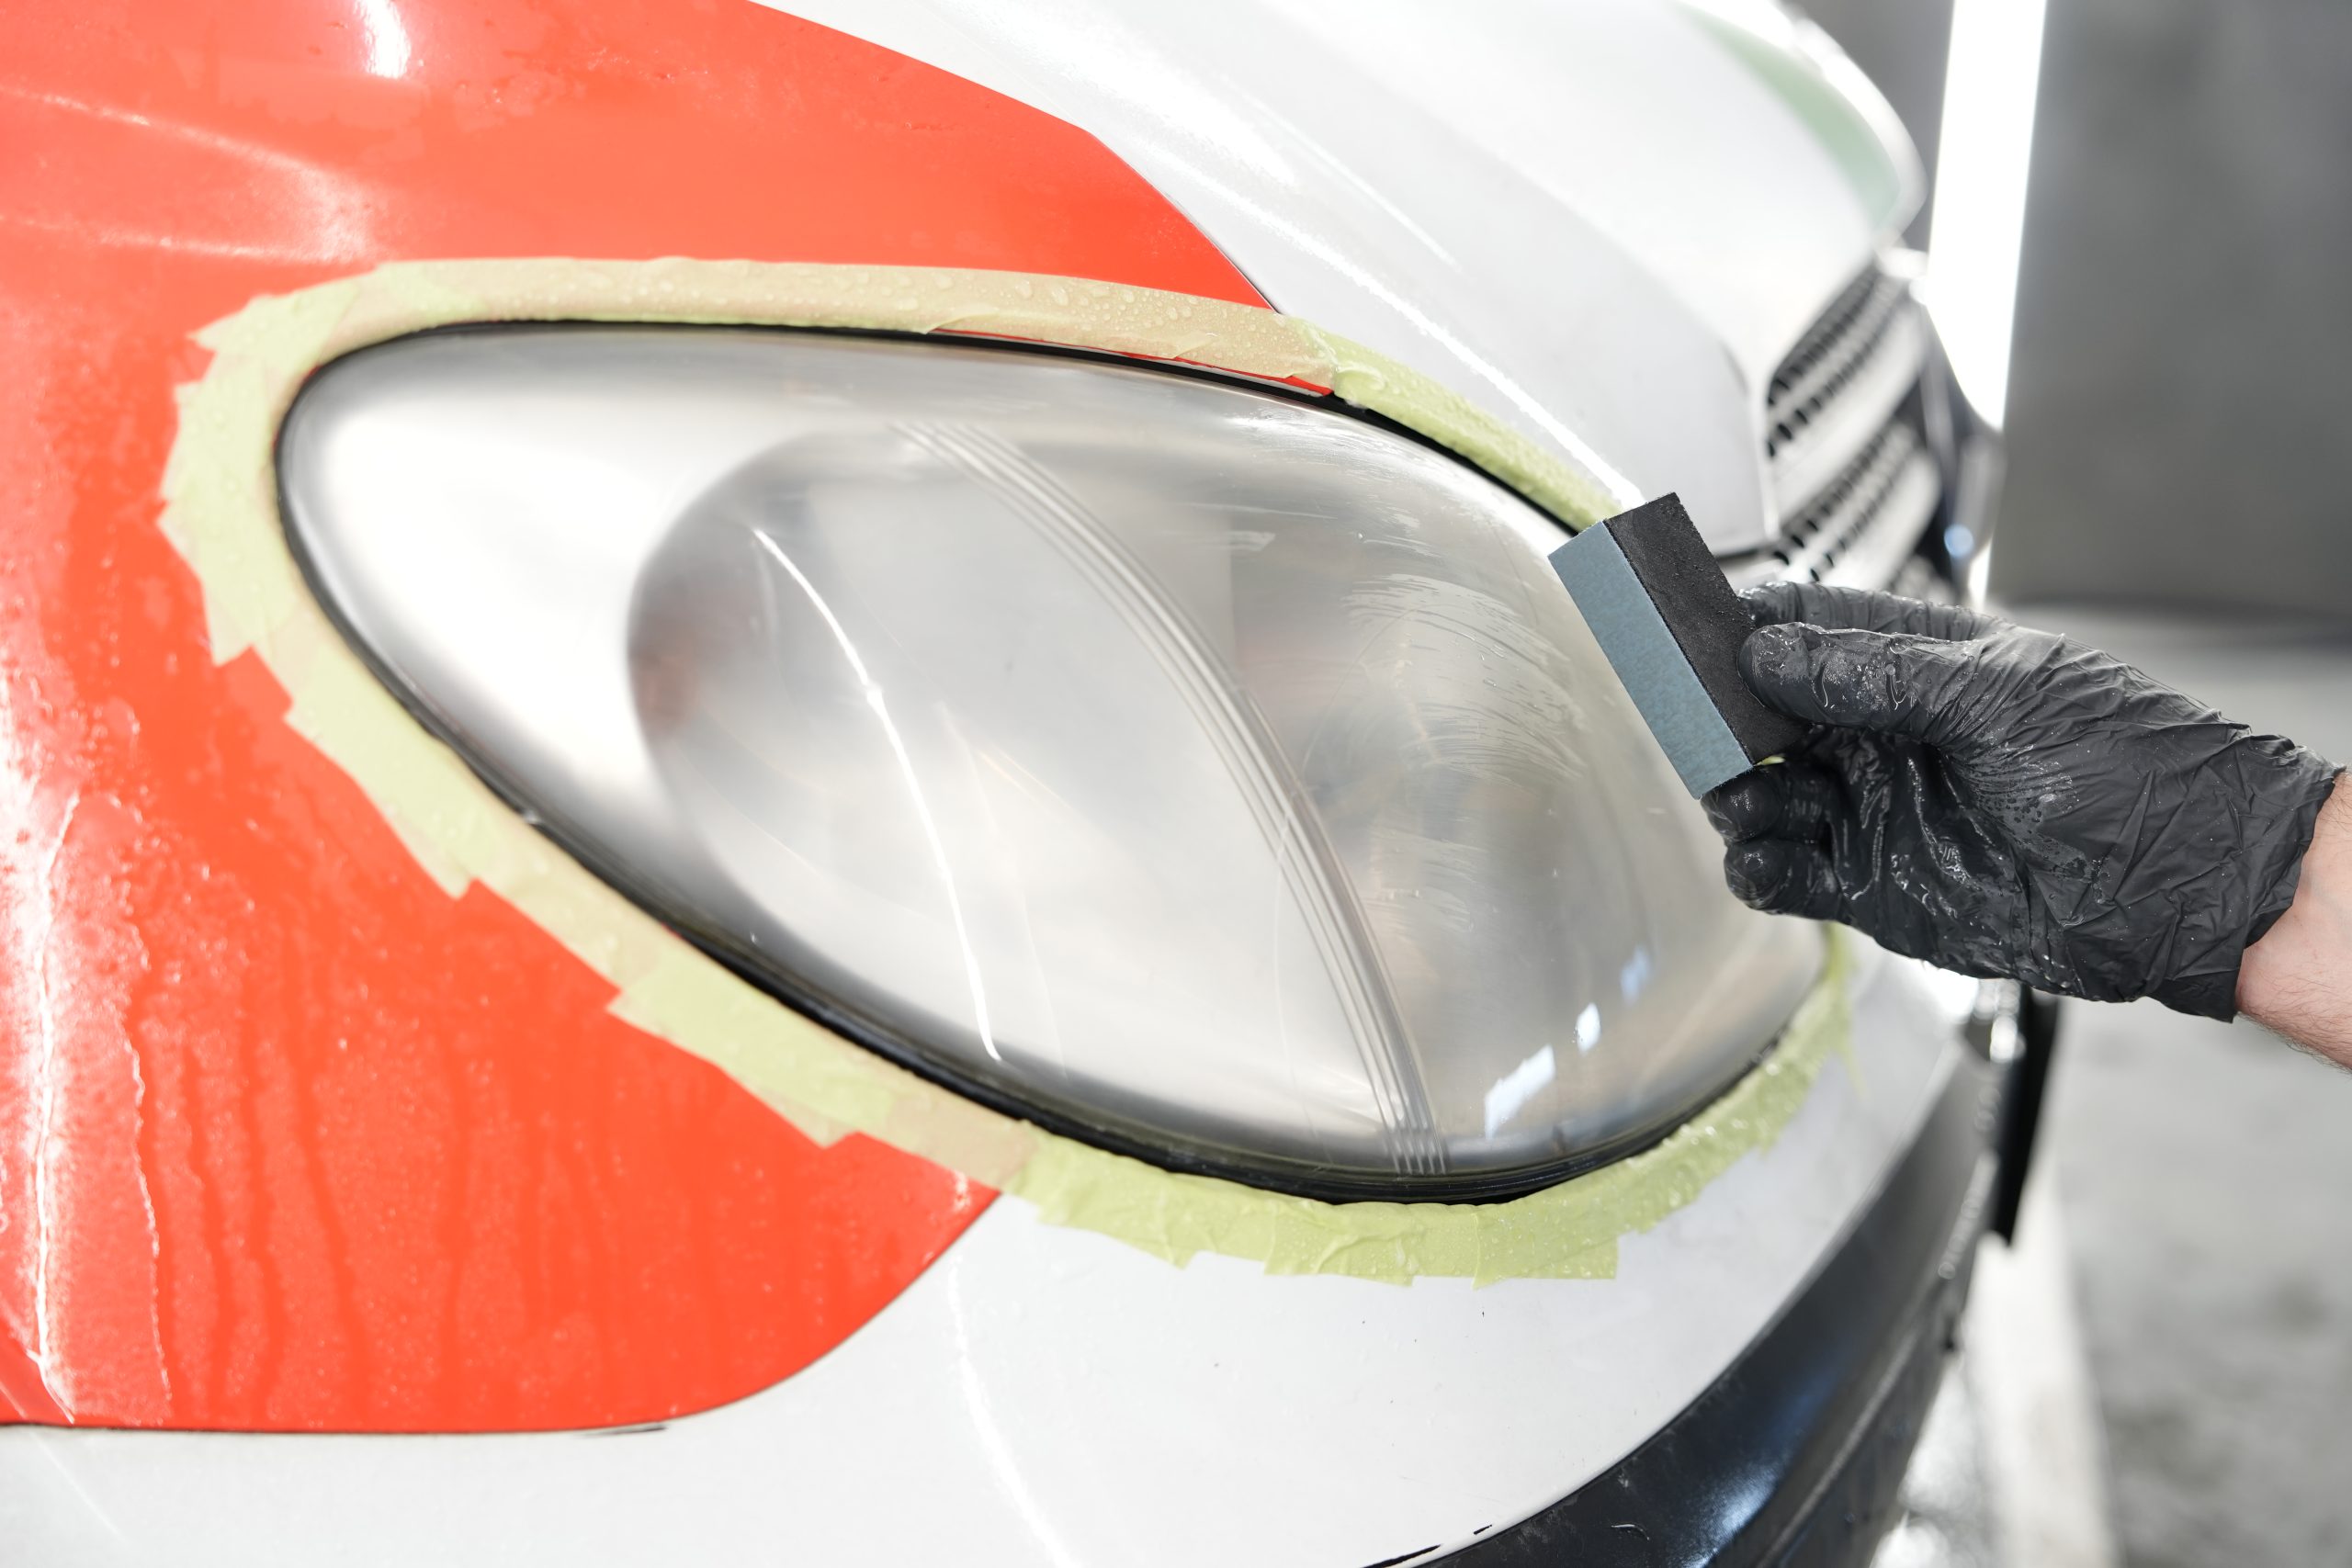
The sanding process must be approached methodically. Start with 1500-grit sandpaper, which is the most aggressive, and always work by taking advantage of the action of a lubricant such as Glass Cleaner to keep the surface wet. Make movements that are linear and parallel to the curvature of the lighthouse, never circular, to avoid obvious marks.
After the first pass, dry and check the surface. When the more pronounced opacity is gone, go to 2500 grit, working in the opposite direction from the previous step. This helps remove traces of the first sanding. Finally, use 4000 grit, which provides an extra fine finish. Remember to always keep the surface damp and clean to achieve a uniform result.
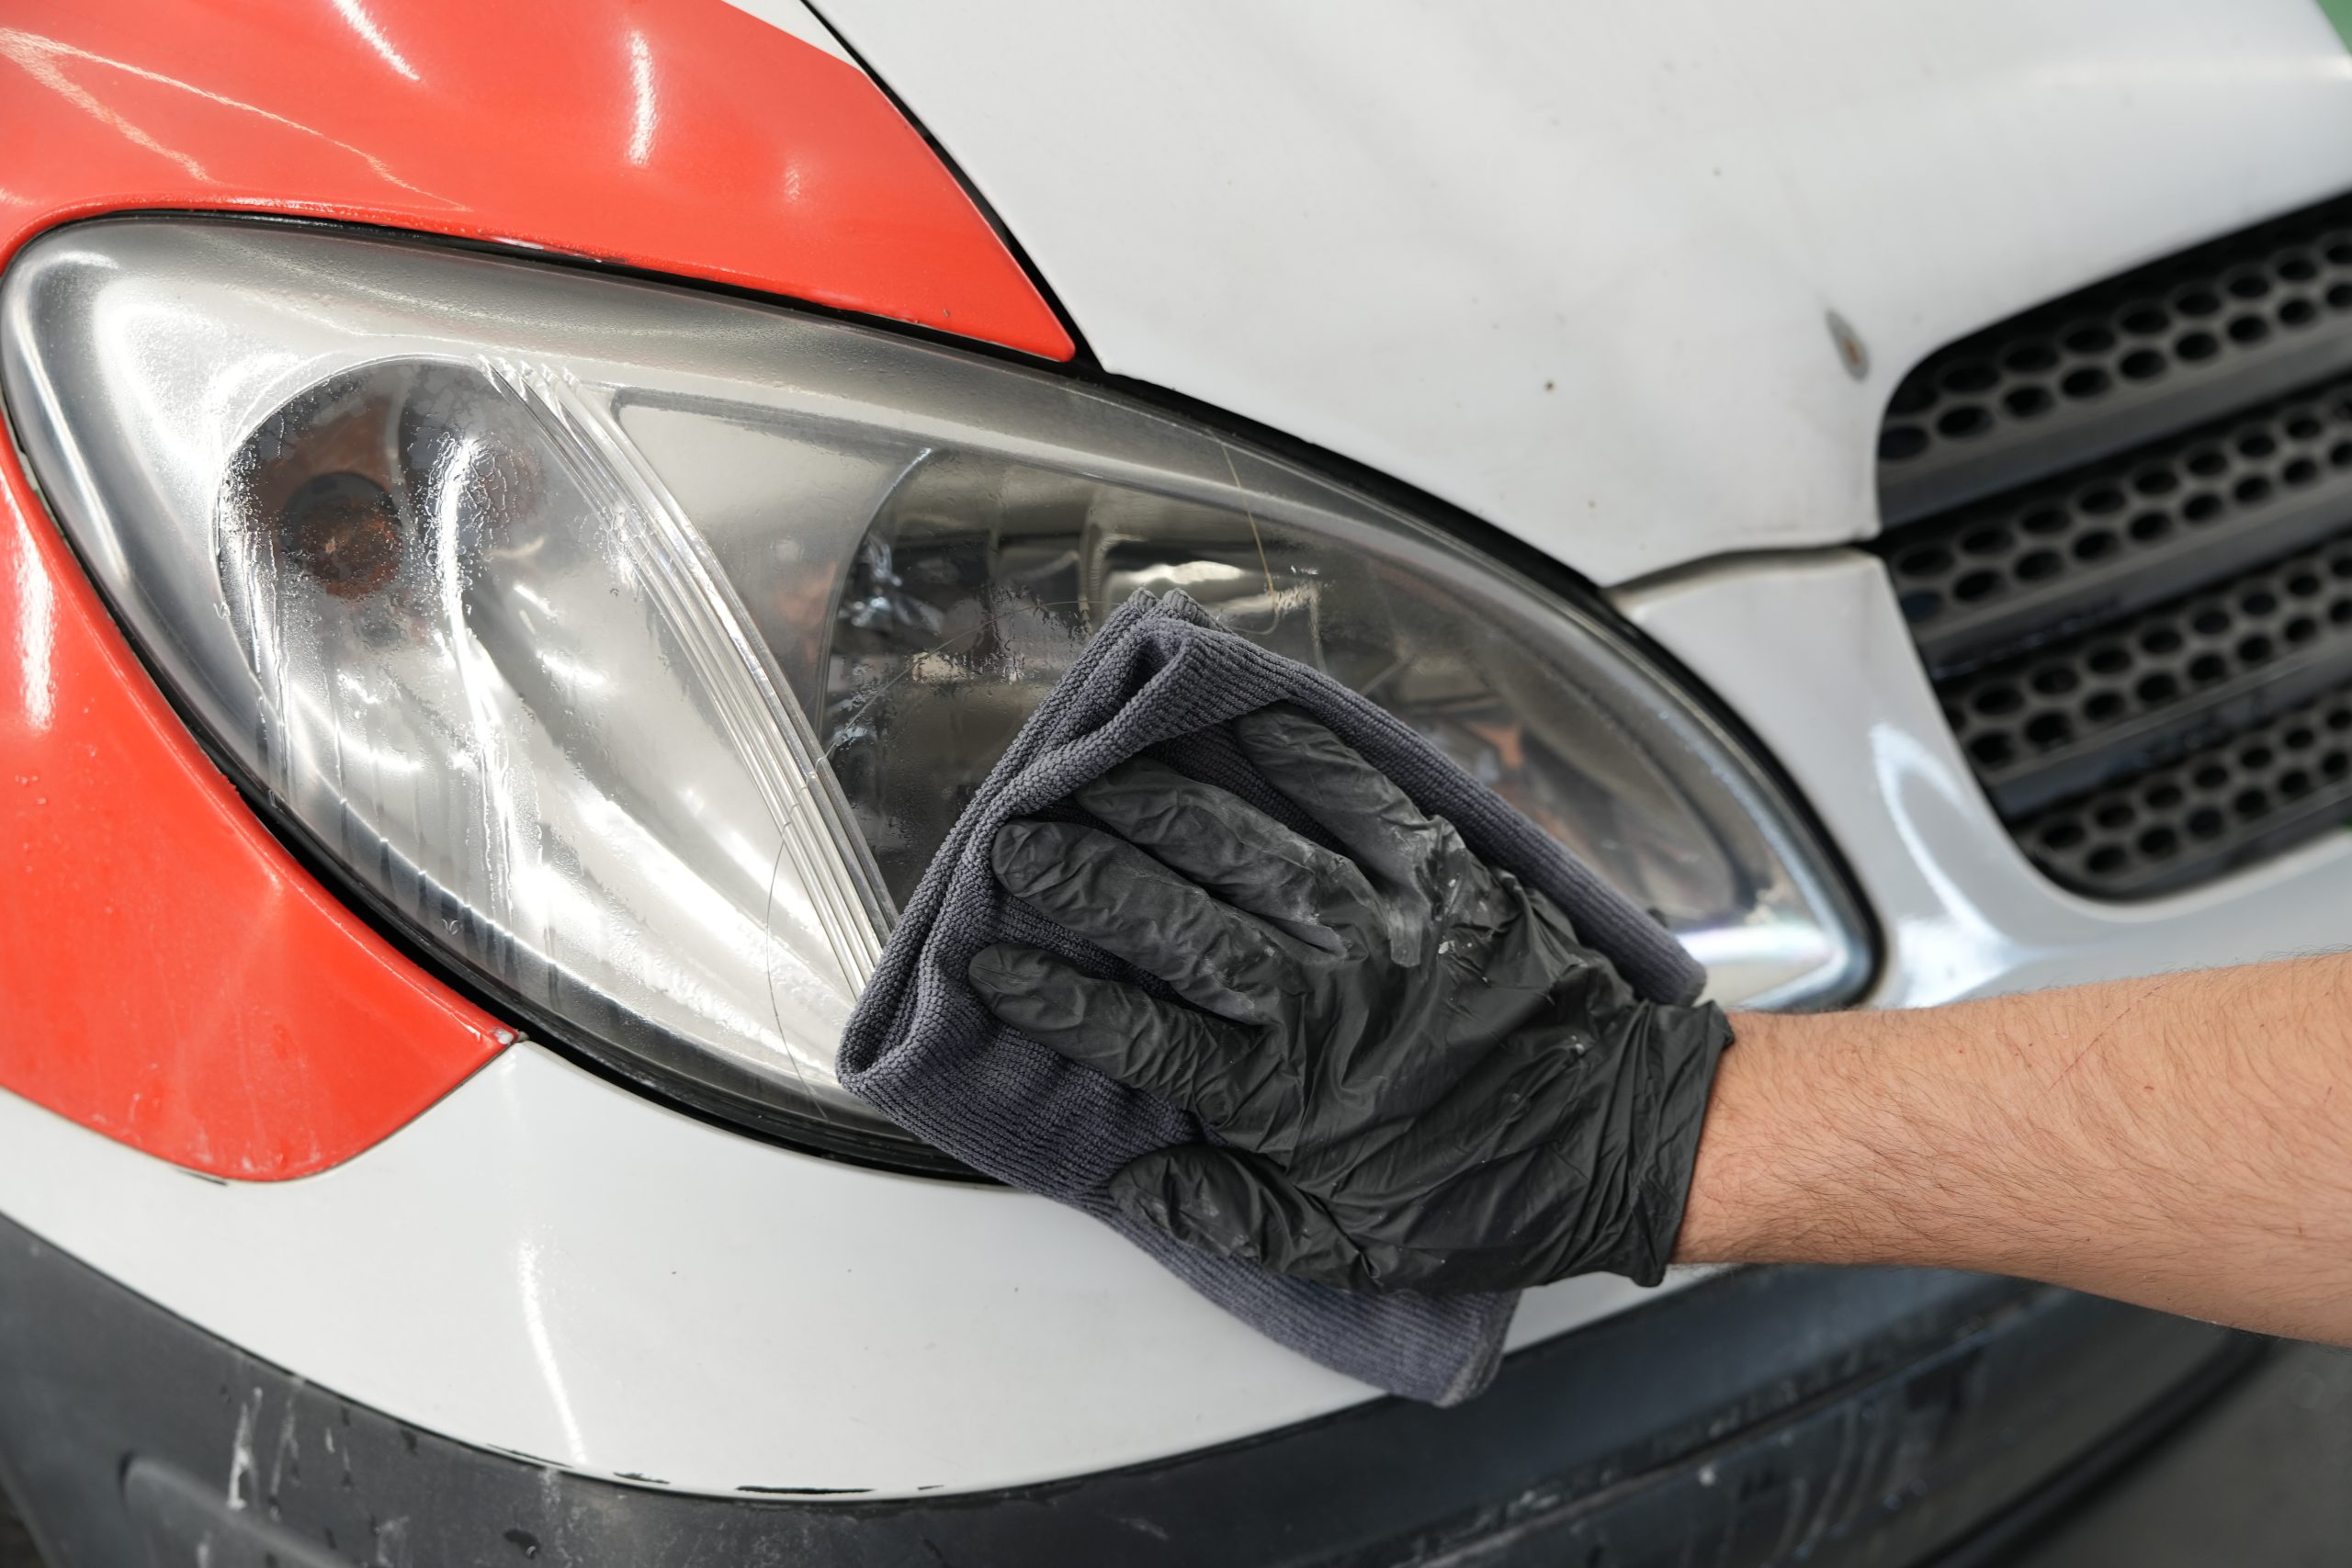
Perfect finish with polish and sealant
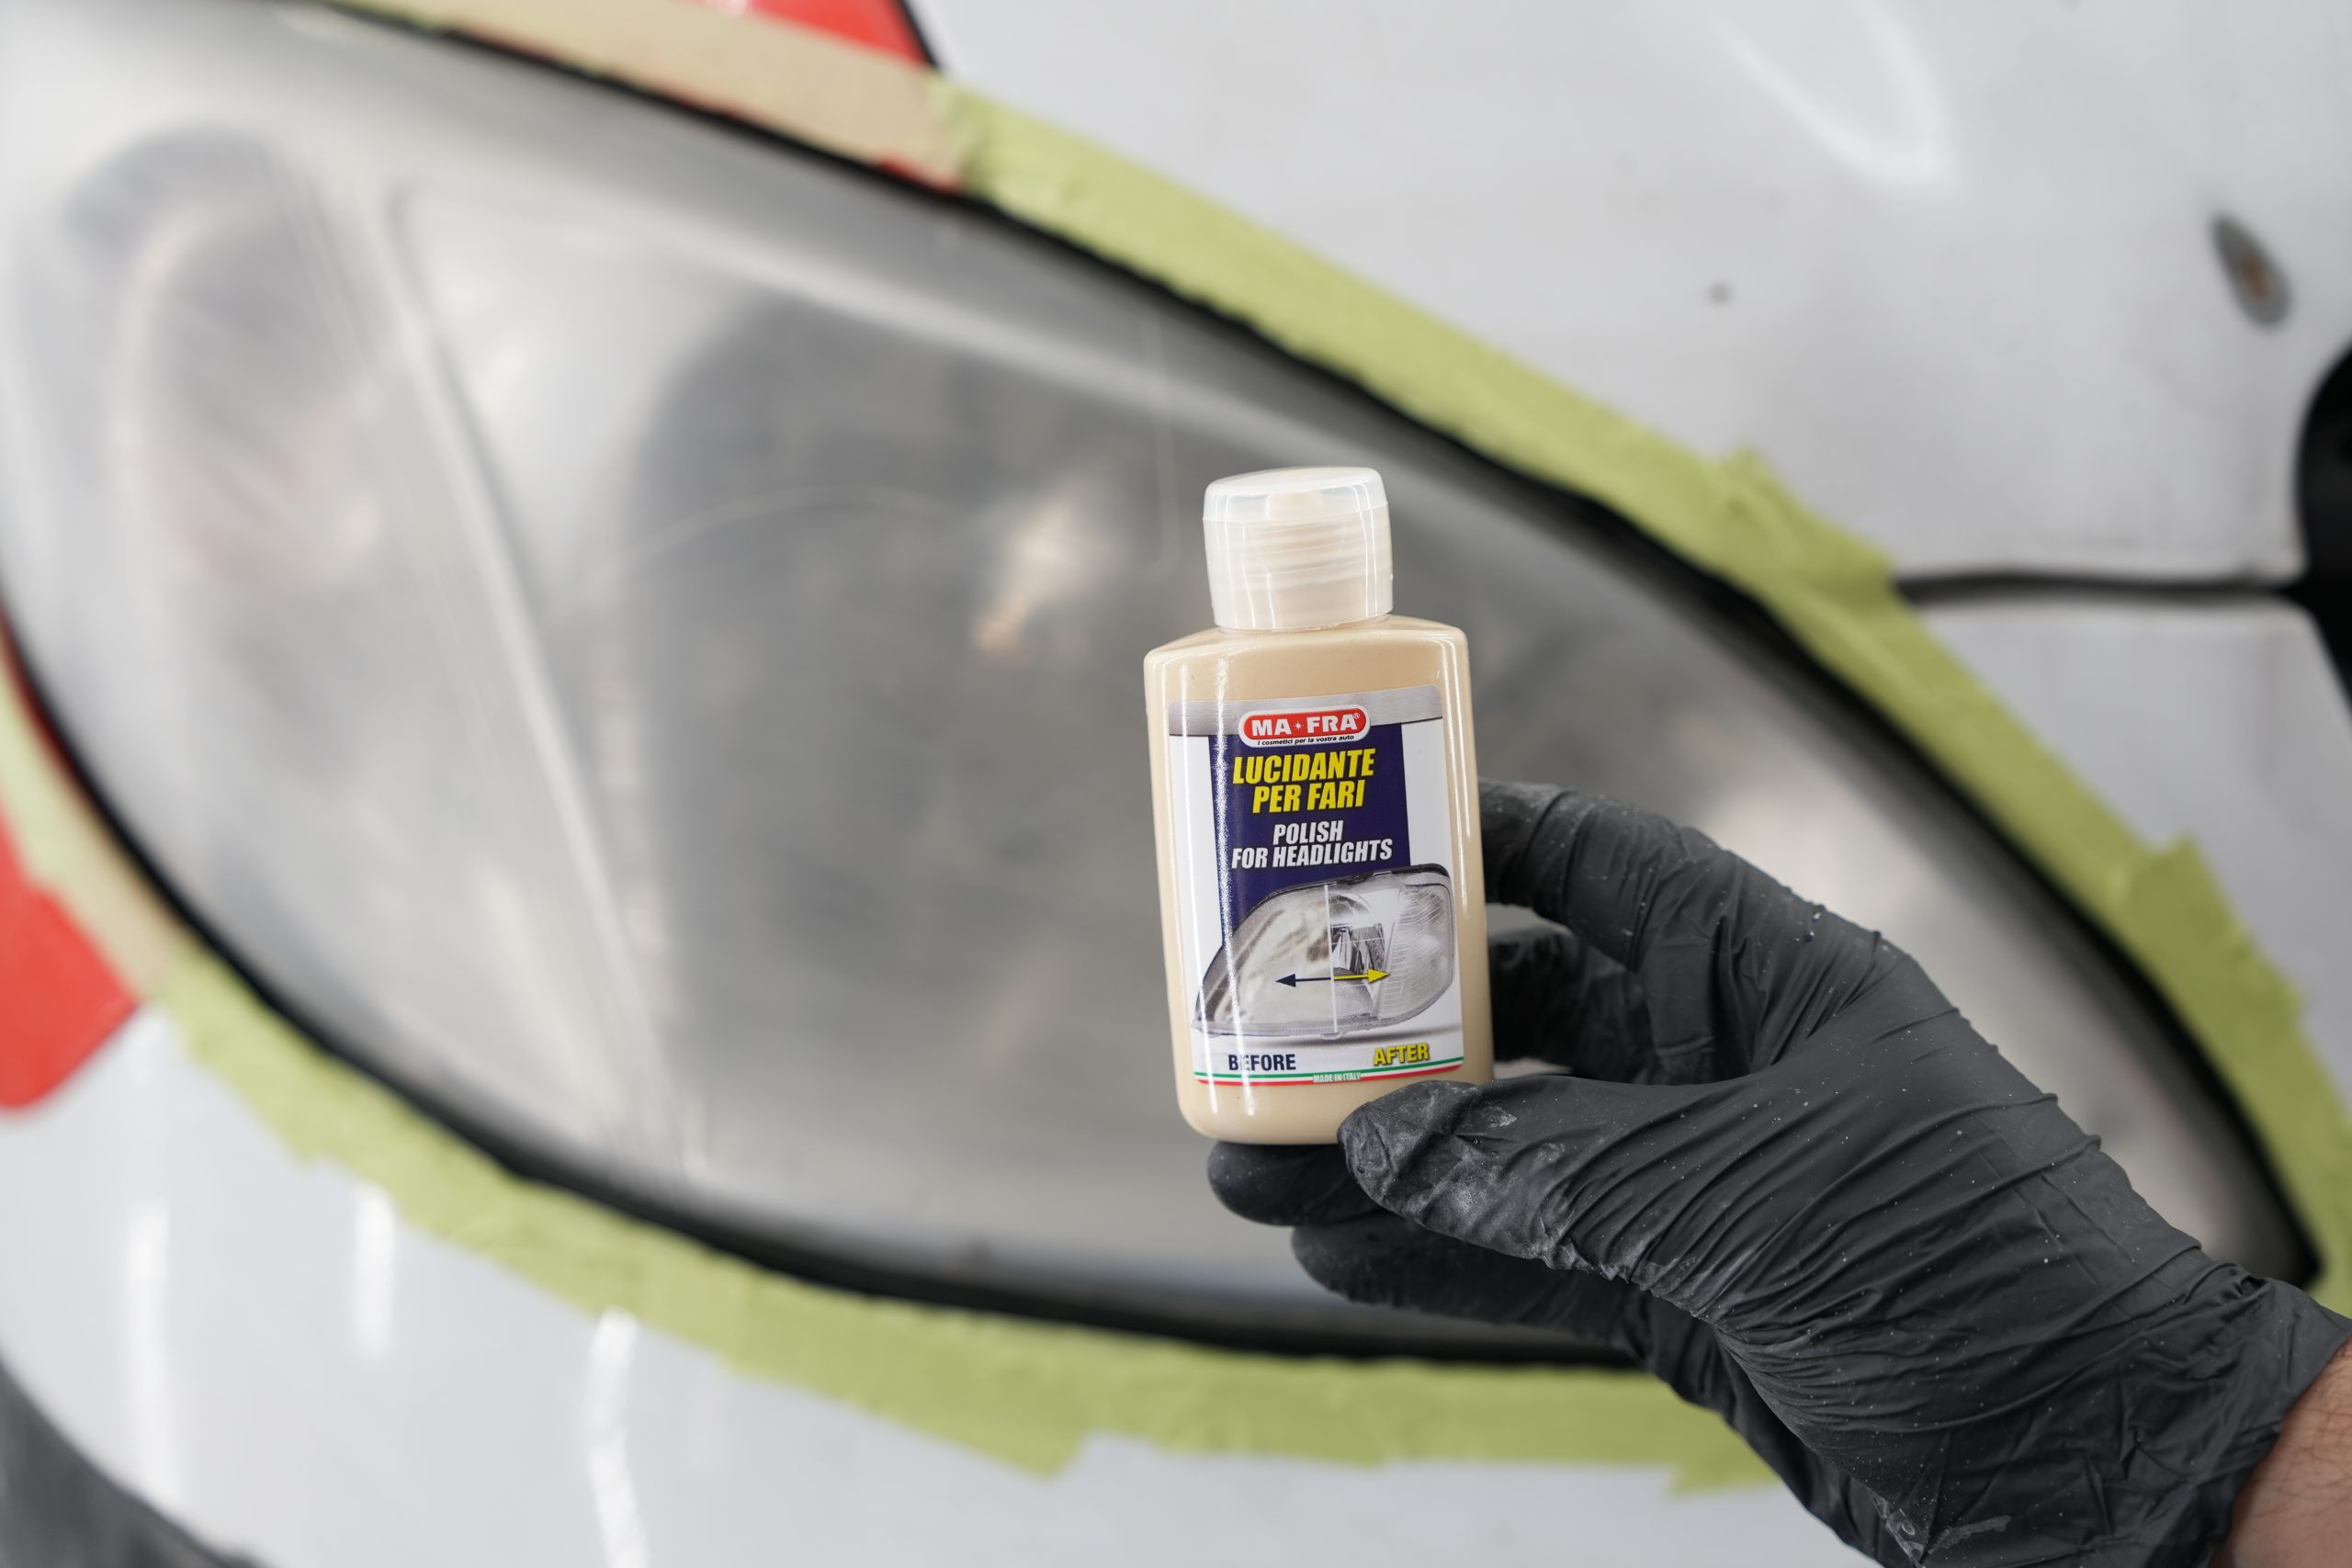
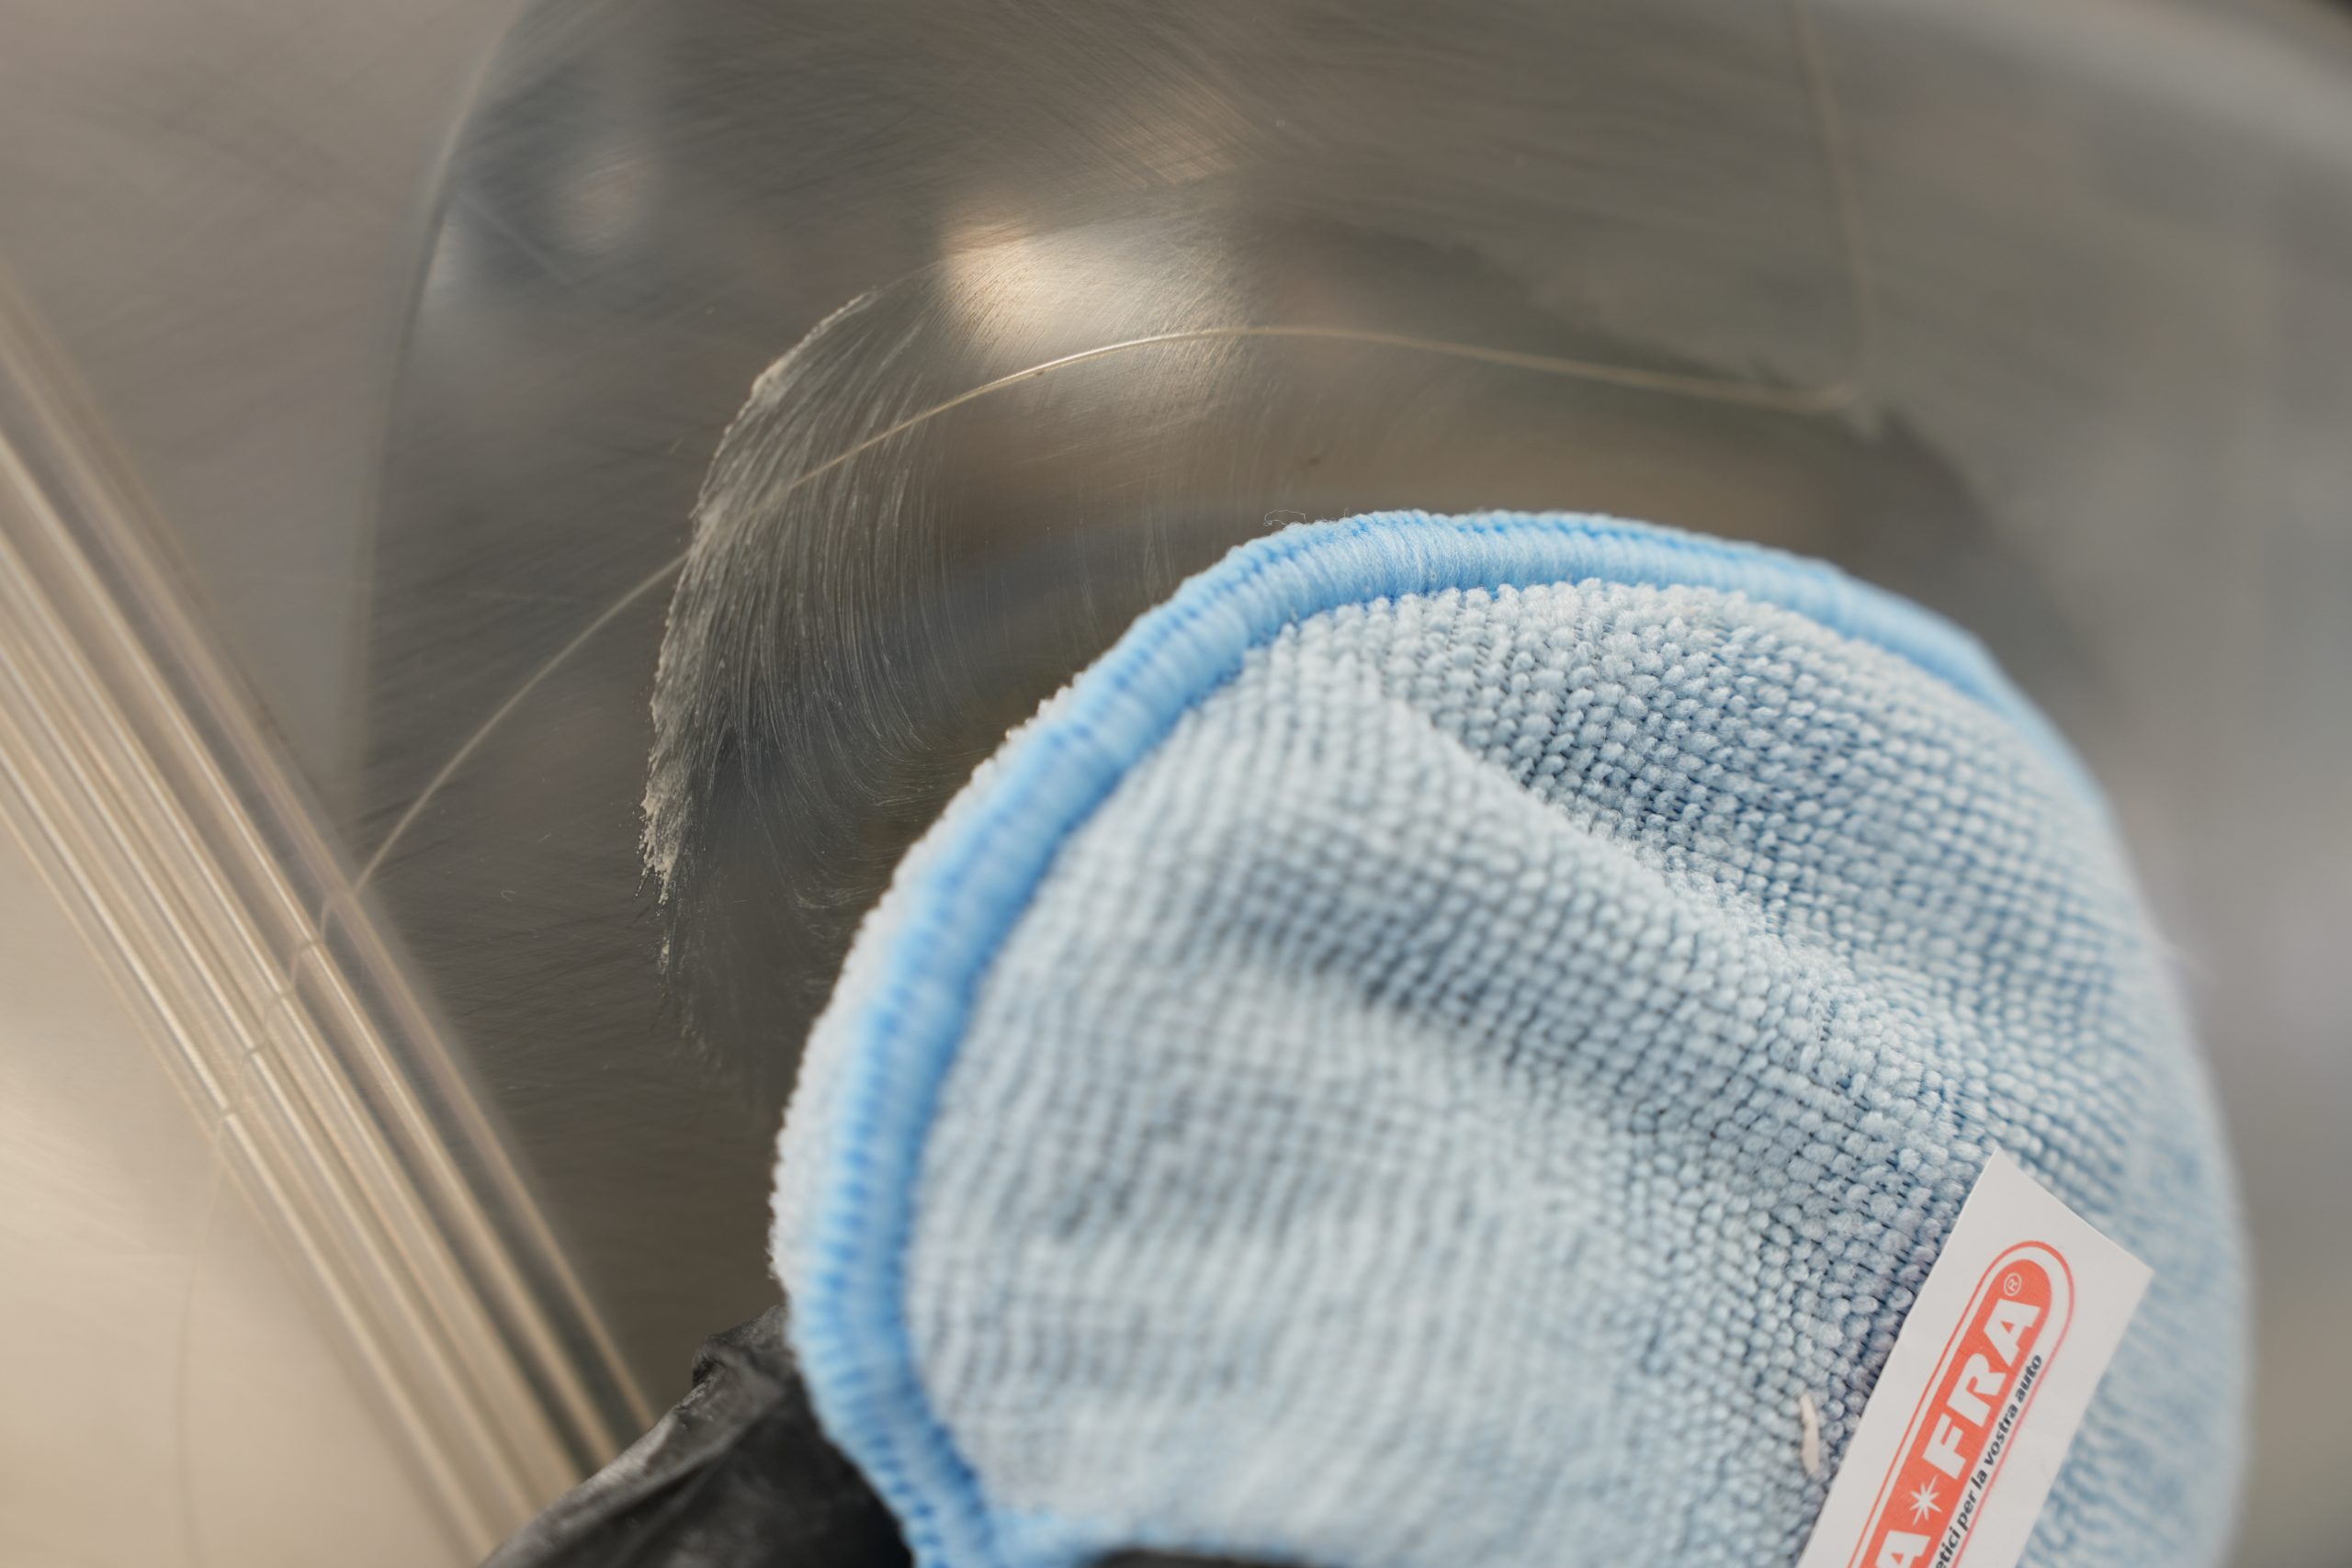
After sanding is completed, it is time to apply polish. Use a specific headlight polish and spread it with the microfiber cloth "1Shine Exterior", and apply it in firm, circular motions, applying a fair amount of pressure. This step brings back the transparency of the headlight and improves its shine.
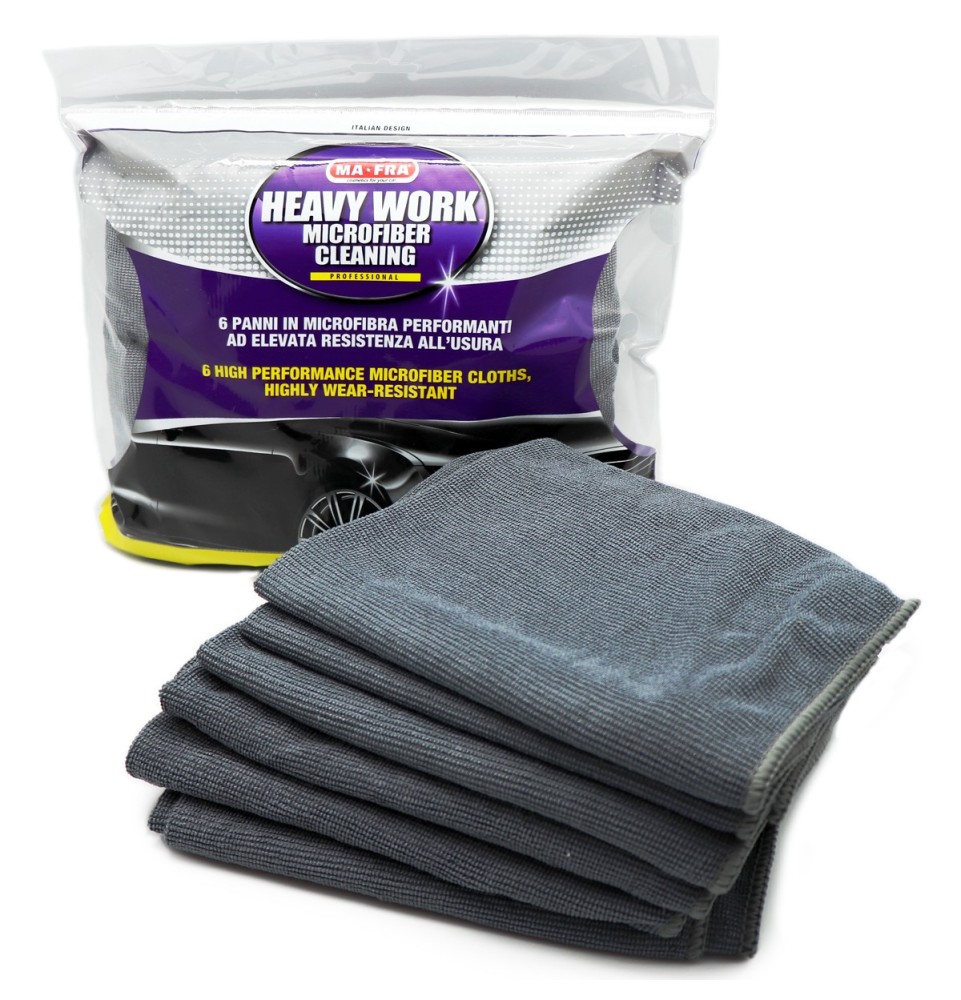
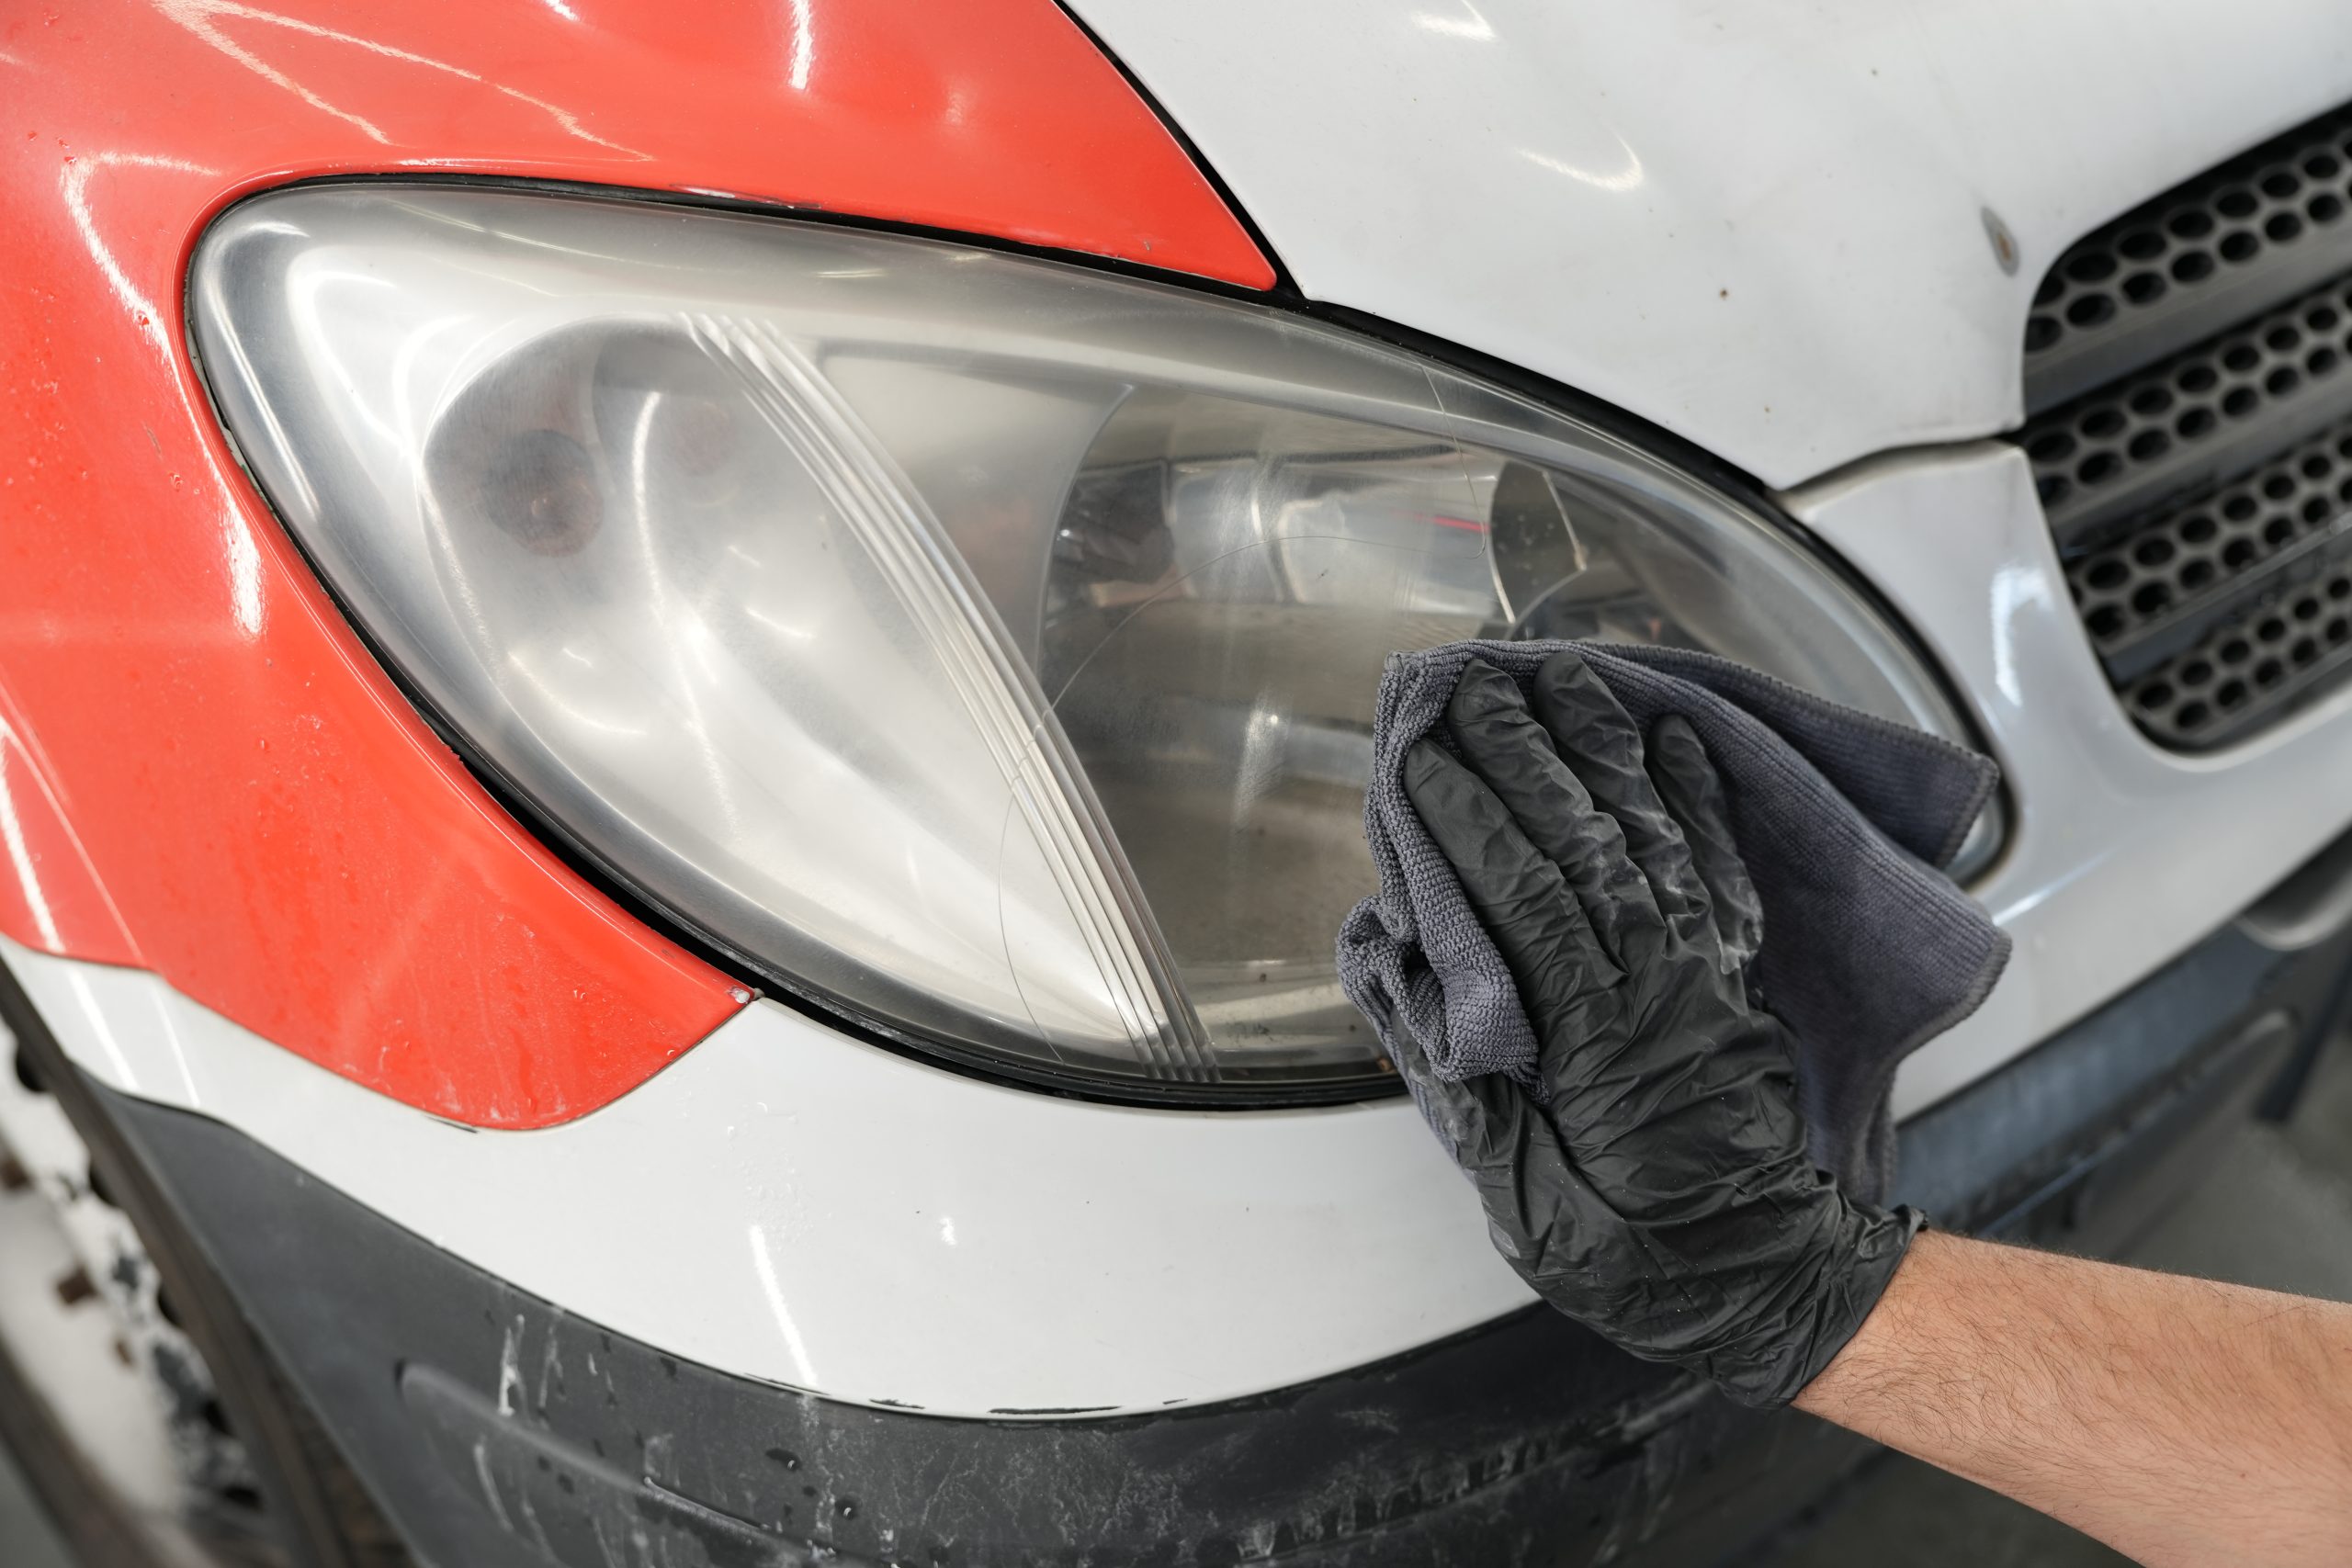
Once the excess is removed with a clean cloth, move on to the sealant. This product is critical to protect the lighthouse from future UV damage. Apply a thin layer with a microfiber cloth such as theHeavy Work, using linear movements until an even coat is achieved. Let it dry completely. You can apply multiple coats for extra protection.


Common mistakes to avoid when polishing headlights
One of the most common (and damaging) mistakes is dry sanding. This risks creating permanent scratches, irreparably ruining the surface of the headlamp. Using a lubricant such as Glass Cleaner is essential to reduce friction and not create marks on the surface.
Never polish over hot headlights or in direct sunlight. Products dry too quickly, spread poorly and can leave halos that are difficult to remove. Ideally, work in cool or shaded areas, with temperatures between 15 and 25 degrees.
One mistake that can undo all the work is skipping the application of sealant. Even if the headlights look perfect after polishing, without protection they will quickly become dull again. The sealant acts as an invisible barrier against UV rays, dirt and moisture, extending the life of the treatment up to 6-12 months.
Cleaning car headlights: useful tips
1. Regular maintenance every 6 months
To keep headlights always in good condition, it is advisable to perform a visual inspection every 6 months and a polishing treatment at least once a year. Even if the headlights still look good, a preventive polish can prevent yellowing from taking hold.
2. Preservation of the glossy effect
After polishing the headlights, maintain the shine by washing the car with gentle products. Avoid overly harsh cleaners and do not use abrasive sponges.
3. Protection with UV protective films
An excellent long-term solution is to apply clear UV protective films. These films adhere perfectly to the headlight and protect it from the elements. They are especially useful for people who leave their cars often in the sun or drive in very dusty environments.
Polishing permanently dulled headlights
If you have tried all possible solutions but the headlights remain dull or slow to light response, it may be time to replace them completely. In particular, if the plastic is cracked, has internal cracks or structural defects, no amount of treatment will solve the problem. In these cases, safety comes first, and the only sensible choice is to invest in new headlights.
Even after a perfect polish, headlights will become dull again if preventive measures are not taken. Use the sealant included in the kit package and avoid washing the car with hard brushes. Also, you should always park in the shade or in the garage. The longer your headlights stay protected from UV rays, the longer they will last shiny and clear.
One of the most interesting innovations in recent years are ceramic coatings specifically for headlights. These products, similar to those used to protect bodywork, create a very hard, hydrophobic film on the headlight. They last much longer than traditional sealants and resist rain, sun and dust well. They are a bit more expensive, but the price is worth the candle for those looking for a truly long-lasting result.
How to deal with yellowing headlights: professional or do-it-yourself?
Yellowed headlights are a common aesthetic and functional problem, but they do not always require the intervention of a body shop. If the headlight has uniform yellowing, without cracks, ridges or raised clearcoat, you can effectively solve it with a headlight renewal kit: with about €20 and a little manual dexterity, you'll get a visibly regenerated result that can last up to several months.
If, on the other hand, you notice damaged areas, flaking clearcoat, or hard-to-reach headlights, it is best to hire a professional. In these cases, professional polishing (around €50) or reapplying the clearcoat (€90-100) guarantees a long-lasting and safe job, especially if you want to avoid the risk of compromising the surface.
How to polish polycarbonate car headlights
At one time, headlights were made of glass. Today, almost all modern vehicles mount headlights made of polycarbonate. This material is lightweight, moldable and safe, but more prone to deterioration than glass. For this reason, polishing techniques must be gentle and specifically designed for this material. Using glass products or techniques on polycarbonate headlights could even make the situation worse.
When choosing products, make sure they are suitable for polycarbonate. Polishes that are too harsh can ruin the surface, making it more vulnerable to yellowing. Always remember to complete the treatment with a sealant to block the pores of the plastic and protect it over time.
A well-done treatment with sanding, polishing, and sealant can last 6 to 12 months, depending on car use and environmental conditions. If you perform regular light cleaning and protect the headlights with a sealant, the effect can last even longer. The secret is in consistency and attention to detail.
Frequently asked questions about headlight treatment
What do bodyworkers use to polish?
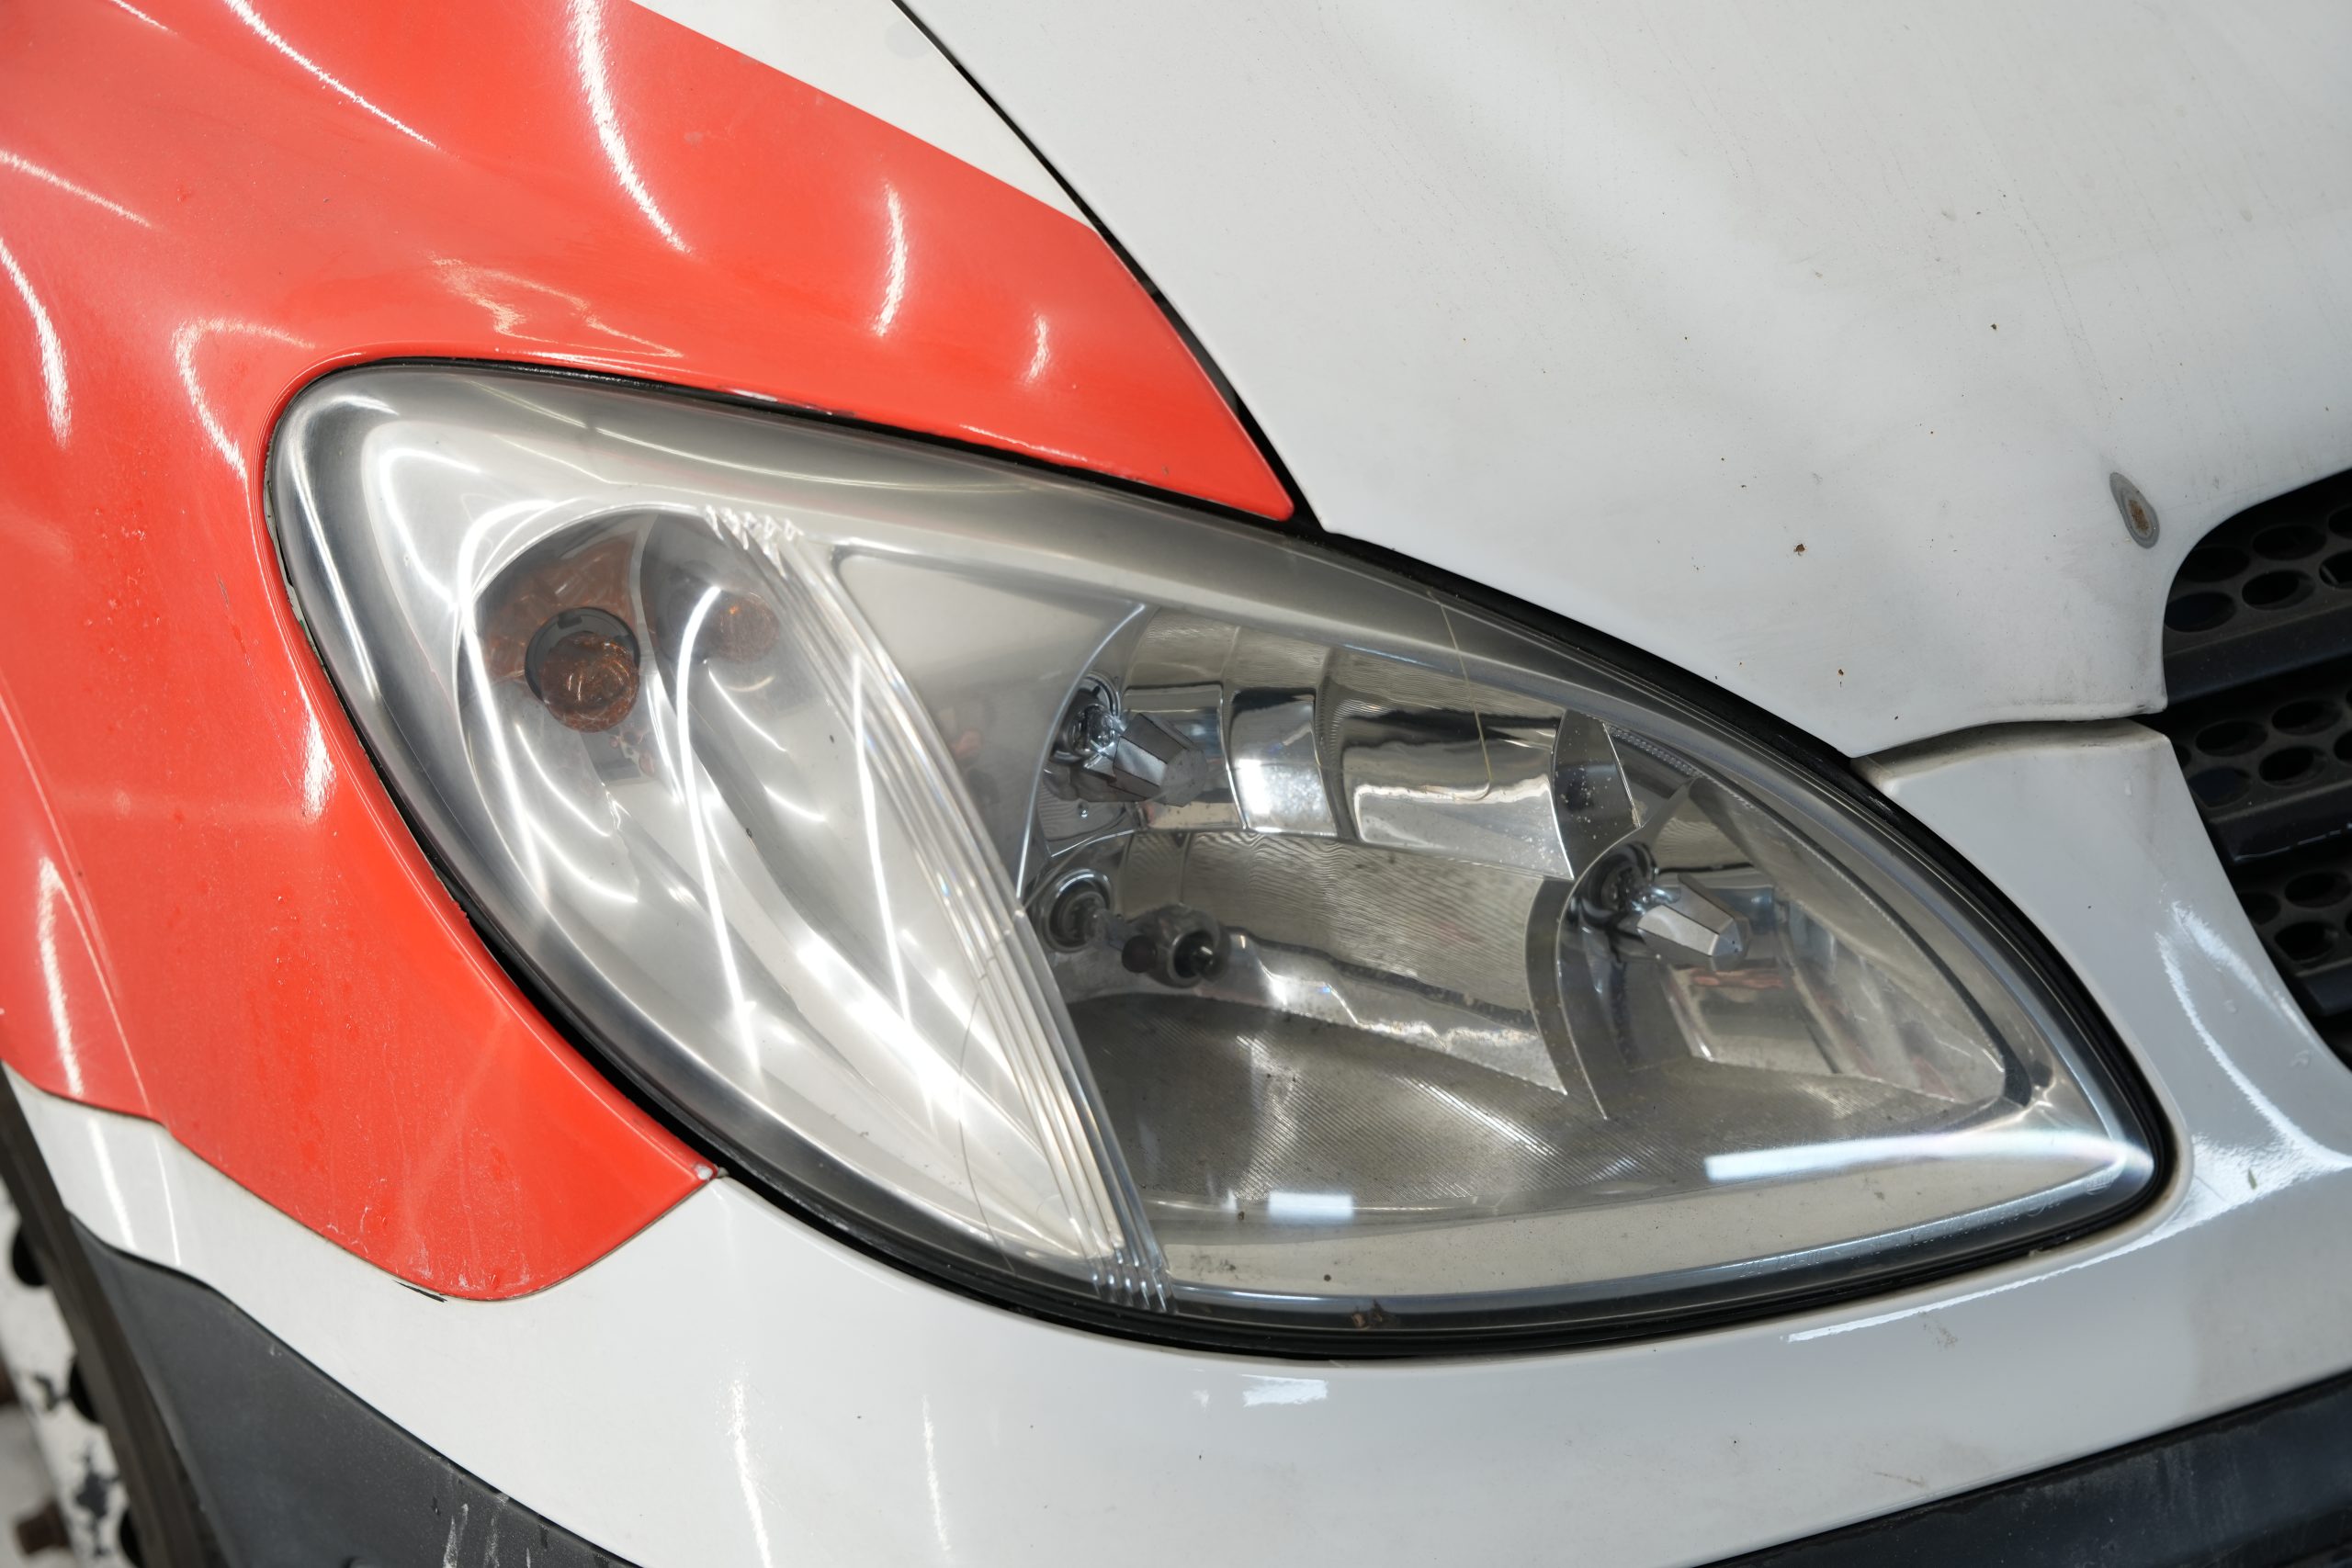
Professional refinishers use specific high-yield products,, professional abrasive pastes and rotary polishing machines. These are complemented by professional-grade UV sealants, often applied with air guns to ensure uniform coverage. In severe cases, headlights are even disassembled to be more thoroughly treated or replaced.
Can headlights be ruined by polishing them?
Yes, if the right procedures are not followed. Common mistakes such as using abrasive papers that are too aggressive, skipping lubrication during sanding, or not applying the final sealant can damage the surface of the headlamp. An over-sanded headlight can become duller than before and, in extreme cases, lose transparency irreversibly. Always follow the steps carefully and use quality products.
How often to repeat polishing?
Headlight polishing should not be done too often, but when really needed, depending on the condition of the surface. Under normal conditions, with good outdoor exposure and the use of a quality kit with sealant, you can maintain the results even for 6-12 months. However, if the car is parked outdoors, exposed to direct sun, smog or acid rain, you should repeat the treatment twice a year: once before summer and once at the end of the season, to counteract the effect of UV rays and contamination.
In the meantime, check the condition of the headlights every 6 months and keep them clean with a microfiber cloth and specific cleaner, avoiding harsh products that could accelerate dulling.
Now that you've learned all about how to clean yellowed headlights, it's clear that you don't need to be an expert to restore your headlights to their original glory. With a little effort and the right products, you can polish your car headlights and improve visibility and driving safety. the key is to follow each step precisely, protect the surface, and maintain the results regularly.
Don't forget that clean headlights are not just a matter of aesthetics-they are a key safety factor, especially at night or in difficult weather conditions. So arm yourself with patience, choose the method that works best for you, and make your headlights shiny like new!
-
How to clean yellowed headlights: complete and ultimate guide
Avoid homemade methods such as toothpaste or baking soda; better to opt for specially created kits with sandpapers, polish and sealant. Wet sanding followed by polishing is the most durable method
-
How to clean car headlights yellowed by time?
Use a complete kit with sandpapers from 1500 to 4000 grit, polish and UV sealer. Follow the steps carefully for a professional result.
-
How to revive dulled headlights?
With a good wet sanding, followed by polishing and application of a UV protective sealant. Avoid overly aggressive products that can damage the plastic.


✅ Azione profonda e decisa contro sporco stradale e traffic film✅ Tecnologia IRON STOP per migliorare la qualità dell’acqua✅ Sicuro su tutte le superfici, anche con temperature elevate✅ Compatibile con sistemi di depurazione enzimaticiPerfetto per piste box self e impianti cannon foam, Mojito Cannon Foam è la scelta di chi vuole un lavaggio ad alte prestazioni e ad alto impatto visivo.📞 Non sei ancora cliente Mafra? Chiama il concessionario di zona per una prova gratuita e una quotazione personalizzata basata sui tuoi consumi!👋 Sei già cliente? Contattaci per scoprire il nuovo Mojito Cannon Foam #mafra #mafraprroducts #MojitoCannonFoam")


