Published on: 18/08/2025 Updated on: 18/11/2025
In this guide you will learn how to clean car headlights: products, methods and common mistakes to steer clear of.
Car headlights play a crucial role in road safety, especially when driving at night or in poor visibility conditions. Over time, headlights can become dull or yellow due to various environmental factors, significantly reducing their effectiveness. In addition to ensuring full visibility, keeping headlights clean and clear is an important factor that contributes to the overall aesthetics of the vehicle, preserving its value over time. In addition, if your headlights are inefficient, you may incur fines, while your car may fail the overhaul, leading to inevitable additional costs, such as replacing the headlights and repeating the overhaul itself.
Why it is important to clean car headlights
As we said, visibility is critical to safe driving. Dull or yellowed headlights can reduce the amount of light emitted, and this impairs the driver's ability to see the road and obstacles clearly. This can increase the risk of accidents, especially in low light or bad weather conditions.
In addition to safety, clear, glossy headlights give a newer, more polished look to the car, increasing its attractiveness and potentially its resale value. That's why the use of a headlight restoration kit is essential to restore them.
Kit Regénera Headlights
Causes of yellowing and dulling of car headlights
Car headlights are exposed to various external agents that can cause yellowing and dulling over time. Understanding these causes can help prevent and effectively treat the problem.
From the 1990s onward, car manufacturers began making headlight caps from polycarbonate, a material that is cheaper and lighter than glass, but also more resistant to impact and, most importantly, able to offer more creative possibilities for designers. However, polycarbonate has one major critical issue: it suffers from UV exposure and, over time, tends to yellow and dull.
The polycarbonate of headlights is susceptible to damage from the sun's ultraviolet rays. Prolonged exposure to UV rays can degrade the surface of headlights, causing yellowing and loss of transparency.
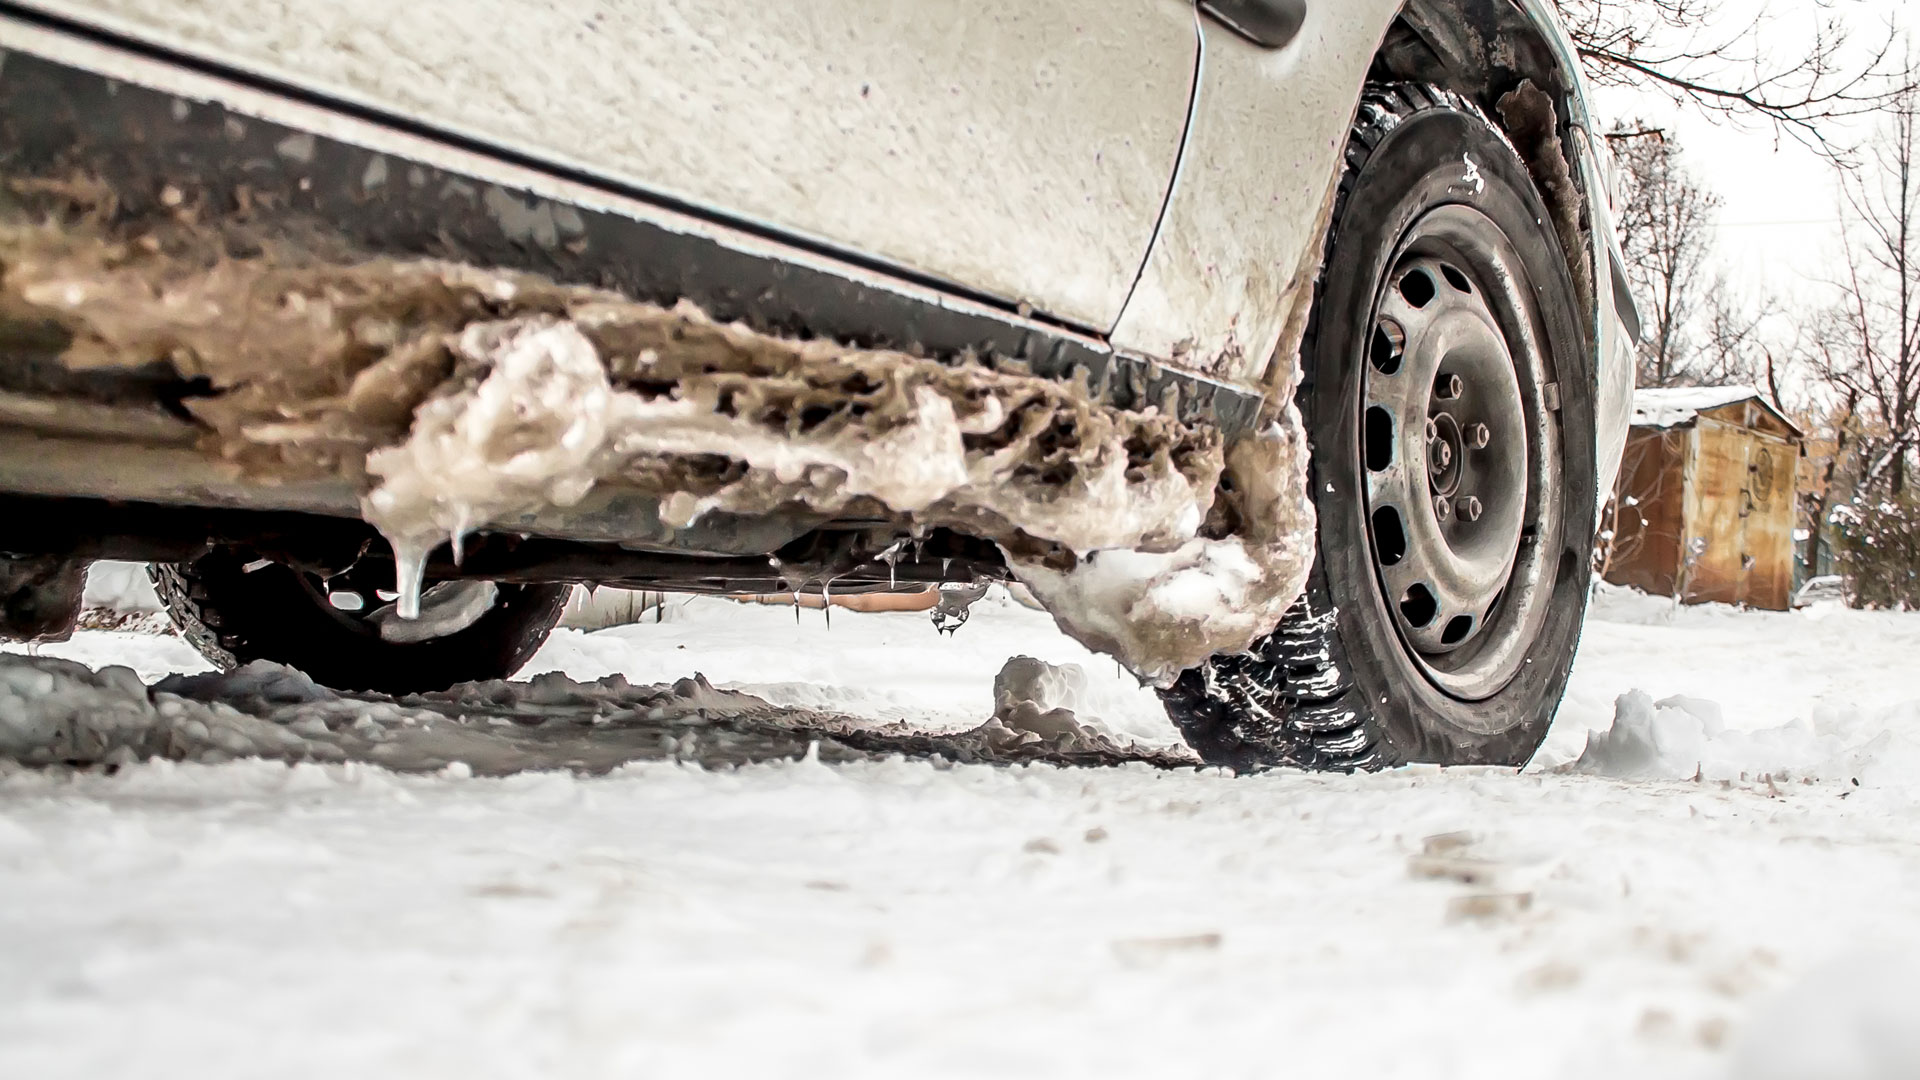
Smog, dust, acid rain and other atmospheric agents can also accumulate on the surface of headlights, contributing to their dulling. In addition, abrasive particles in the air can scratch the surface and make it even worse.
What is a Car Headlight Cleaning Kit
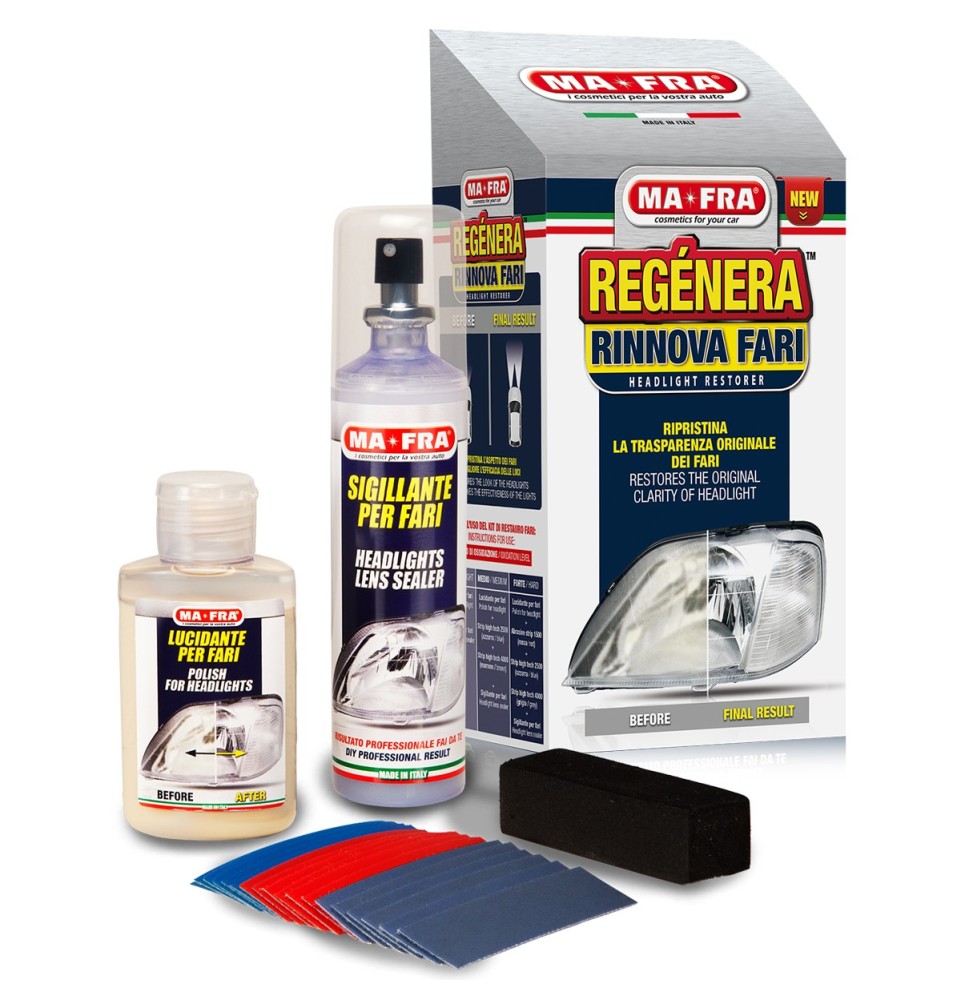
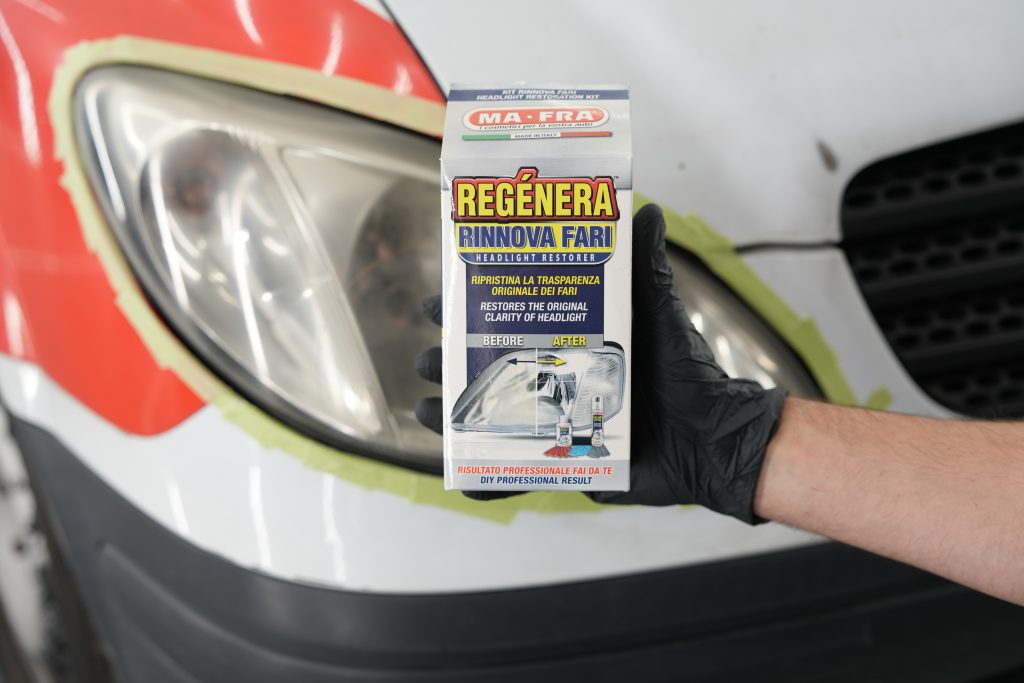
A car headlight cleaning kit is a set of products and tools specifically designed to restore the transparency and shine of a vehicle's polycarbonate headlights. The MA-FRA Car Headlight Cleaning Kit includes:
- The Regénera Fari Kit, containing a black polyurethane pad, sandpapers of different grits ( 1500, 2500, 4000) with backing to remove the dull patina and smooth the surface, Headlight Polishing polish, and Headlight Spray Sealant.
- Glass Cleaner 500 ml, degreaser with active foam.
- Complimentary Heavy Work microfiber cloth in 60x40cm size.
Why use a Headlight Kit
- Inexpensive: a quick and inexpensive solution to restore yellowed headlights.
- Easy to use: no professional skills needed.
- Effective: the result is visible immediately and can last for months if maintained properly.
- Safe: improves the visibility and aesthetics of the vehicle.
Basically, a headlight cleaning kit is the perfect do-it-yourself solution for regenerating car headlights with just a few tools and in no time.
Best kits for cleaning car headlights
To effectively address the problem of dull or yellowed headlights, MA-FRA offers specific solutions designed to restore the clarity and brightness of car headlights.
Kit Regénera Headlights

Car Headlight Cleaning Kit
Detailed procedure for polishing car headlights: step by step
Cleaning car headlights properly requires precision, patience and the right products. With the MA-FRA kit and by carefully following these steps, you can get a professional result right at home. Here is the complete guide to regenerating dull and yellowed headlights safely and effectively.
1. Preparation of the work area
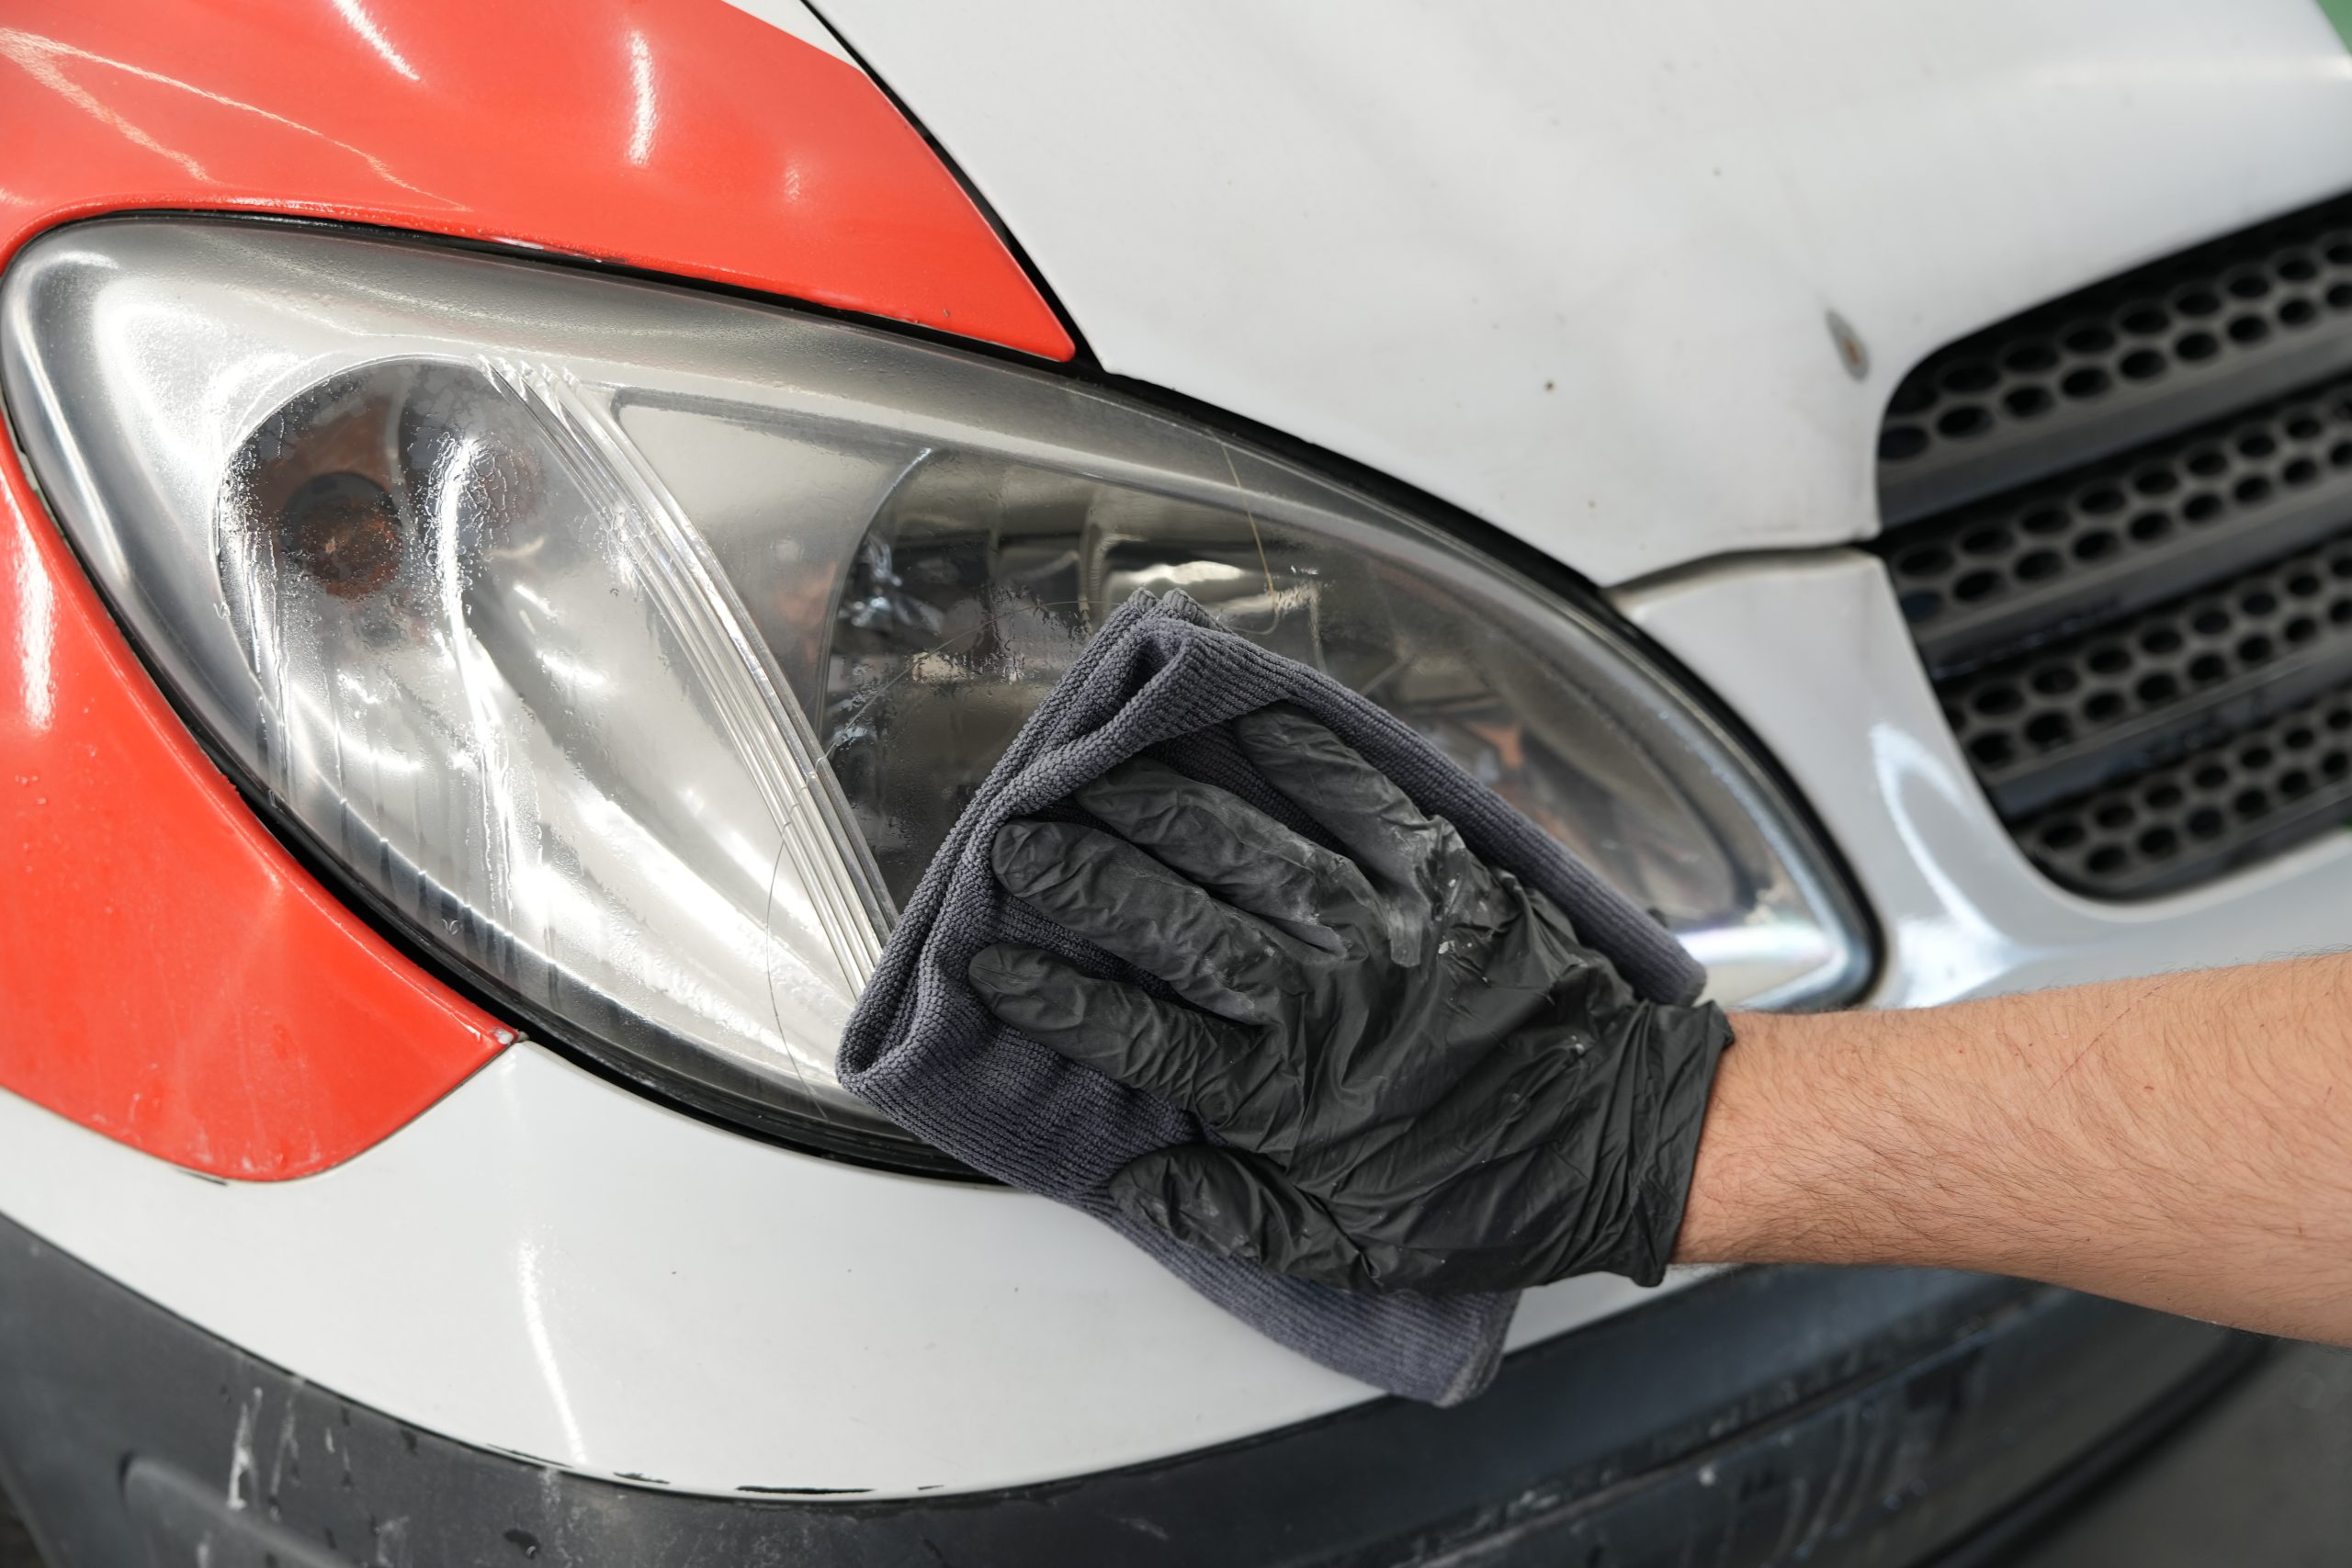
- Choose a shady area, preferably indoors, and make sure the surface of the car is cool. Avoid working in direct sunlight.
- Thoroughly clean your headlights with 1Shine Glazing and Glass Cleaner, two of the best products for cleaning windows without halos , which are essential here to remove debris, dust and surface dirt. This is critical to avoid scratches during the sanding process.
- Protect the paint around the headlights: apply bodywork tape around the entire perimeter of the headlight, taking care not to leave out corners, inside edges and seals. This will prevent accidental damage to the bodywork.

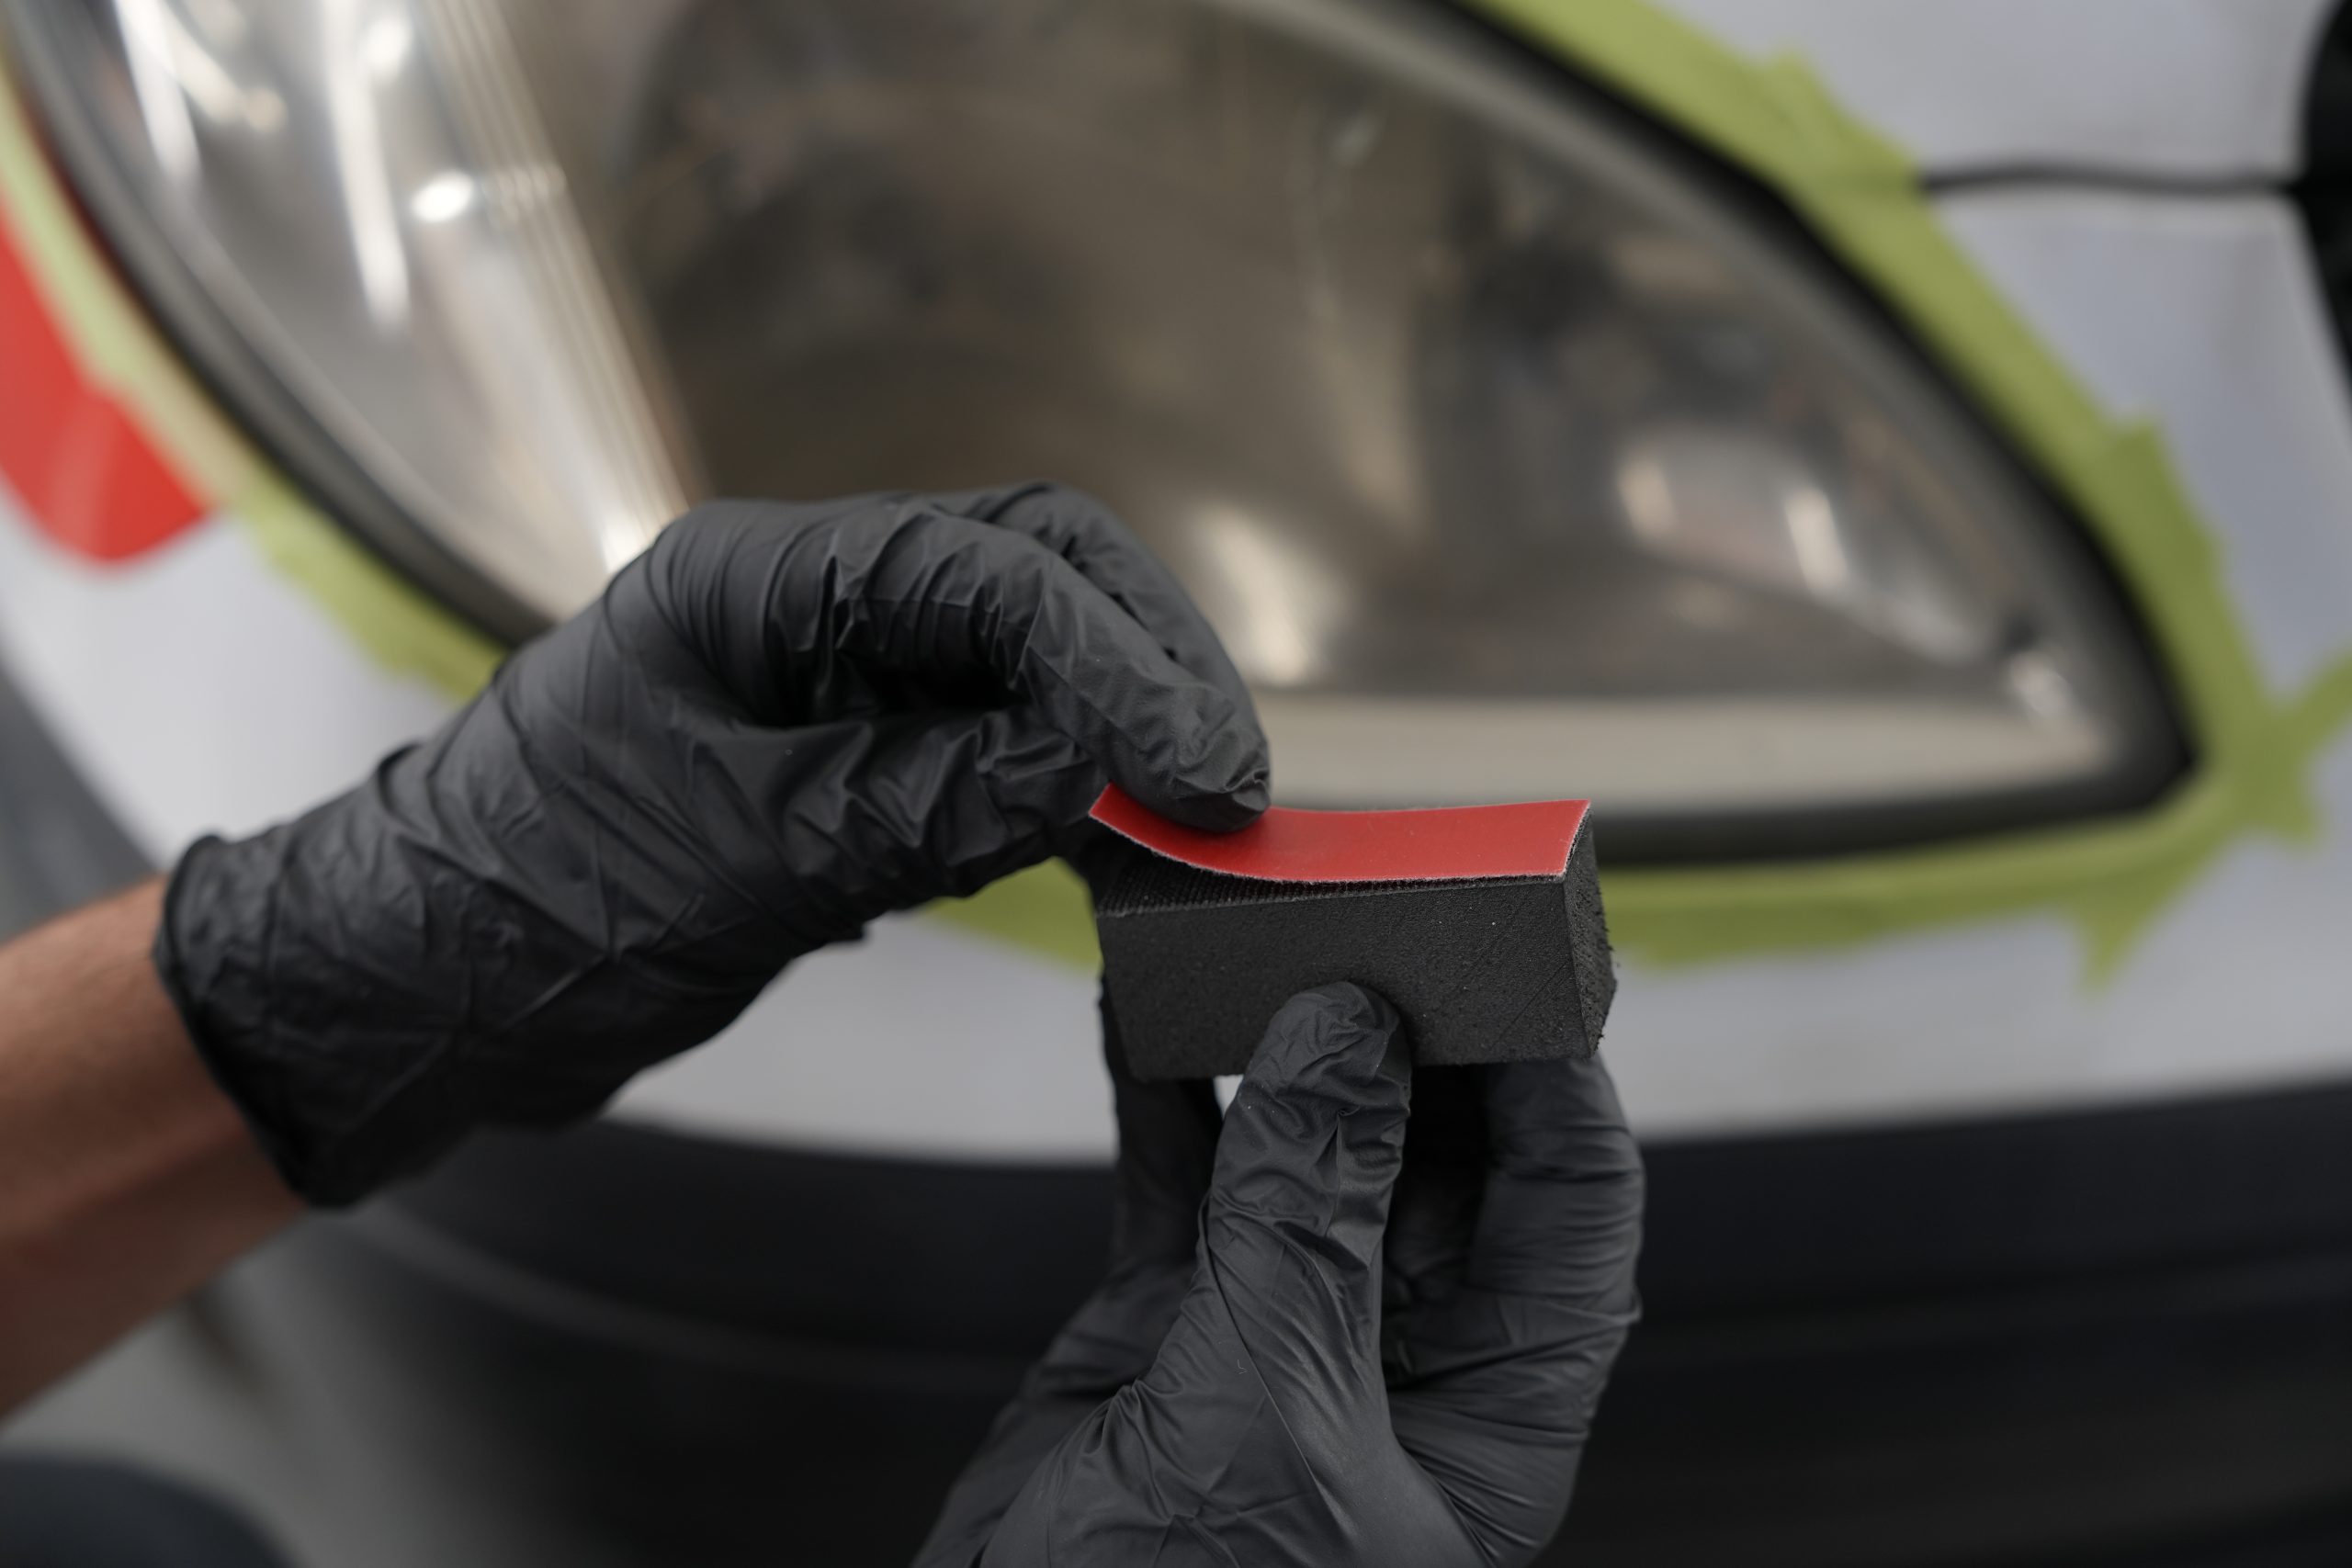
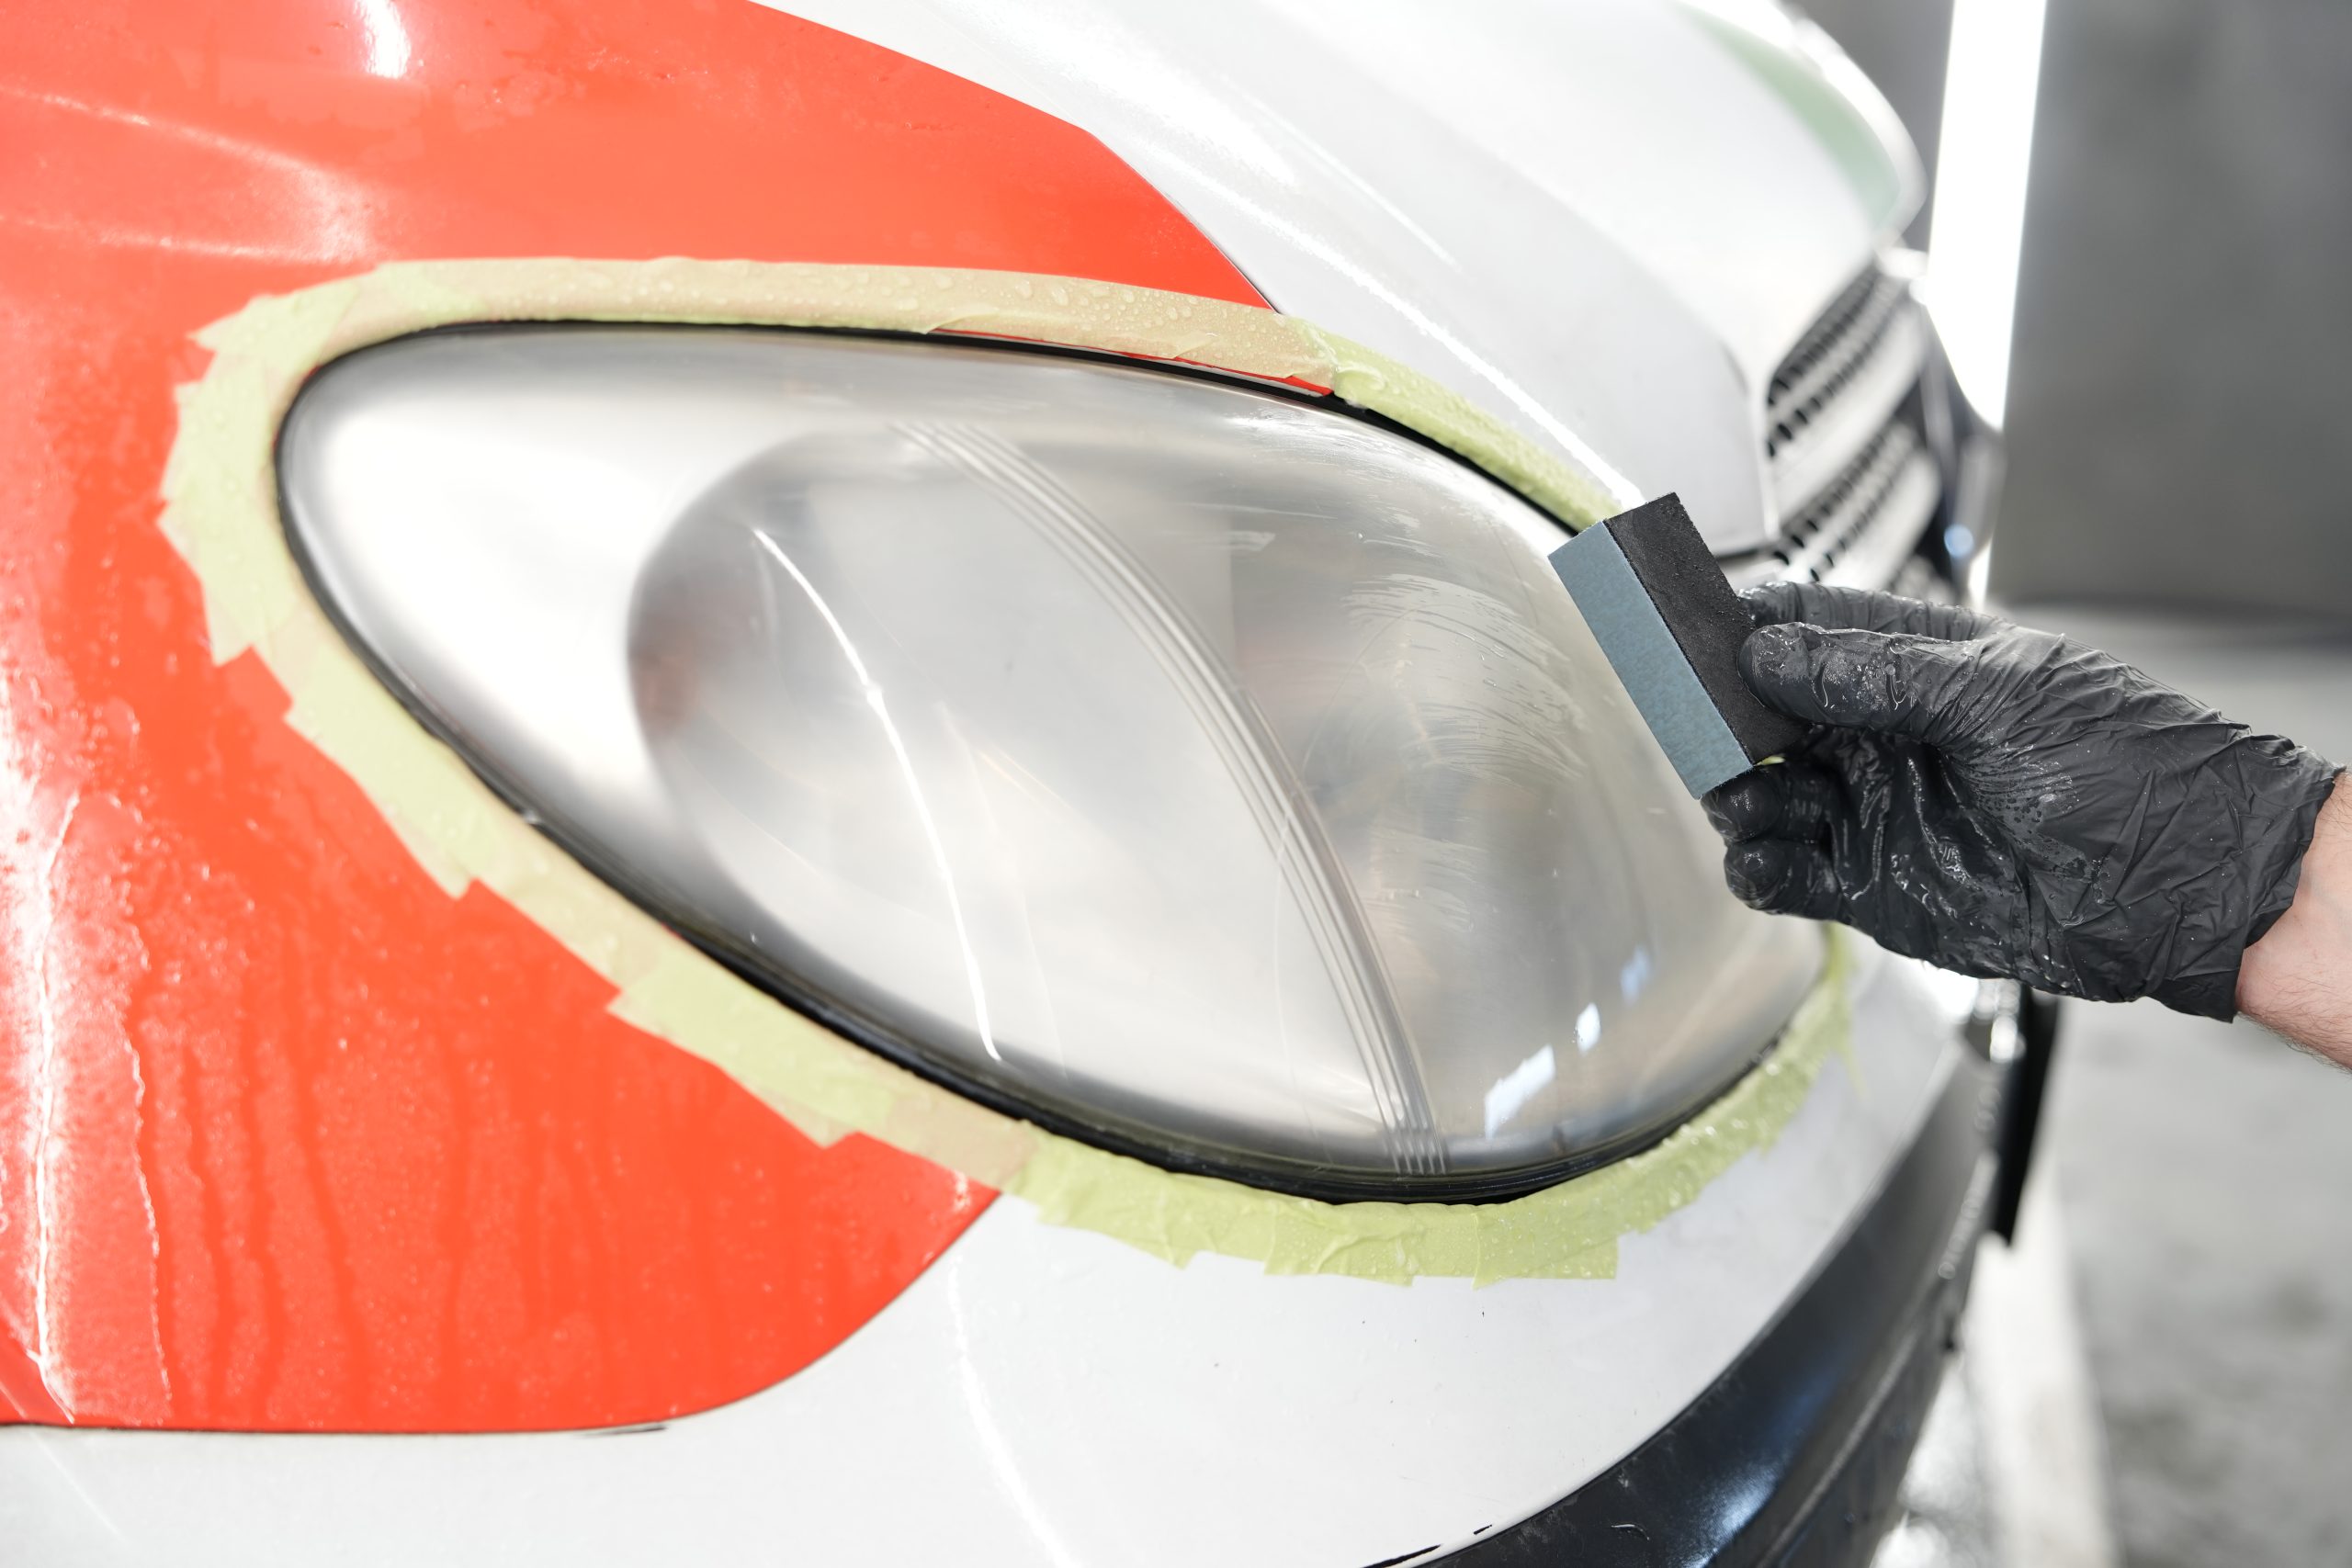
2. Gradual sanding
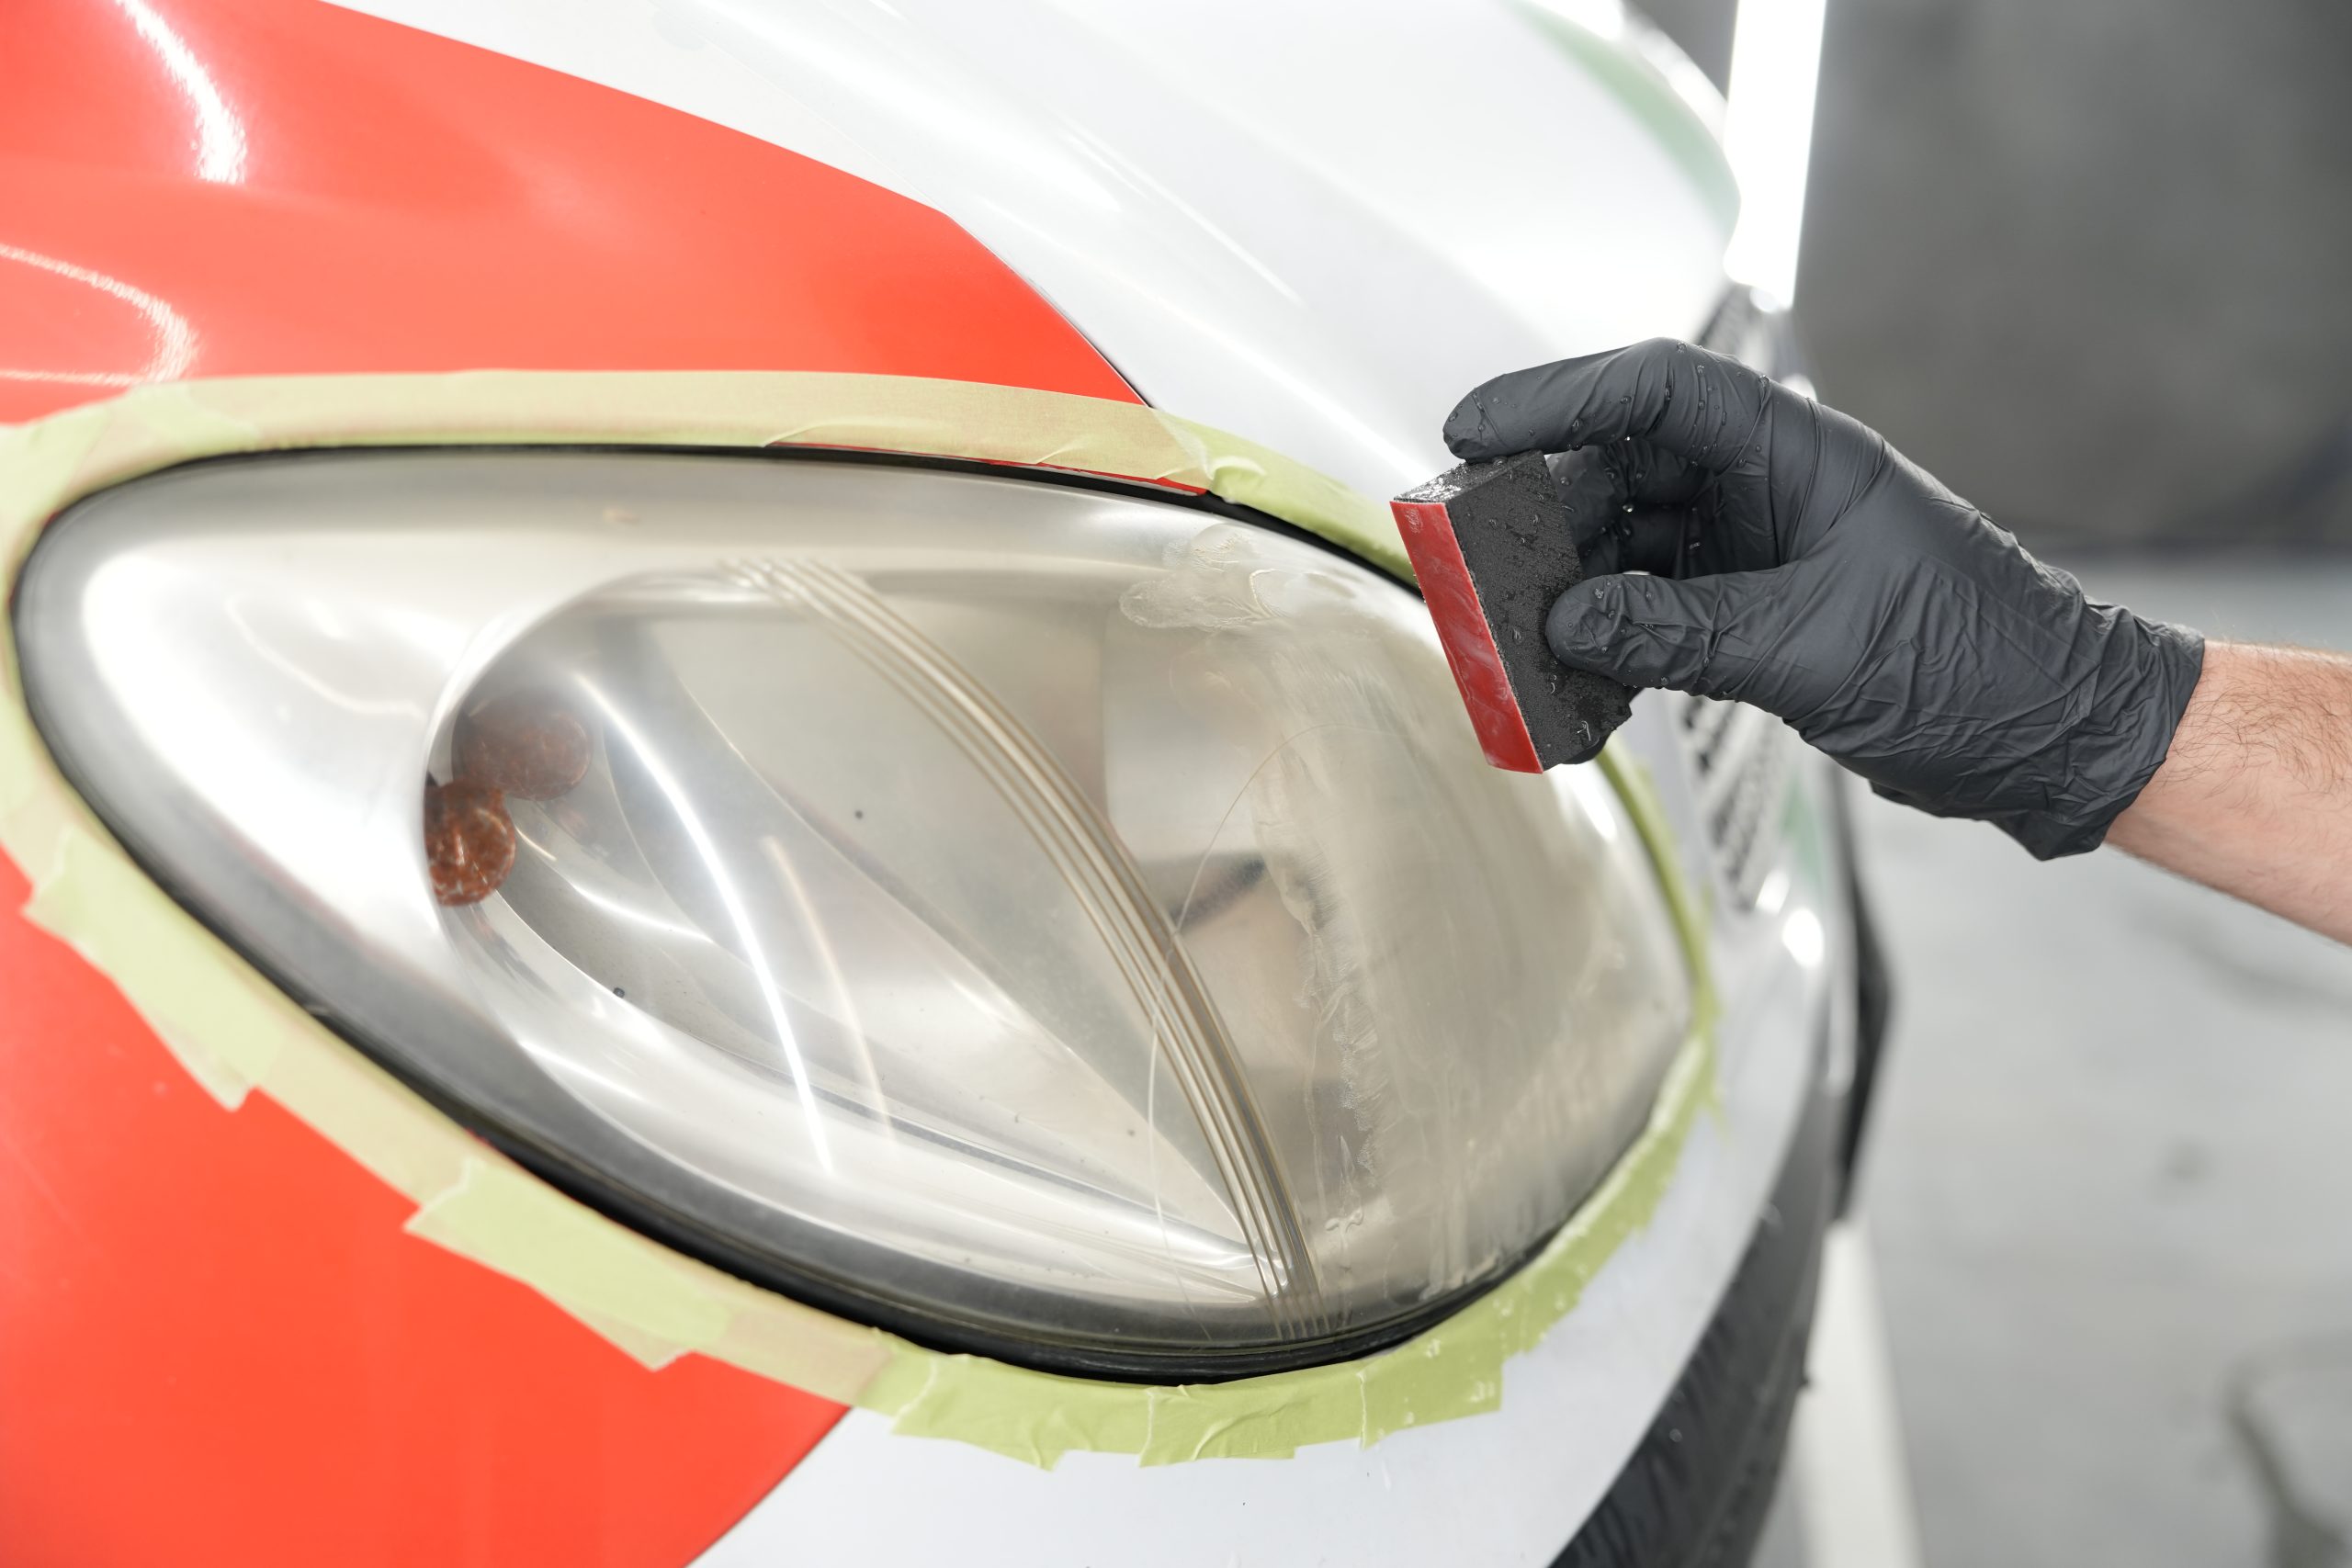
The most important and delicate step. Always work on a wet surface, kept lubricated with Glass Cleaner:
- 1500 grit (more abrasive): start sanding in longitudinal (never circular) motions, following the curvature of the lighthouse. This first step is to remove dull patina and more pronounced defects.
- Dry and check the surface. If the surface still appears uneven, insist with the same grit until the coarsest defects are removed.
- Grit 2500 (intermediate): sand in opposite motions from the previous sanding, to remove the marks left by the first treatment.
- Grit 4000 (finest): repeat the procedure, again keeping the surface wet. This step finely smooths the polycarbonate and prepares the surface for polishing.


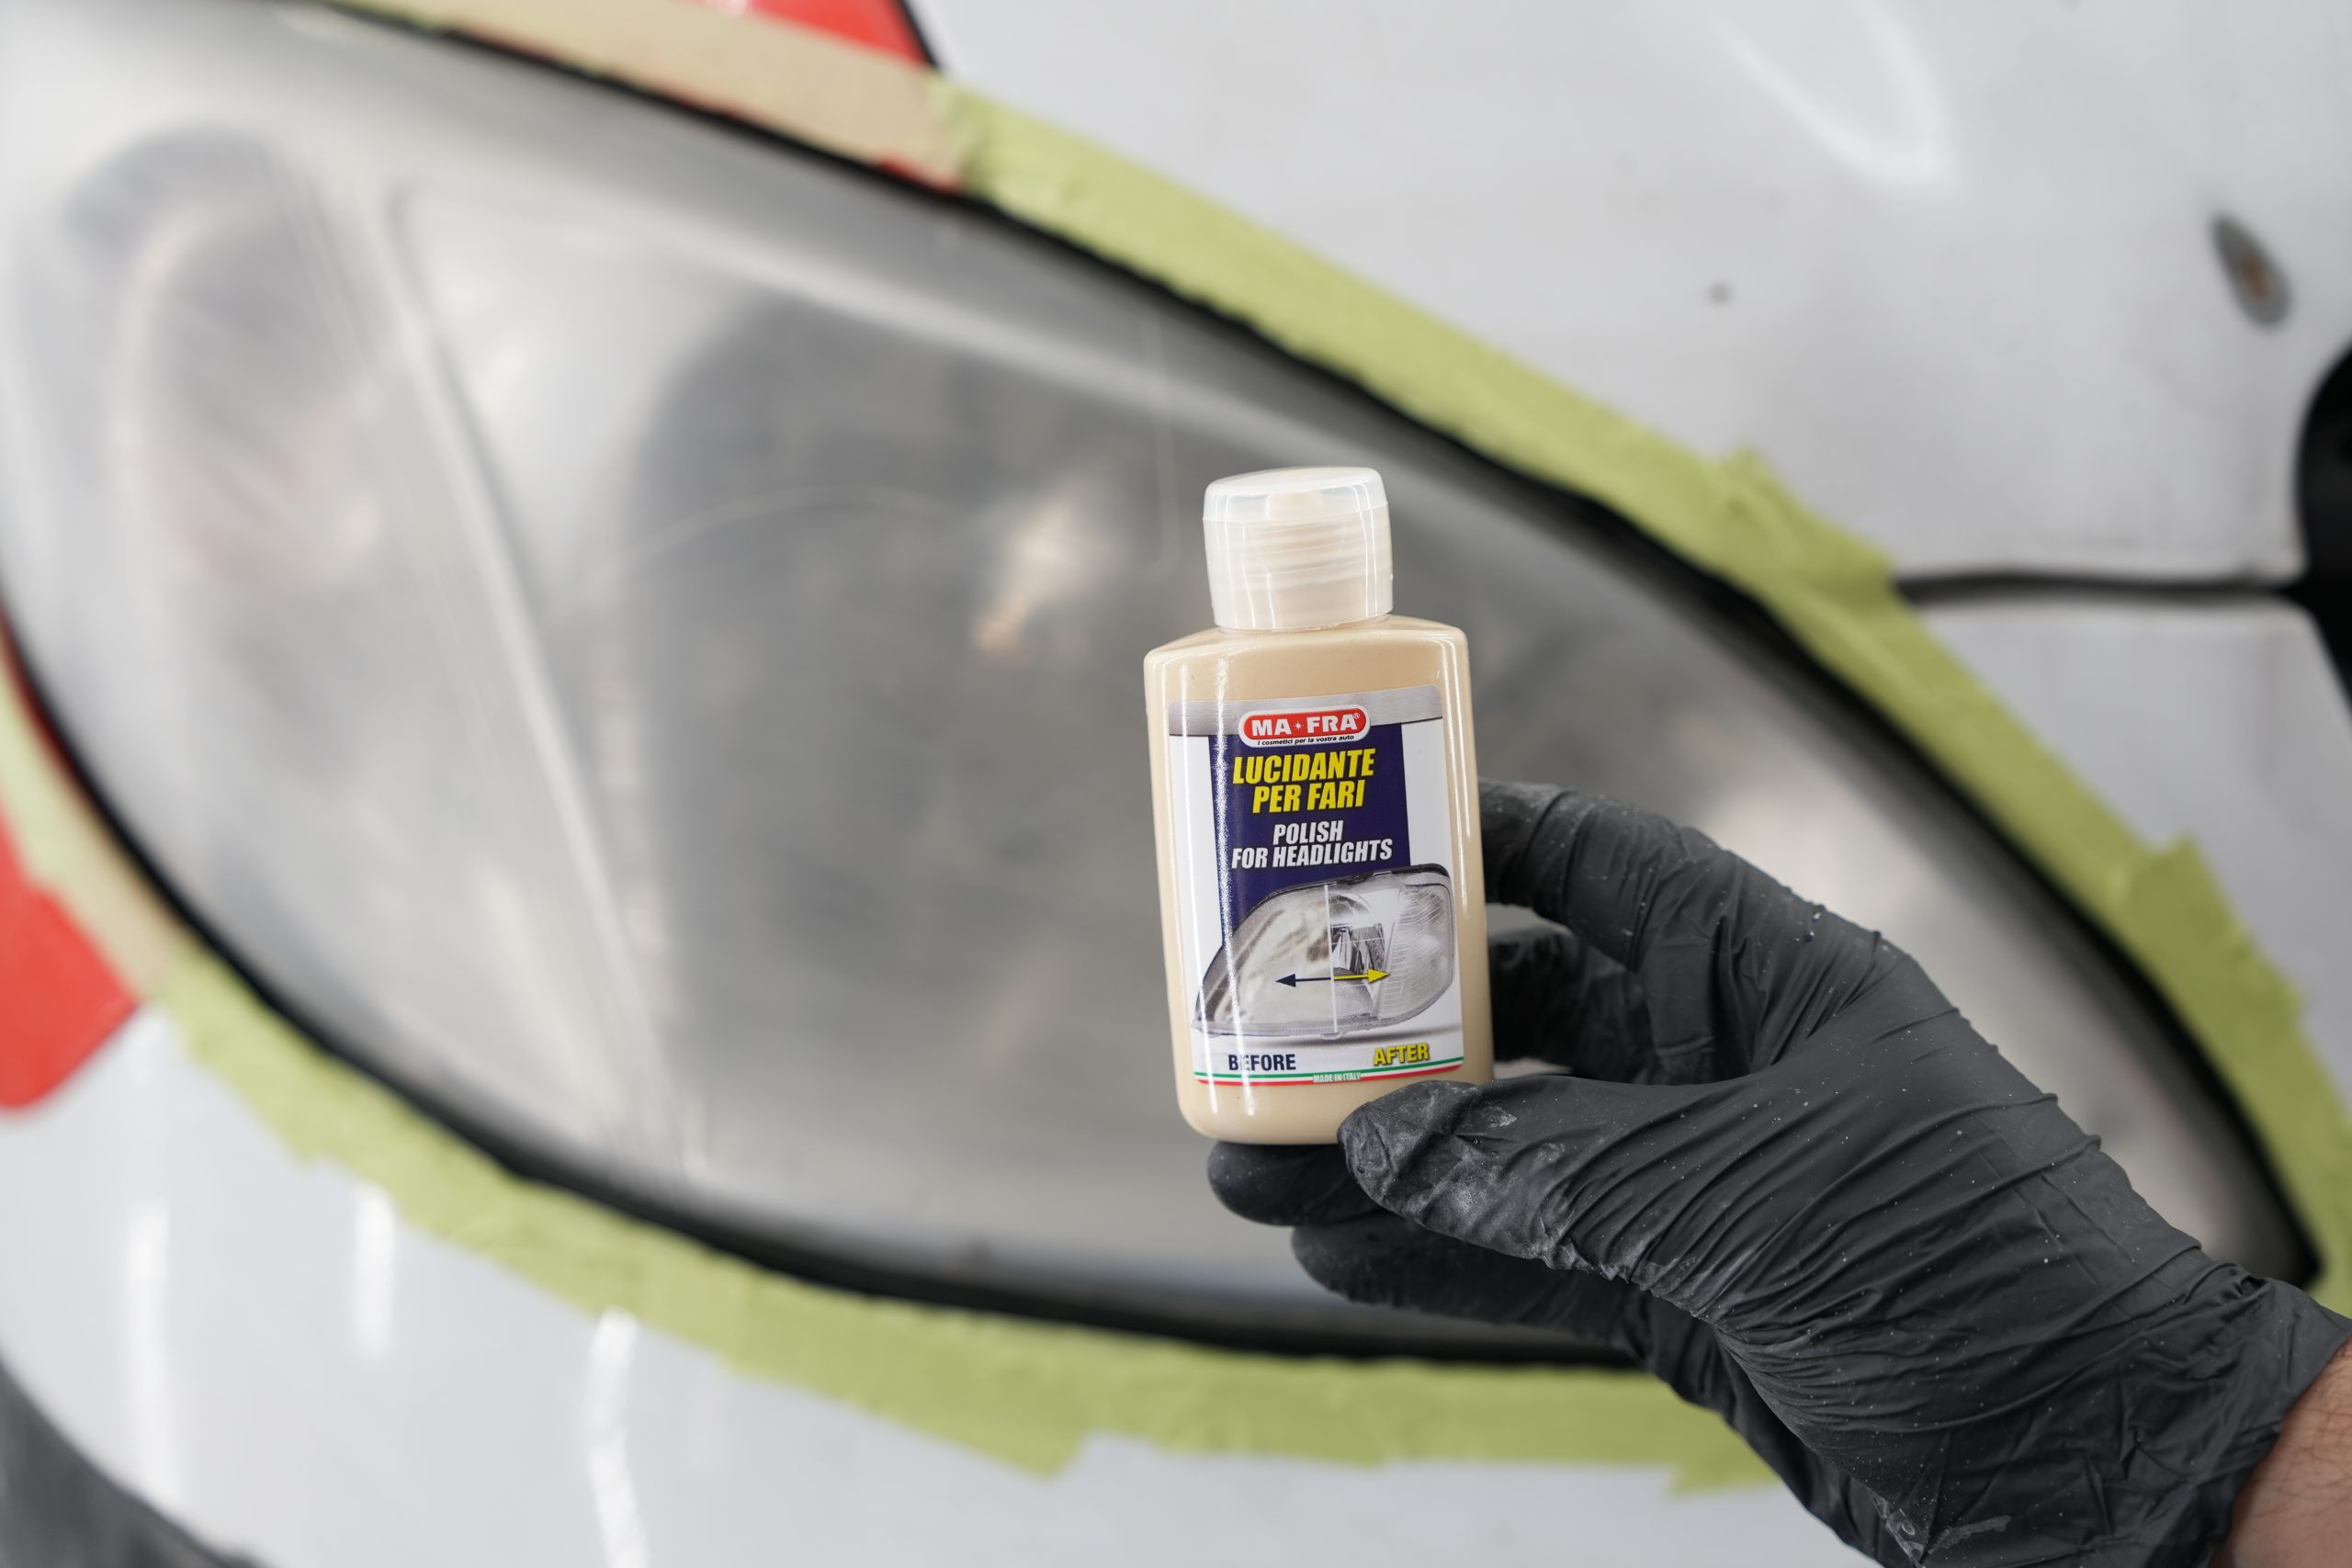
3. Polishing with Polish
Use MA-FRA headlight polish and apply it with 1Shine Exterior or a microfiber pad such as Microfiber Pad
- Spread the product with circular motions and a fair amount of pressure.
- Polish until the surface is clear and even.
- If the headlight still appears dull after this step, repeat sanding starting with the intermediate grit, then polish again.
- Remove any excess with the 1Shine Outer Cloth
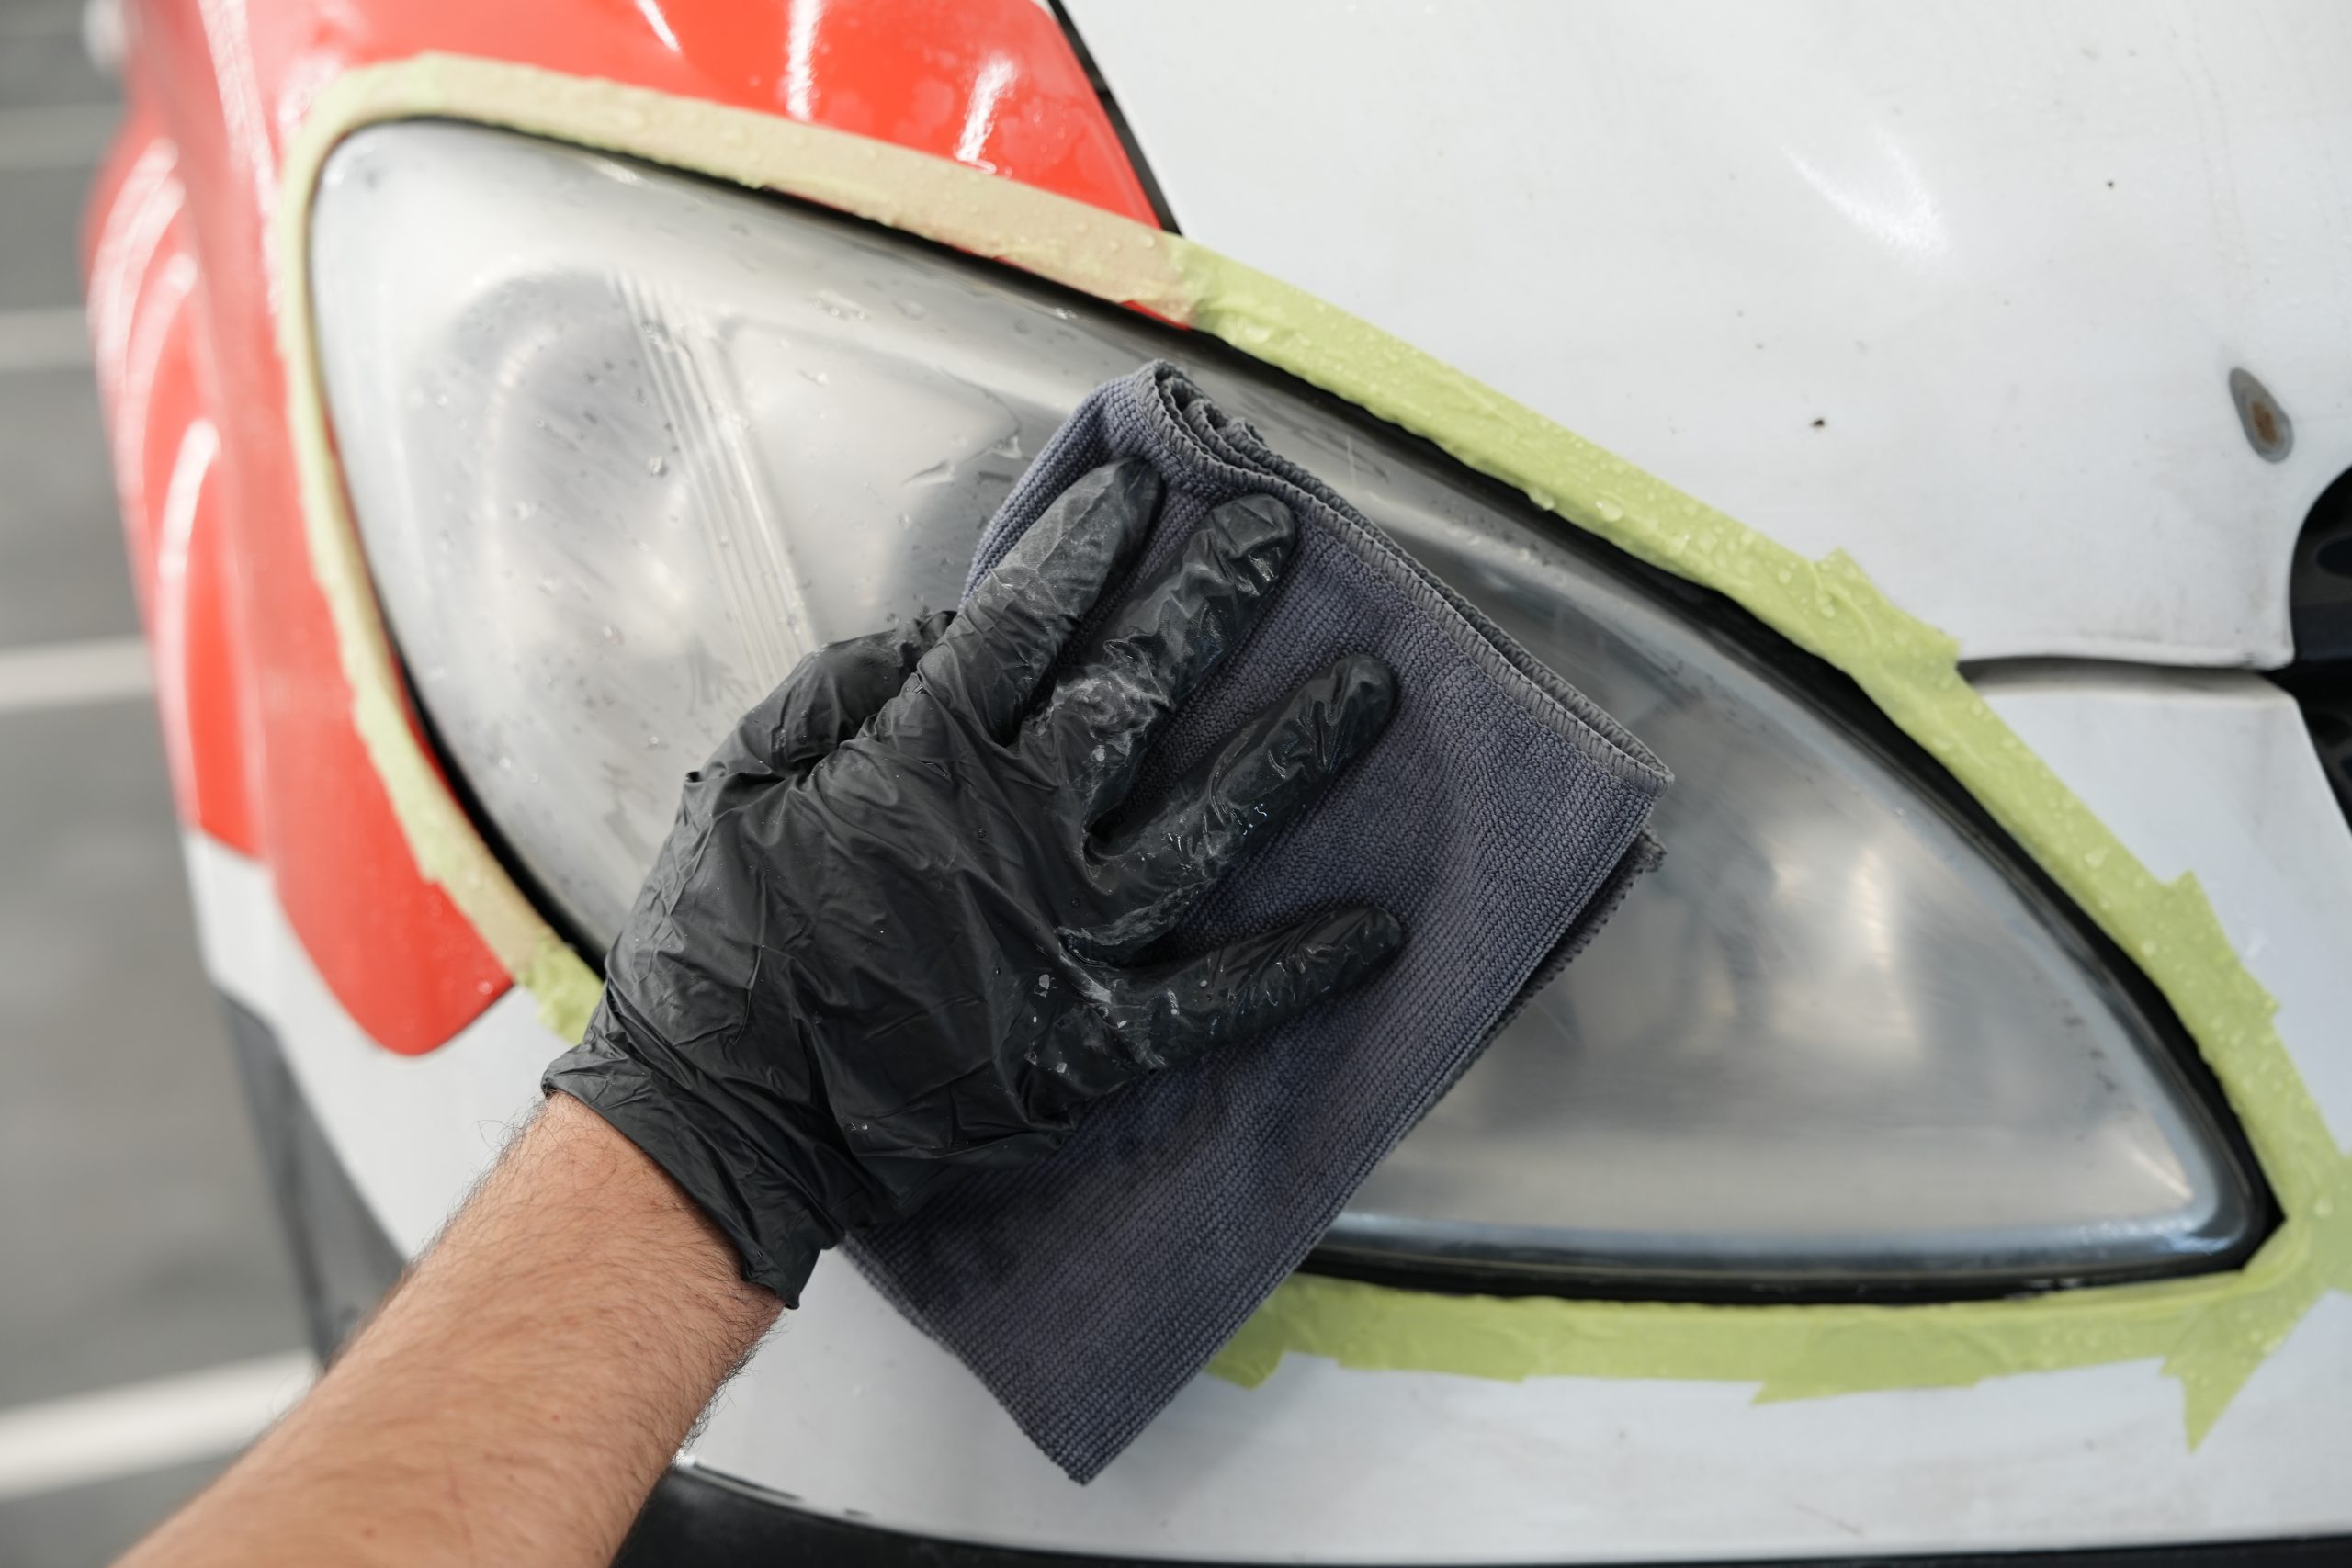
4. Application of the sigillant
The sealant is essential to maintain the result over time:
- Use Glass Cleaner to remove any residue before sealing.
- Apply MA-FRA car headlight sealant with the Heavy Work microfiber cloth.
- Spread it evenly in longitudinal motions, forming an even veil over the entire surface of the lighthouse.
- Let it dry completely. If you want even longer-lasting protection, you can apply multiple coats, letting them dry between applications.


By following these steps to the letter, your headlights will become clear, bright and protected again, improving both the aesthetics of your car and driving safety, especially at night.
Where to buy ma-fra headlight cleaning products
Kit Regénera Headlights
Car Headlight Cleaning Kit
MA-FRA makes its professional kits available directly online, allowing anyone to purchase professional-quality tools from the comfort of home.
You can find both kits on the official e-commerce of MA-FRA. Thanks to the online shop's intuitive interface, you can easily choose the kit that best suits your needs, with detailed descriptions and explanatory pictures.
In addition, the company offers fast shipping and a guarantee of professional customer service for any needs.
Advantages of direct purchase:
- Guaranteed original product
- Quick and safe delivery
- After-sales support
Advantages of using the ma-fra kit over other methods
Cleaning headlights with homemade methods or generic products may seem like an inexpensive solution, but it can actually damage surfaces even irreversibly.
By using MA-FRA kits, you can get flawless results but without much effort. In fact, the kits are designed to be suitable for everyone even those with no experience in car care.
MA-FRA's products do more than just polish headlights: thanks to the included polish and sealant, they offer long-lasting protection against UV rays, smog and weathering, slowing the degradation process and keeping headlights shining longer.
Avoiding headlight replacement, which is often costly and unsustainable, is an added benefit: through remanufacturing, the life of existing components is extended, reducing waste and costs.
Periodic headlight maintenance: how often to do it
Once the treatment with a MA-FRA kit is complete, it is important to keep the headlights clean and protected with small periodic interventions. Generally, a full treatment can last up to 12 months, depending on the vehicle's exposure to sun and weather. However, it is advisable to check the headlights every 6 months to assess whether a touch-up is needed.
During the warmer months, summer requires more attention: it is recommended to perform a full treatment before summer and repeat it after about 3 months, at the end of the season, to counteract the intensive action of sun, smog and contamination. If the car is parked outdoors or used frequently in the city, it may be useful to intervene more frequently to keep the headlights clear and efficient at all times.
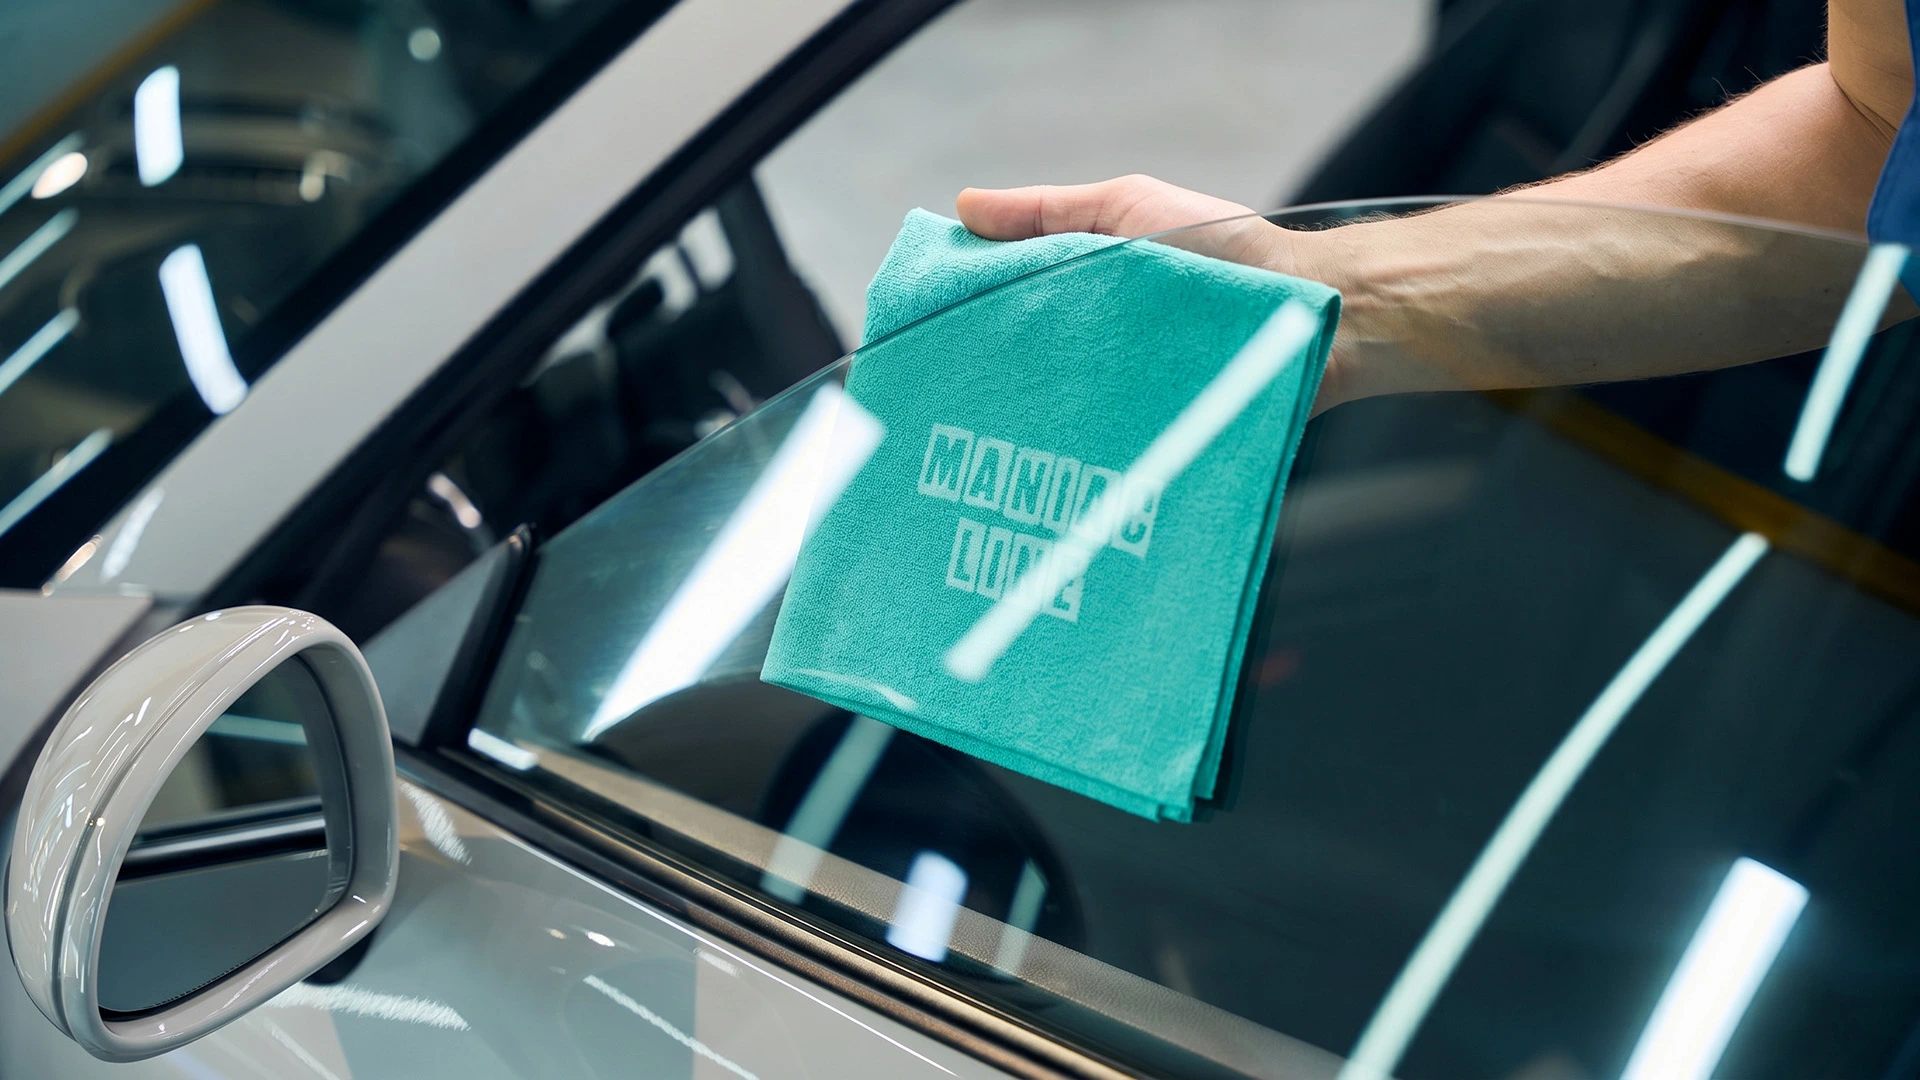
In the meantime, for routine maintenance, simply use a microfiber cloth and a cleaner specifically for headlights or glass, avoiding harsh or abrasive products that could damage the treated surface.
Common mistakes to avoid when cleaning headlights
Although the use of MA-FRA kits is simple, there are some mistakes that could compromise the final result.
Skipping the tape protection step can cause damage to the body paint, especially during sanding. Better to take a few extra minutes to properly prepare the area.
Using too much force when sanding or skipping finer grits can leave obvious scratches or uneven surfaces. It is essential to follow each step carefully, proceeding gently.
One of the most common mistakes is not applying the final sealant. This step is crucial to maintain the result over time and protect the regenerated plastic from UV rays.
More tricks for keeping headlights in top condition
In addition to periodic treatment, there are other useful tricks to protect headlights and keep them in top condition at all times.
Whenever possible, parking the vehicle in the garage or in shaded areas helps limit exposure to sunlight, a major cause of yellowing.
For those without a garage, a car cover can offer additional protection against sun, rain and smog, helping to prolong the brilliance of headlights.
The combination of Glass Cleaner and Heavy Work cloth are enough to keep the surface free of dust and dirt, preventing buildup that can promote dulling.
How to know when it's time to polish headlights
It is not always obvious at first glance when a car's headlights need remanufacturing. Here are the most common signs to monitor:
1. Decrease in brightness
If you notice that the light from the headlights is dimmer or not very bright, especially when driving at night, it is a clear sign that the lens is dulled.
2. Visible yellowing
A lighthouse that has turned yellowish from transparent or has a milky patina has lost its UV protection and has aged.
3. Dull or scratched appearance
Dull or scarred surfaces indicate wear and tear from sunlight, smog and abrasive dust. Time to polish!
4. Technical review not passed
Many audits also check for proper vehicle lighting. Dull headlights could result in a failing grade.
5. Night driving problems
If you find that you are seeing the road poorly, getting glare from other motorists, or not distinguishing obstacles well, you may be in urgent need of headlight regeneration.
Tip: Check your headlights at least every 6 months. Better to prevent than to find yourself driving in dangerous conditions.
5 mistakes to avoid when polishing headlights
Polishing headlights may seem simple, but there are several mistakes that could compromise the result or damage your car. Here are the most common ones to avoid:
1. Do not protect the bodywork
Skipping the tape around the headlights can lead to scratches on the paint or damage to the seals. Always use a car body tape, carefully shaping the edges.
2. Working in the sun or on hot surfaces
Polishing products can dry too quickly, causing halos or stains. Always work in the shade, on a cool, dry surface.
3. Sanding with too much force or by performing circular motions
Sanding aggressively or in circular motions can leave visible grooves and scratches. Follow linear, light movements, changing direction with each grit.
4. Forgetting the sealant
Many people neglect the last step thinking that polishing is sufficient. Without UV sealant, headlights will become dull again in a short time.
5. Using unsuitable products
Avoid overly harsh cleaners or abrasives that are not car-specific. You risk ruining the plastic and making things worse.
Bonus tip: Don't rush. Each step takes its own time, and skipping steps means getting a mediocre, non-lasting result.
Reviews and opinions about MA-FRA Headlight Kit
Those who have used MA-FRA's headlight cleaning kits speak enthusiastically of them. Reviews confirm the products' effectiveness and ease of use, praising their quality and visible results from the very first application.
Many users point out how their cars' headlights came back almost as good as new, saving hundreds of euros compared to replacement or workshop work. The reviews mostly reward:
- The completeness of the kit
- Ease of use even for the inexperienced
- The professional results at home
- Theexcellent value for money
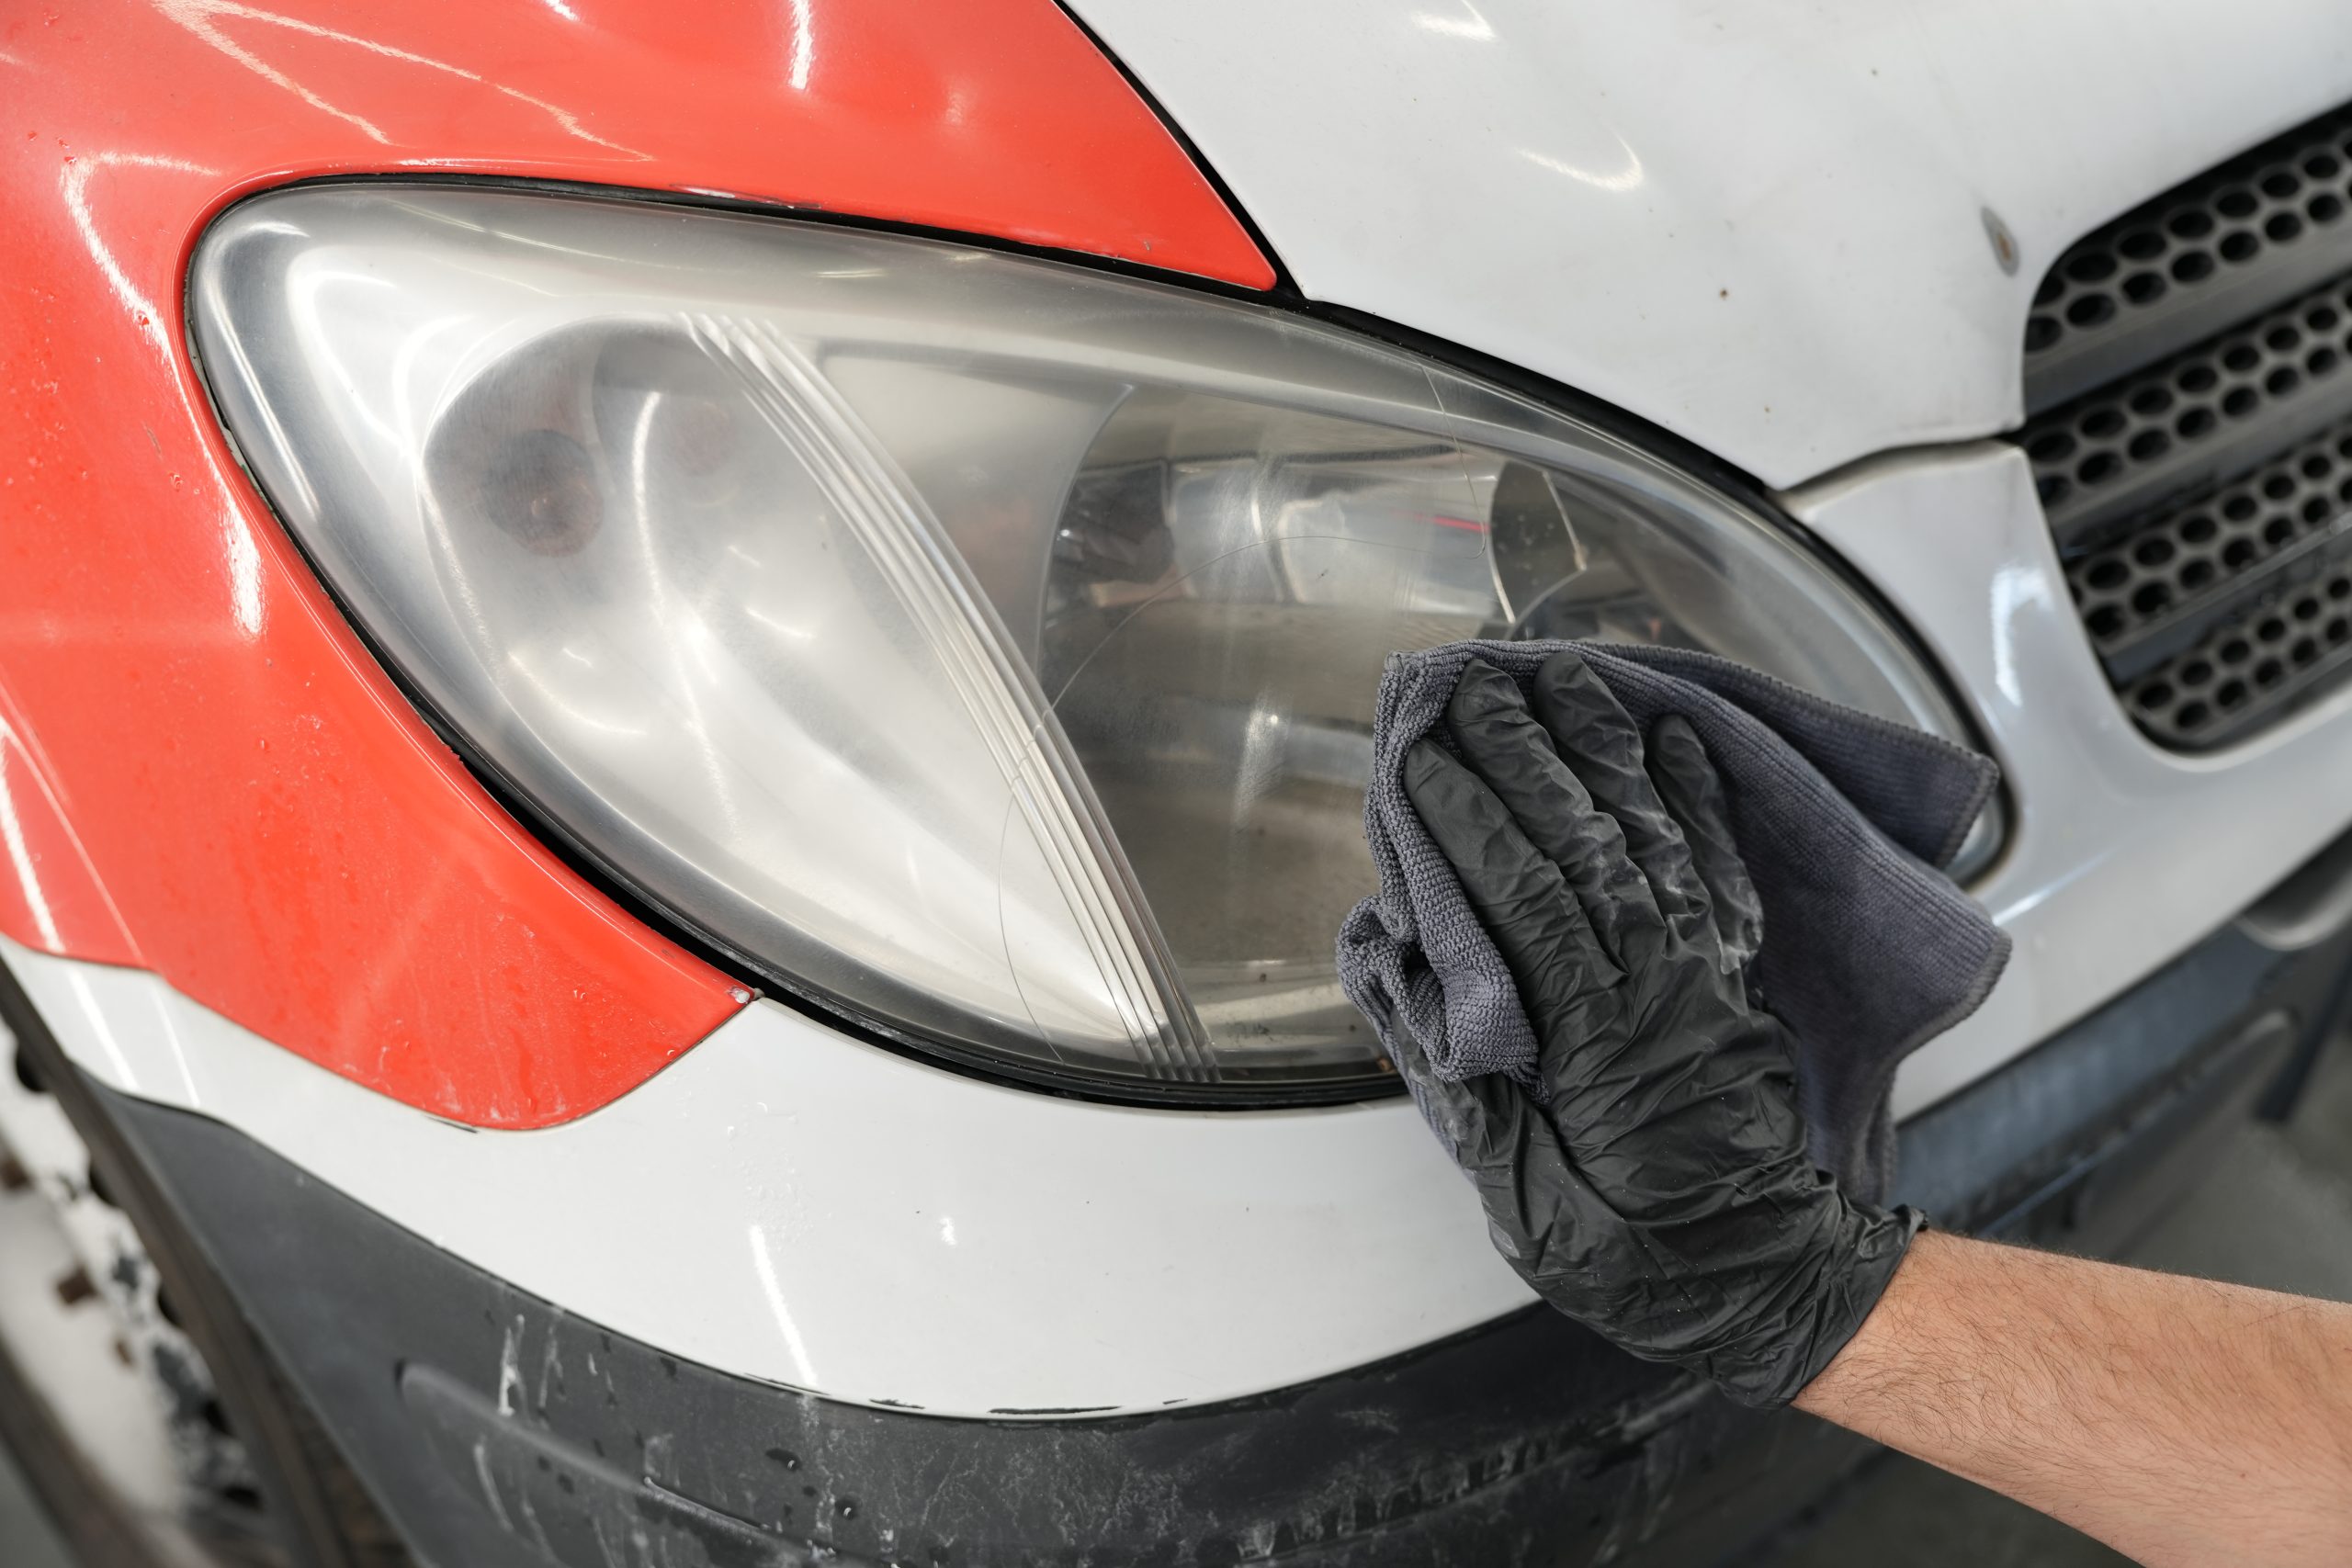
In particular, customers highlight the difference between before and after treatment: clearer, shinier headlights and a marked improvement in nighttime visibility.
Here is a demonstration video showing step-by-step use of the MA-FRA kit. The "before and after" pictures speak for themselves, with headlights going from dull and yellowish to clear and shiny in a matter of minutes.
How to clean and polish dulled and yellowed car headlights - DIY - Classic Cars by #MAFRA
Did you know that.
- Since the 1990s, are headlights no longer made of glass?
Yeah, manufacturers have replaced glass with polycarbonate, a material that is lighter, unbreakable and moldable, but also more vulnerable to UV rays. - In some countries, is the inspection rejected if the headlights are dull?
For example, in countries such as Germany and Switzerland, very dull or damaged headlights may fail the inspection (e.g., TÜV), leading to refusal of approval until the headlight itself is replaced or refurbished... - Are there European regulations on the luminous intensity of headlights?
Yes. Directive 76/756/EEC states that headlights must maintain a certain light transmittance to be considered compliant. - Do some modern cars have clear protective films on the headlights?
Correct. Some high-end models already apply UV protective films directly at the factory. But even these deteriorate over time. - Can yellowing headlights reduce light output by up to 70%?
A study by U.S. agencies found that dull headlights can reduce nighttime visibility by 60-70%, with serious safety implications.
-
How to Clean Car Headlights in 5 Simple Steps with MA-FRA Kits?
Under normal conditions, the effect can last up to 6 months. However, the duration depends on sun exposure and weather conditions.
-
Is it necessary to have experience to use the kit?
No, MA-FRA kits are designed to be easy to use, even by novices.
-
Can I also use the kit on motorcycles or scooters?
Yes, the kit is suitable for all types of plastic headlights, including those on motorcycles, scooters and vans.
-
Do you need any extra tools besides those included in the kit?
No, everything needed is already included in the kit, including sandpapers, polish and sealant
-
Are MA-FRA products safe for bodywork?
Absolutely, just protect nearby areas with tape and follow the instructions to avoid damage.
-
Can I also use the kit on the taillights or fog lights?
Yes! The Mafra kit can be used on any clear polycarbonate headlight, including rear lights, fog lights or auxiliary lights. Just follow the same precautions and procedures
-
How long does the complete treatment for two headlights take?
A complete treatment-cleaning, sanding, polishing, and sealing-can take between 45 and 60 minutes, depending on the condition of the headlights and your dexterity.
-
Is it possible to damage the headlights if I get some steps wrong?
Yes, using too much force in sanding or skipping intermediate grits can leave permanent scratches. Also, never use dry abrasive papers: always keep the surface lubricated.
-
Is a drill or electric polisher needed?
No, the MA-FRA kit is designed for manual and safe use, ideal even for beginners.
-
Can the treatment remove even deep scratches?
The treatment may mitigate superficial and medium scratches, but it will not remove deep cuts or cracks. In that case, the headlight may need to be replaced, in which case we recommend that you check with your trusted body shop.