Published on: 13/08/2025 Updated on: 18/11/2025
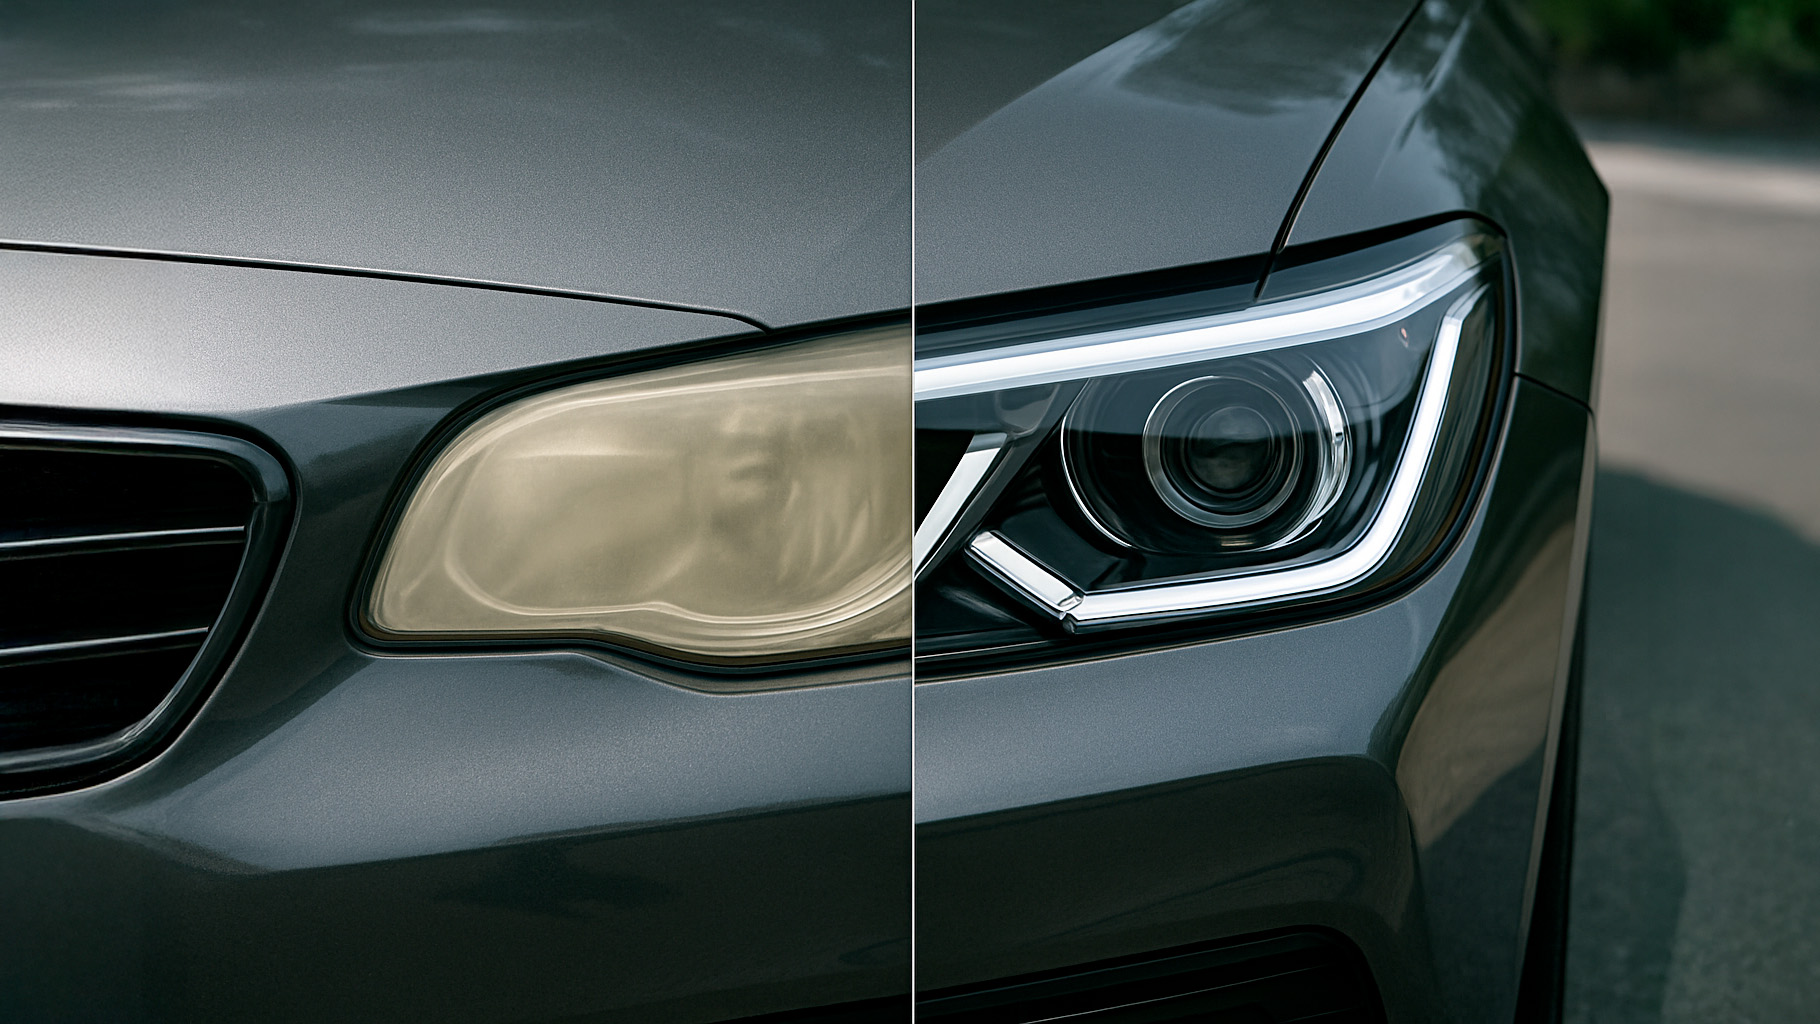
Have your car headlights turned yellow, dull or seem to have lost their shine? Have you ever wondered "how to clean car headlights" in the most effective way, without spending a fortune or risking making the situation worse? You are in the right place. In this comprehensive guide, we present everything you need to know about restoring your headlights to their original condition: from simple do-it-yourself maintenance to the most effective professional kits on the market, such as Mafra's "Car Headlight Cleaning Kit."
Today having clear headlights is not just about aesthetics. It's about safety, visibility, and even savings: avoiding complete headlight replacement can save you hundreds. Ready to make your vehicle shine again? Let's get started right away.
Why it is important to clean car headlights
Cleaning your car's headlights is critical for 3 main reasons. First, you need to consider the safety factor on the road: driving with dulled headlights is like wearing dirty glasses on a foggy night. Imagine you are on a dimly lit country road: if your headlights are yellowed or fogged up, light struggles to get through, drastically reducing visibility and increasing the risk of accidents. Cleaning headlights from your car is not just a matter of aesthetics, but a real safety requirement. Well-maintained headlights provide clear, powerful light, which is essential for dealing with adverse weather conditions such as rain, snow, or fog. They also make you more visible to other motorists, reducing the danger of being involved in collisions. And don't forget that driving with dull, inefficient headlights can also result in fines.
Another reason has to do withaesthetics and car value: don't underestimate the visual impact of dulled headlights: they make your car look neglected and aged, even if it is mechanically perfect. If you are considering selling your vehicle, cleaning your car headlights can greatly increase the perceived value. It's a detail that potential buyers notice right away. Restoring headlight clarity immediately gives your vehicle a more polished, professional look. And the good news is that you don't always need to go to the body shop: if you know how to clean yellowed headlights, you can easily do it yourself with a good kit and a few simple steps.
Last but not least, there is the aspect of preventive maintenance: in addition to aesthetics and safety, cleaning your car's headlights is an important process in the maintenance of your vehicle. Neglected headlights degrade faster, accumulate dirt that becomes difficult to remove, and can even develop cracks in the plastic, forcing you to replace them. A treatment every 6 to 12 months helps keep them functional, clear and protected from weather damage. That's why knowing how to clean yellowing headlights the right way is an investment in your vehicle's durability and efficiency.
Clean car headlights with Car Headlight Cleaning Kit
MA-FRA's Car Headlight Cleaning Kit is a solution designed for those looking for a professional result without going to the body shop. Inside the kit you will find everything you need to restore yellowed, dulled or faded headlights in just a few simple steps.

Car Headlight Cleaning Kit
Here is what it includes:
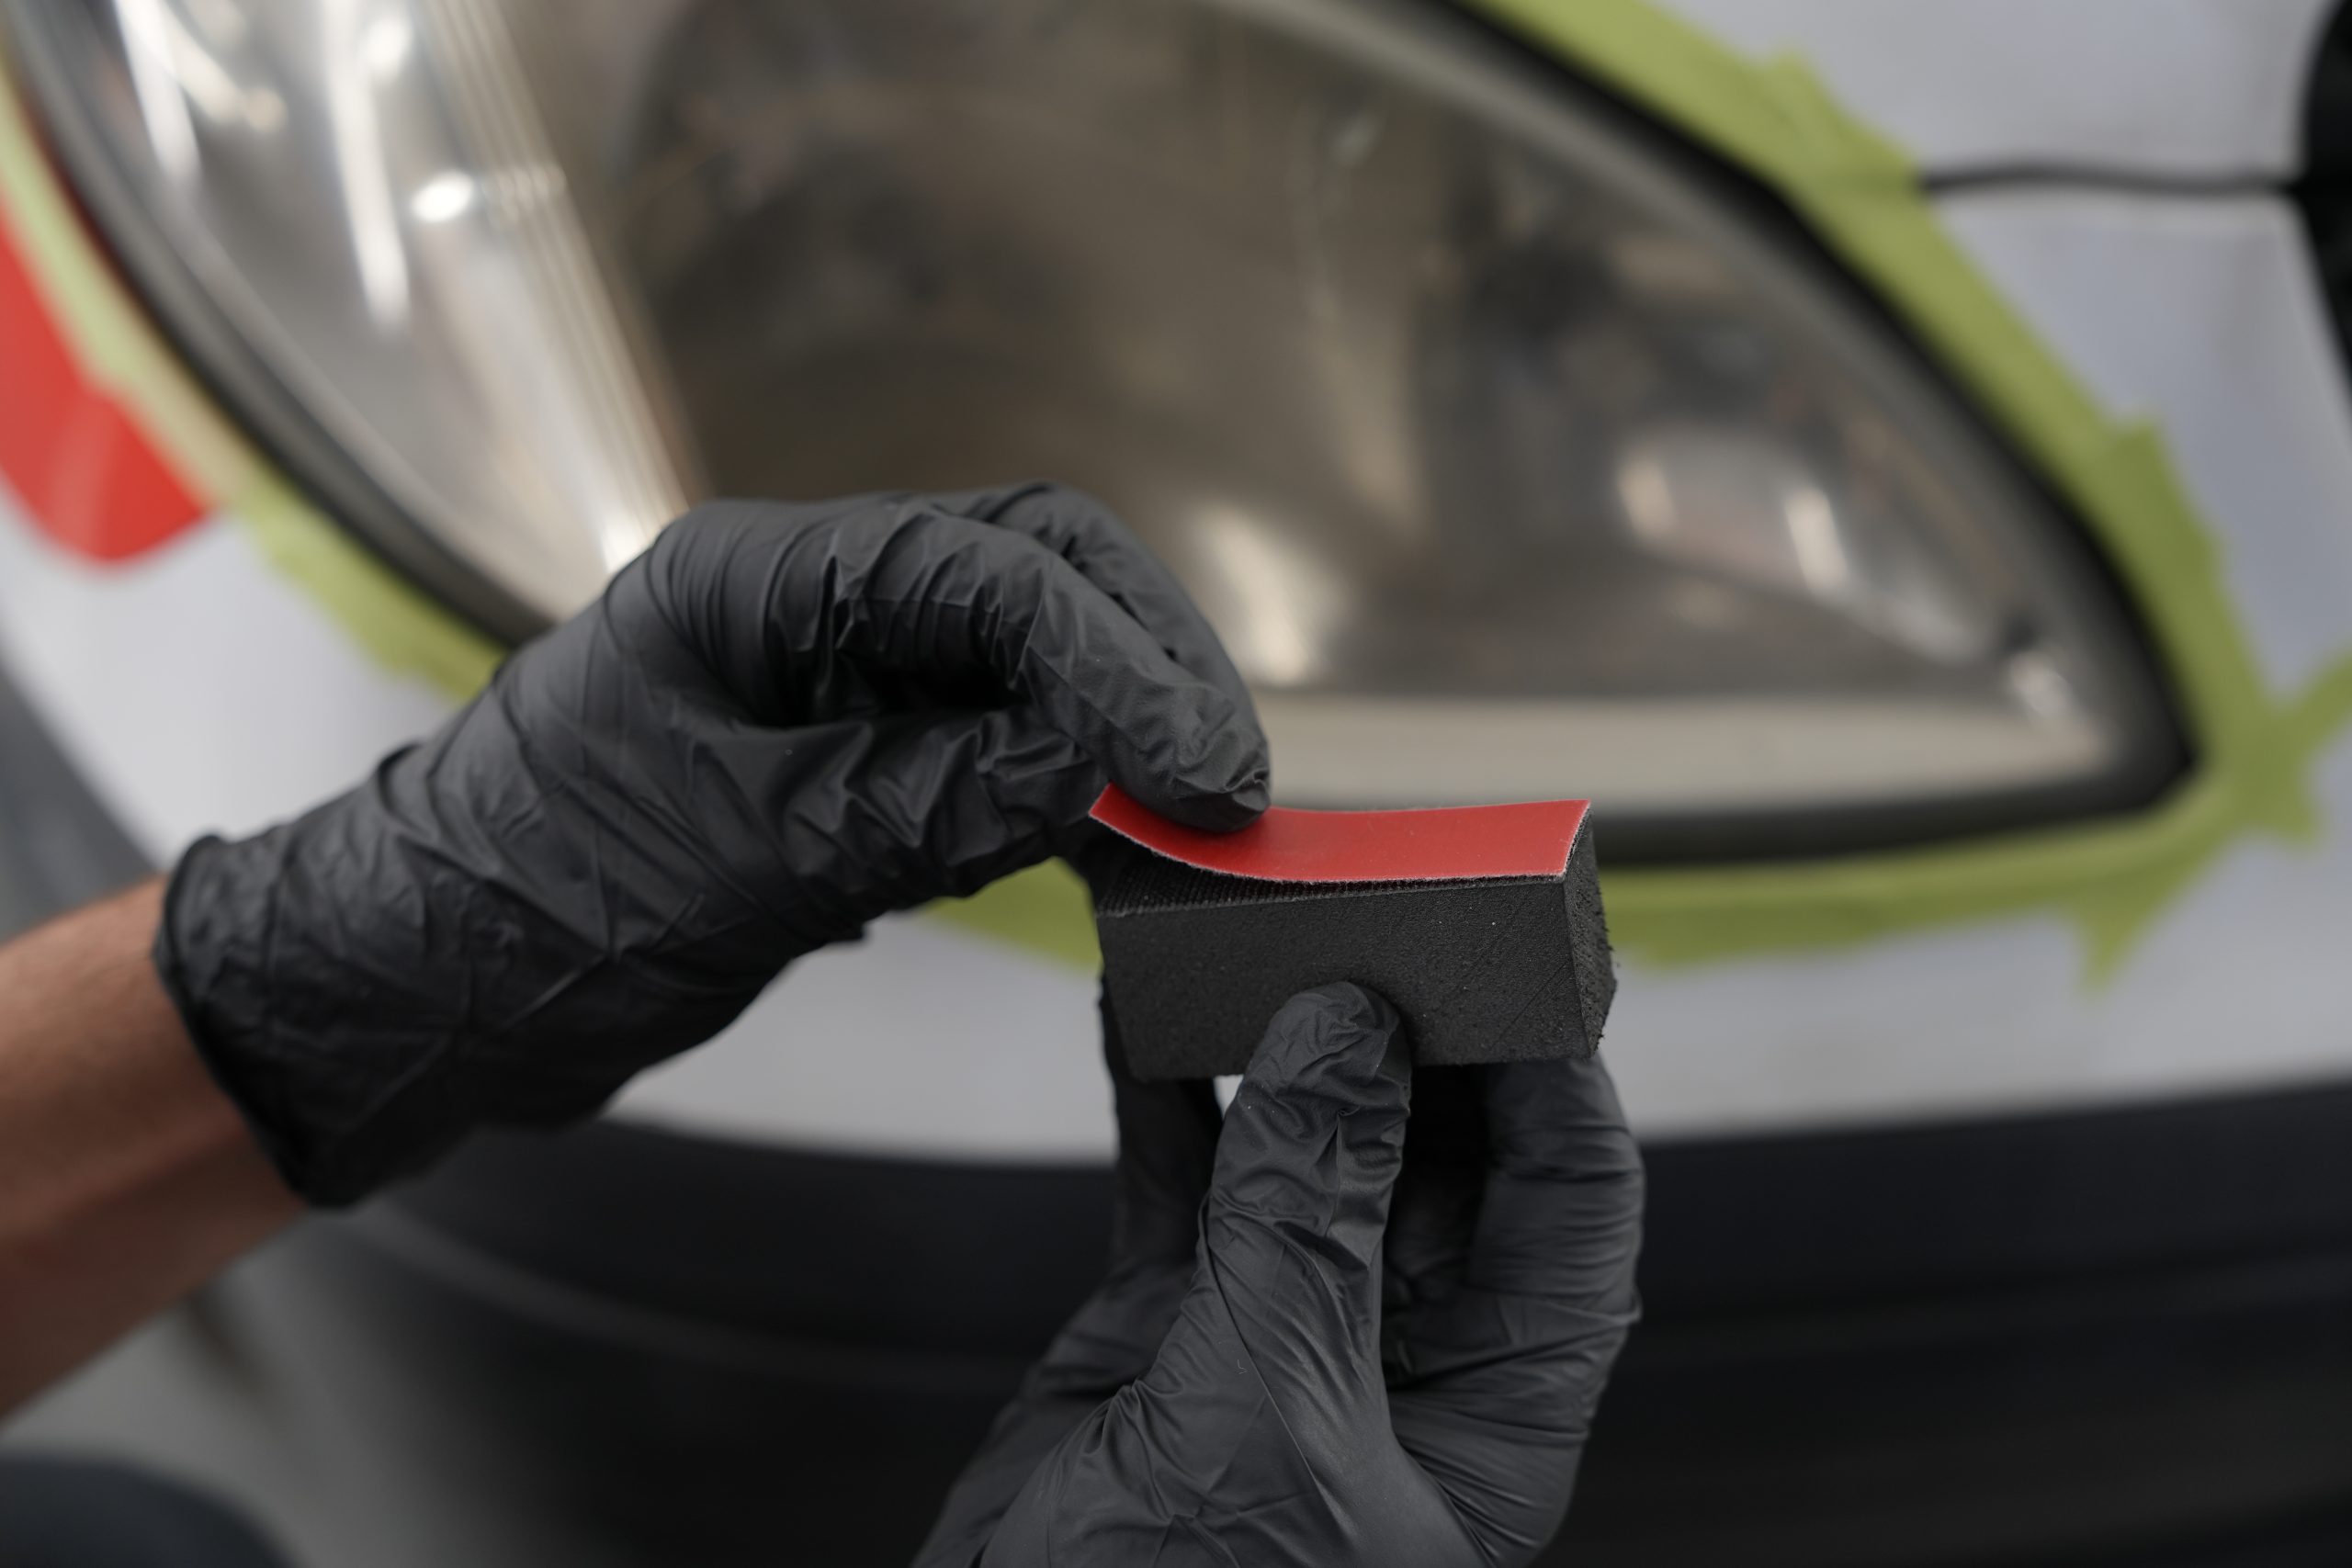
- Black polyurethane pad: support for abrasive papers
- 16 water-repellent sandpapers: in 3 grades of abrasiveness (1500, 2500 and 4000 grit)
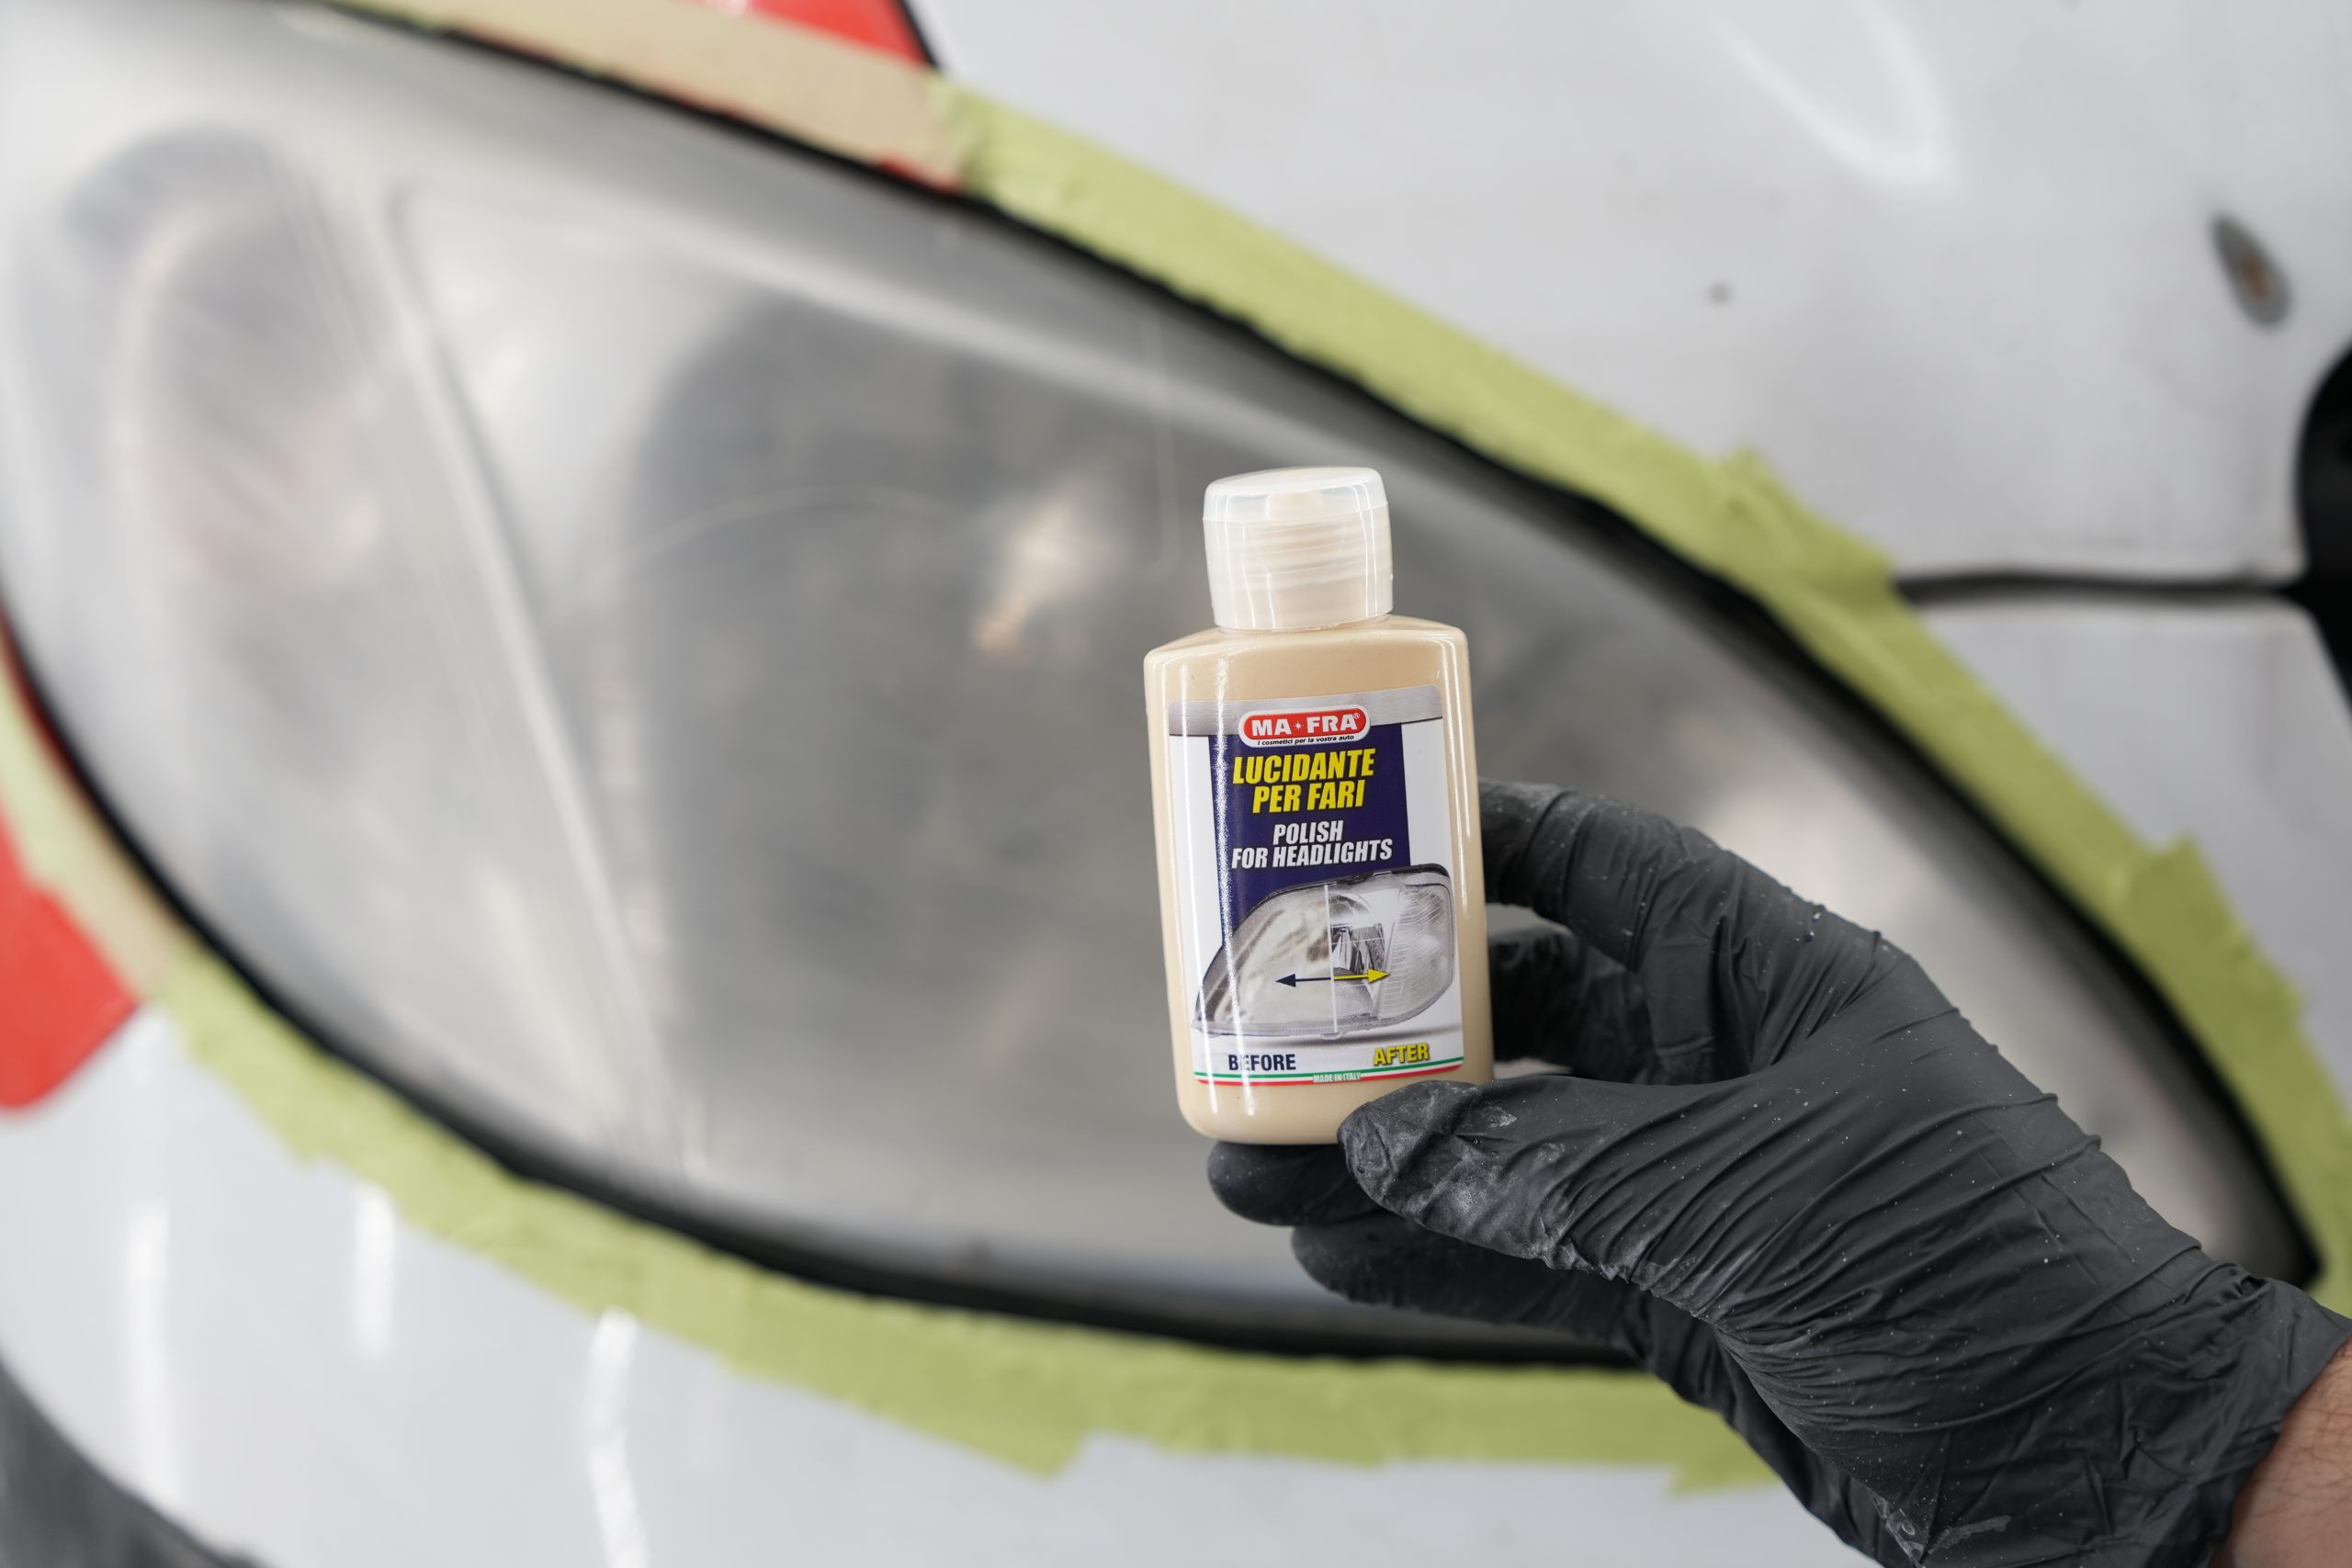
- Headlight polish: restores shine and transparency
- Headlight spray sealant: protects the treated surface from weathering and UV rays
- Glass Cleaner 500ml: glass and window cleaner with active foam, ideal as a lubricant to facilitate the work of sandpaper on headlights.
- Heavy Work microfiber cloth: maxi size 60×40 cm, ideal for drying without leaving halos
This kit allows you to not only clean, but completely restore the original transparency of your headlights, while also improving driving safety. All this, at a low expense.
How the step-by-step kit works
Using the Car Headlight Cleaning Kit is simple, but it requires care and precision. Here is a detailed step-by-step guide to get the best results:
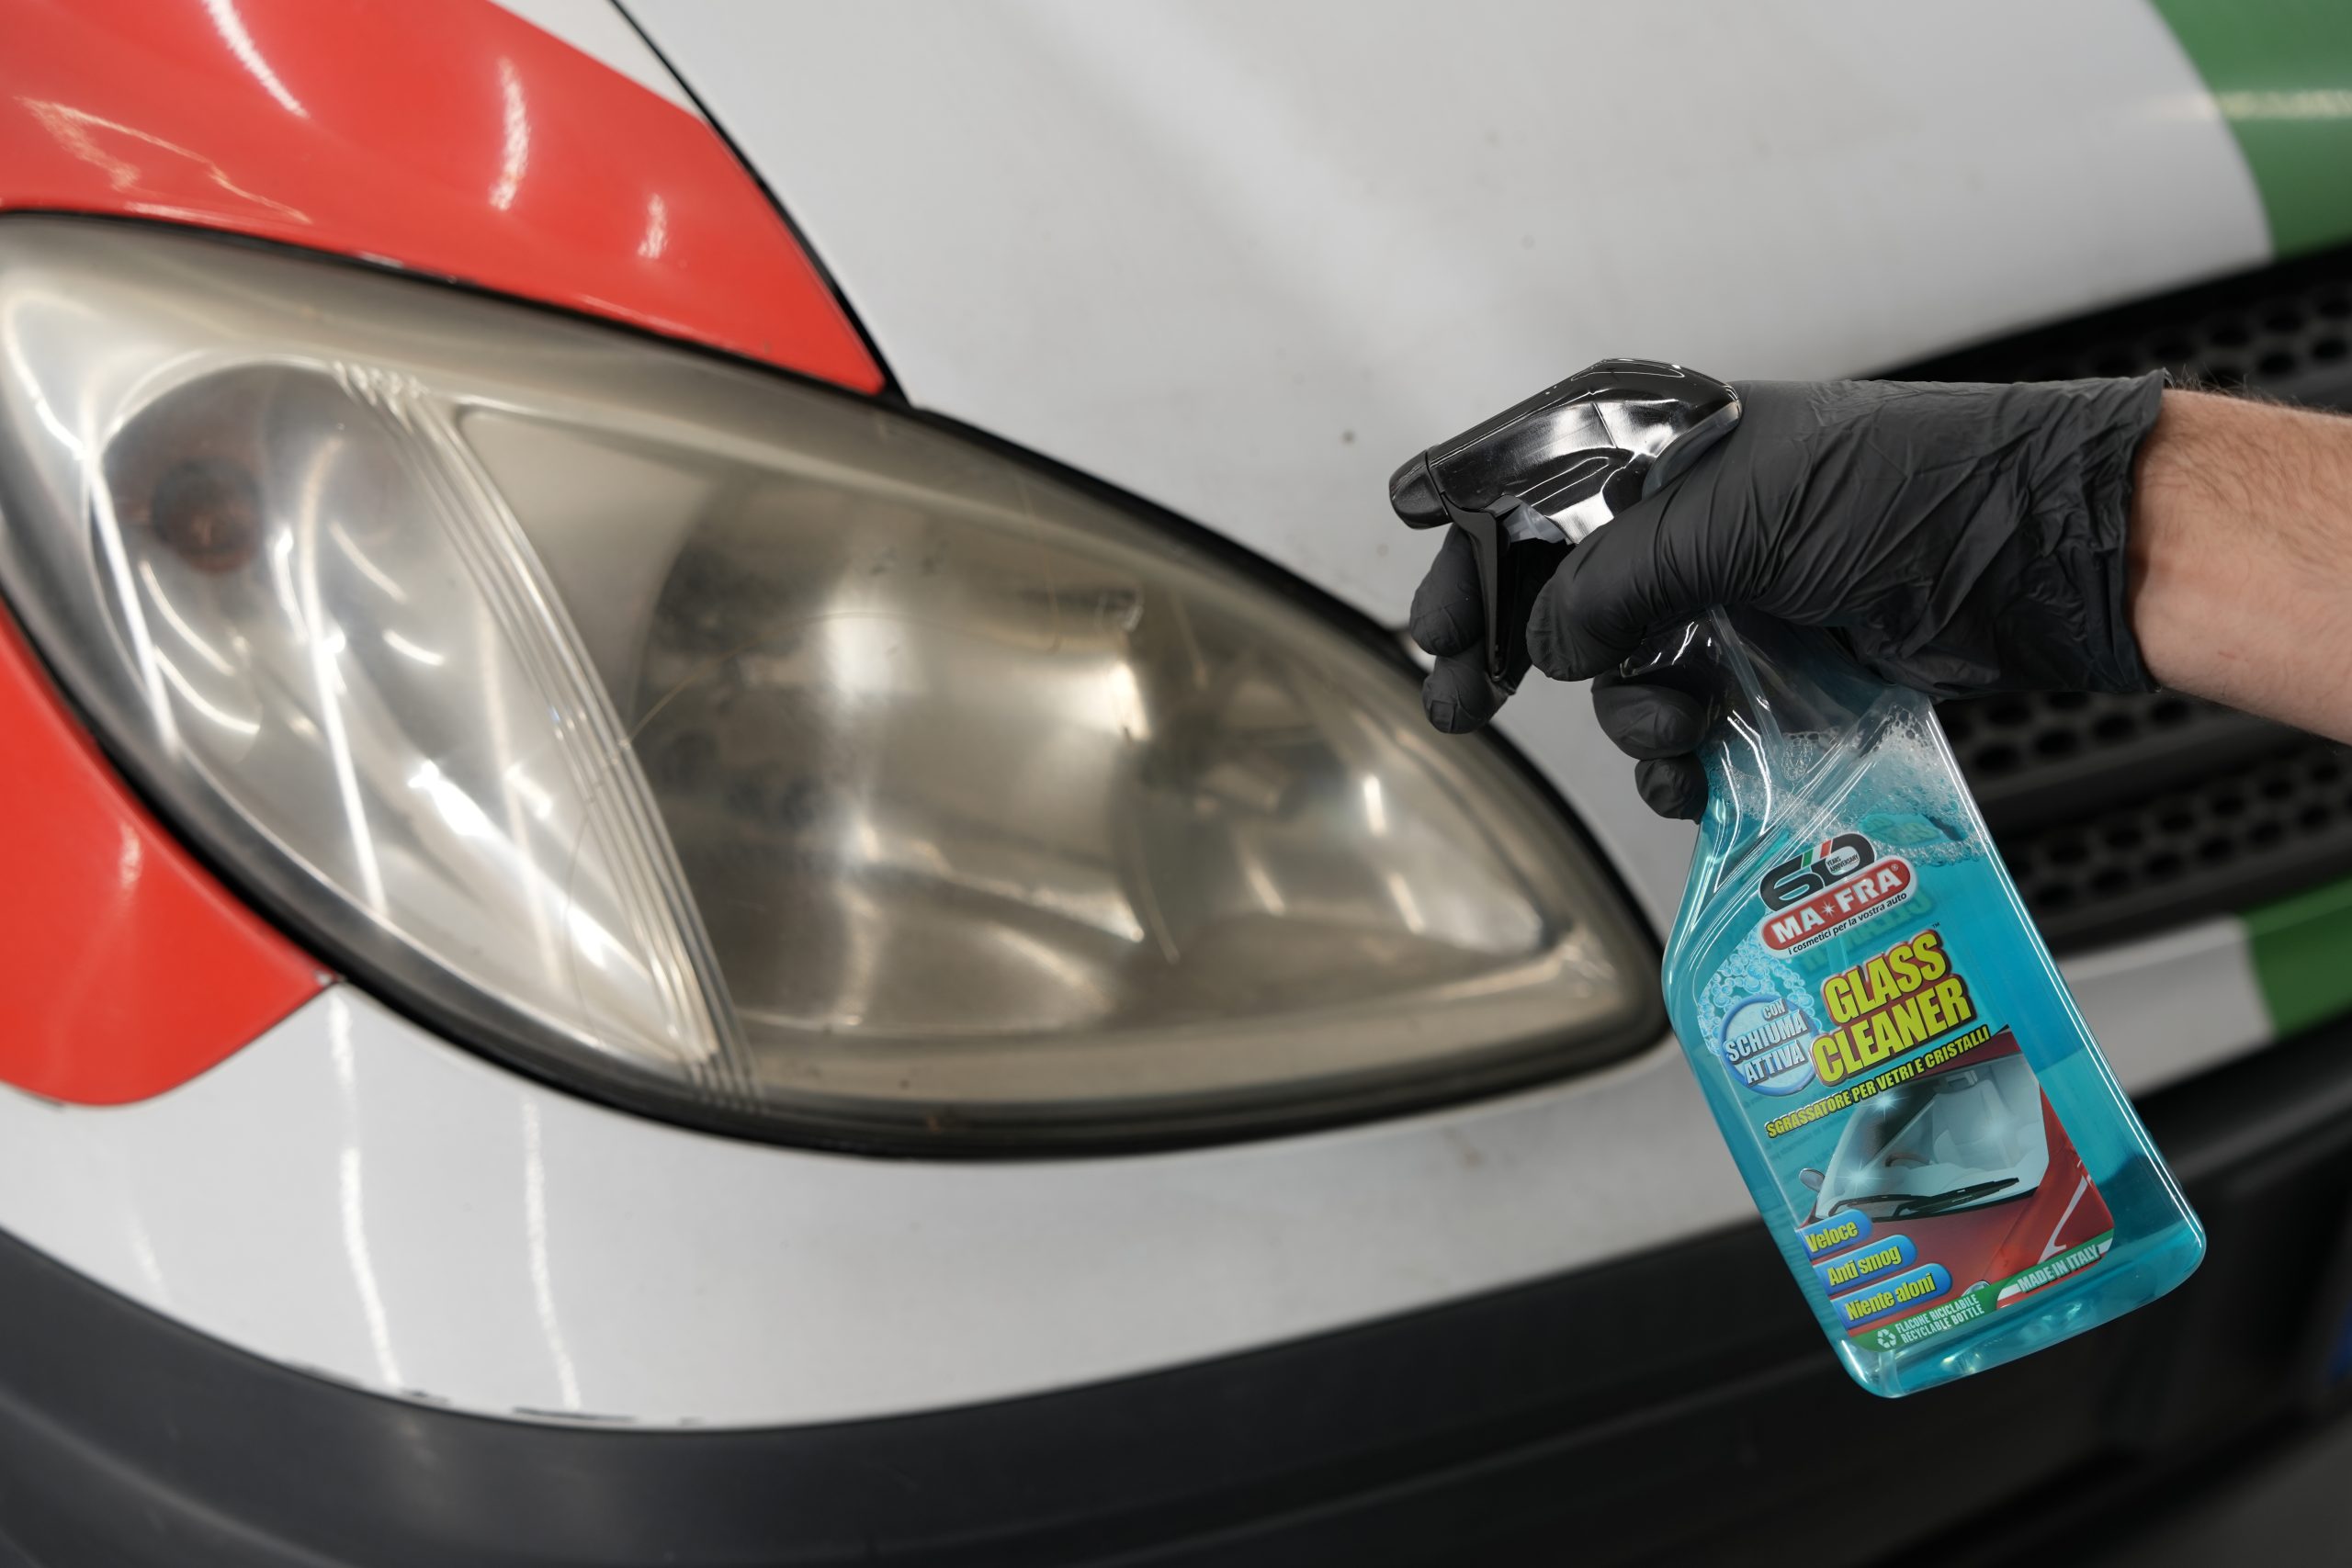
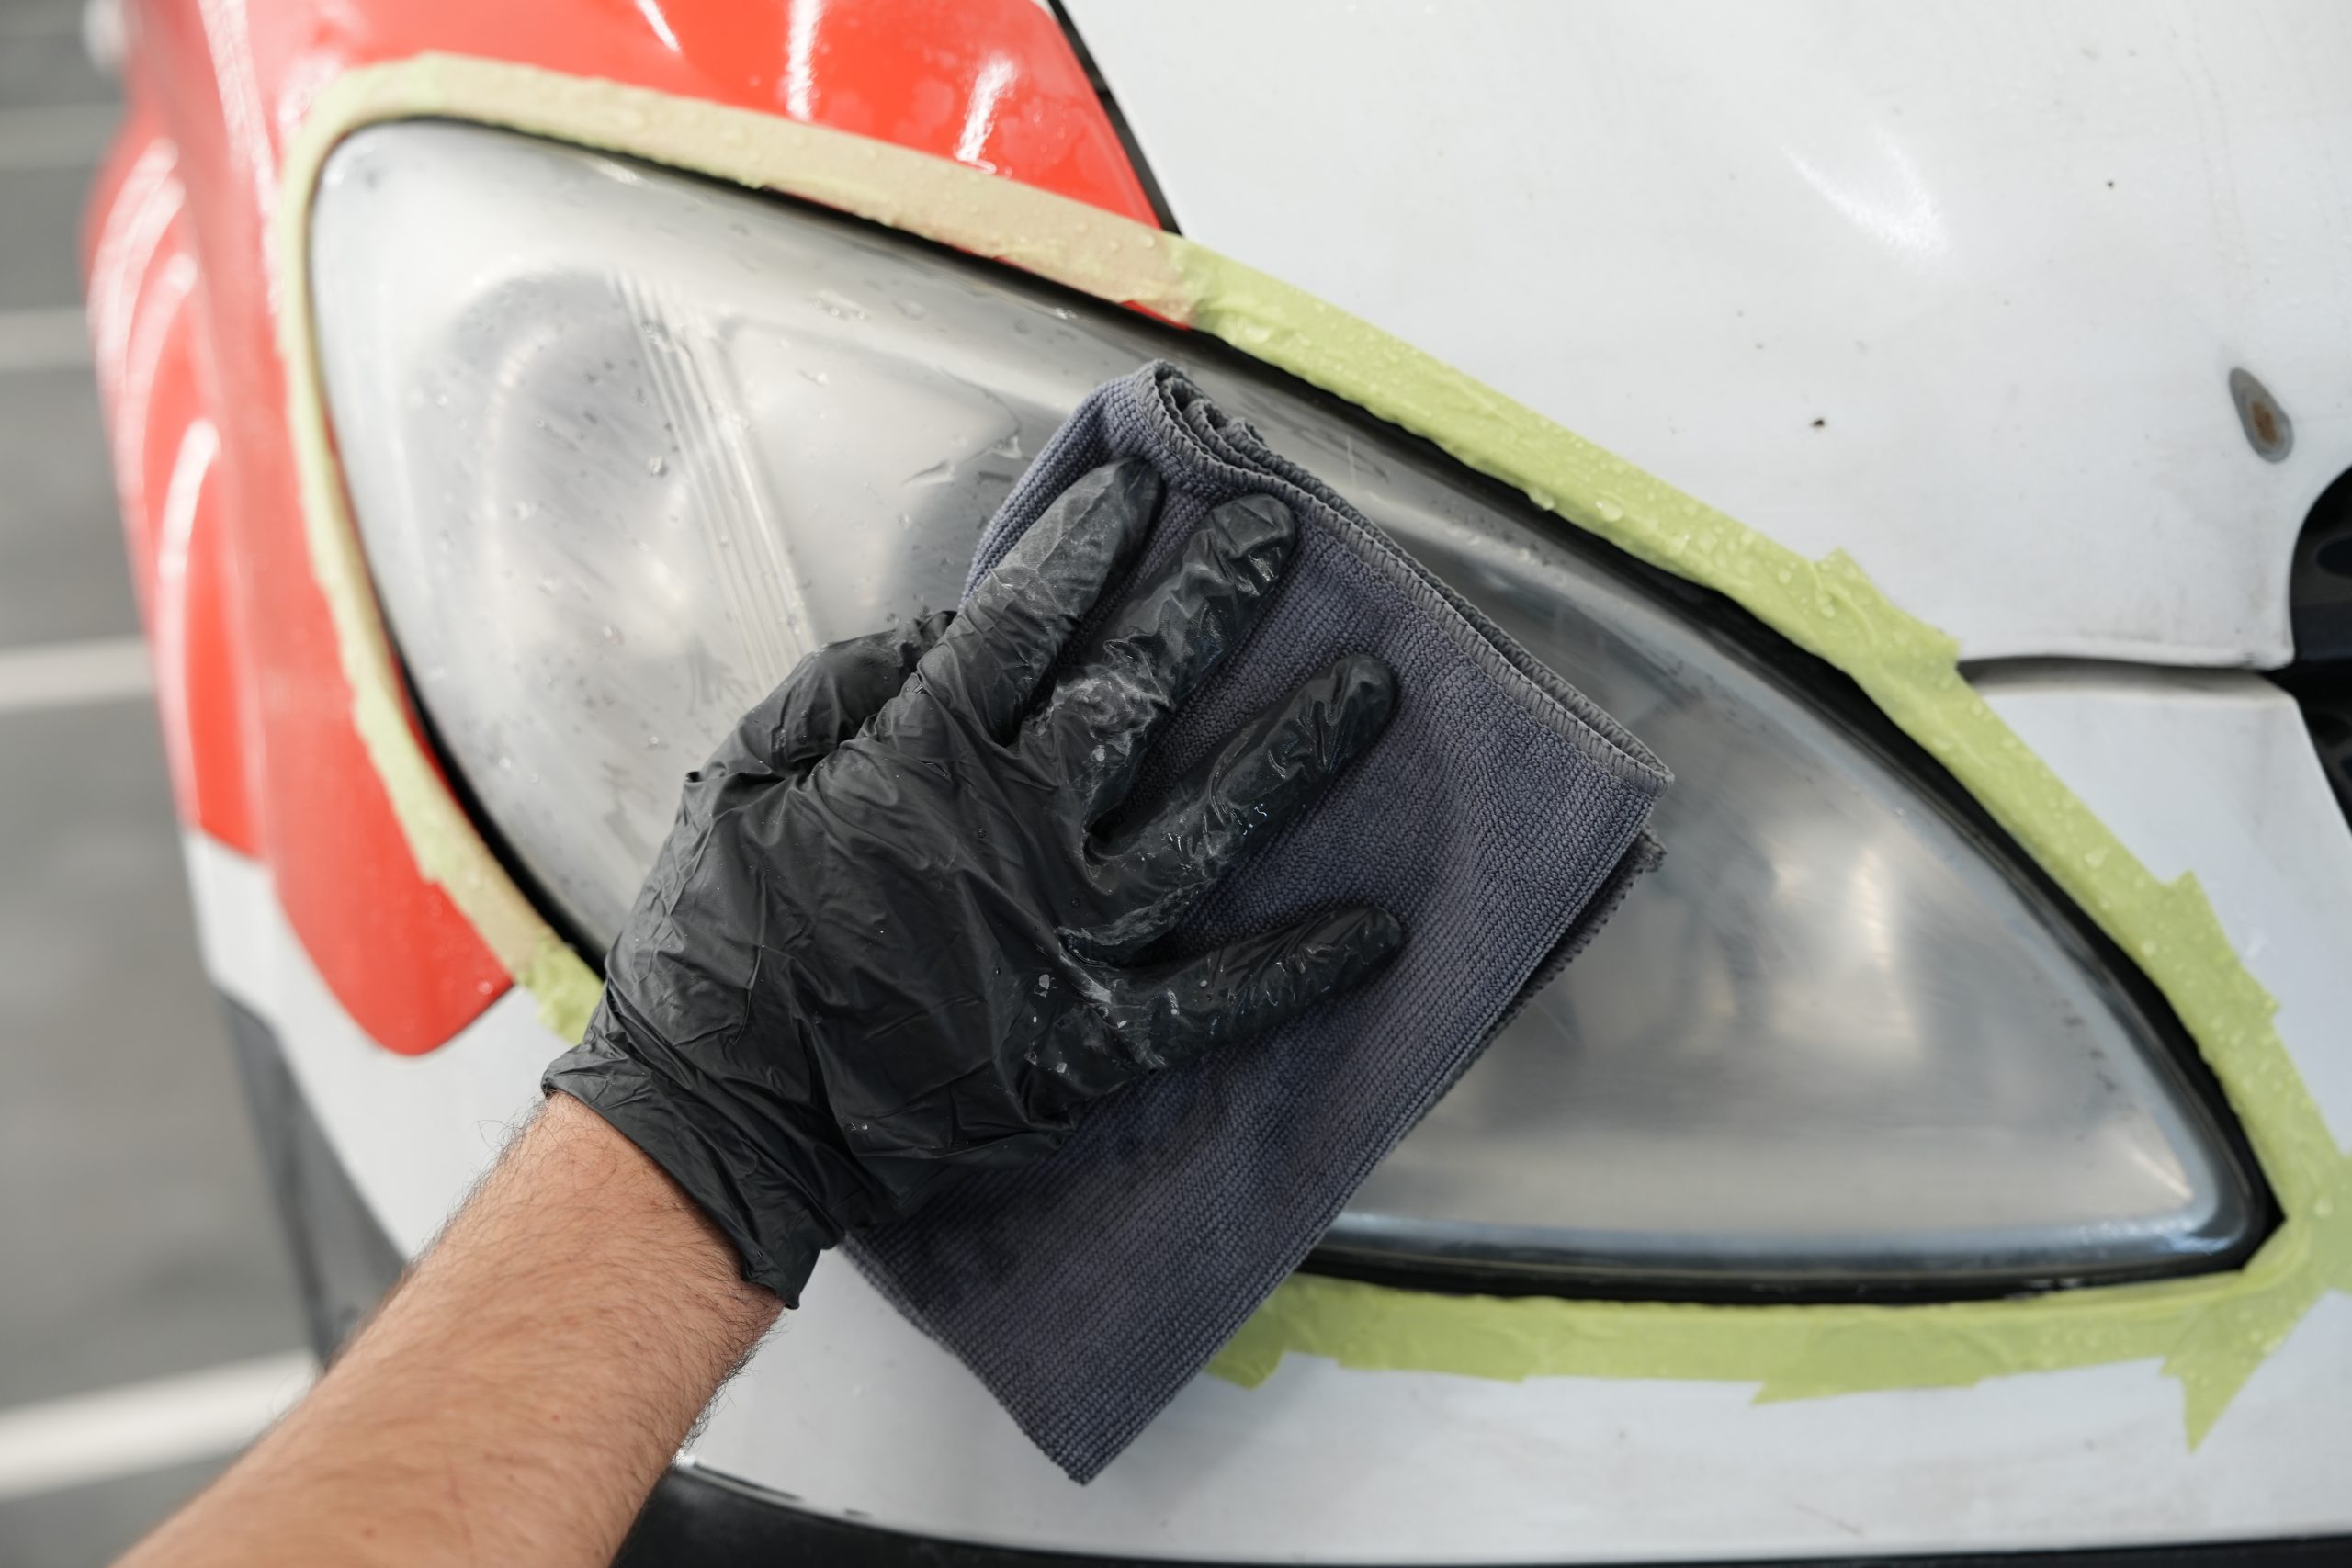
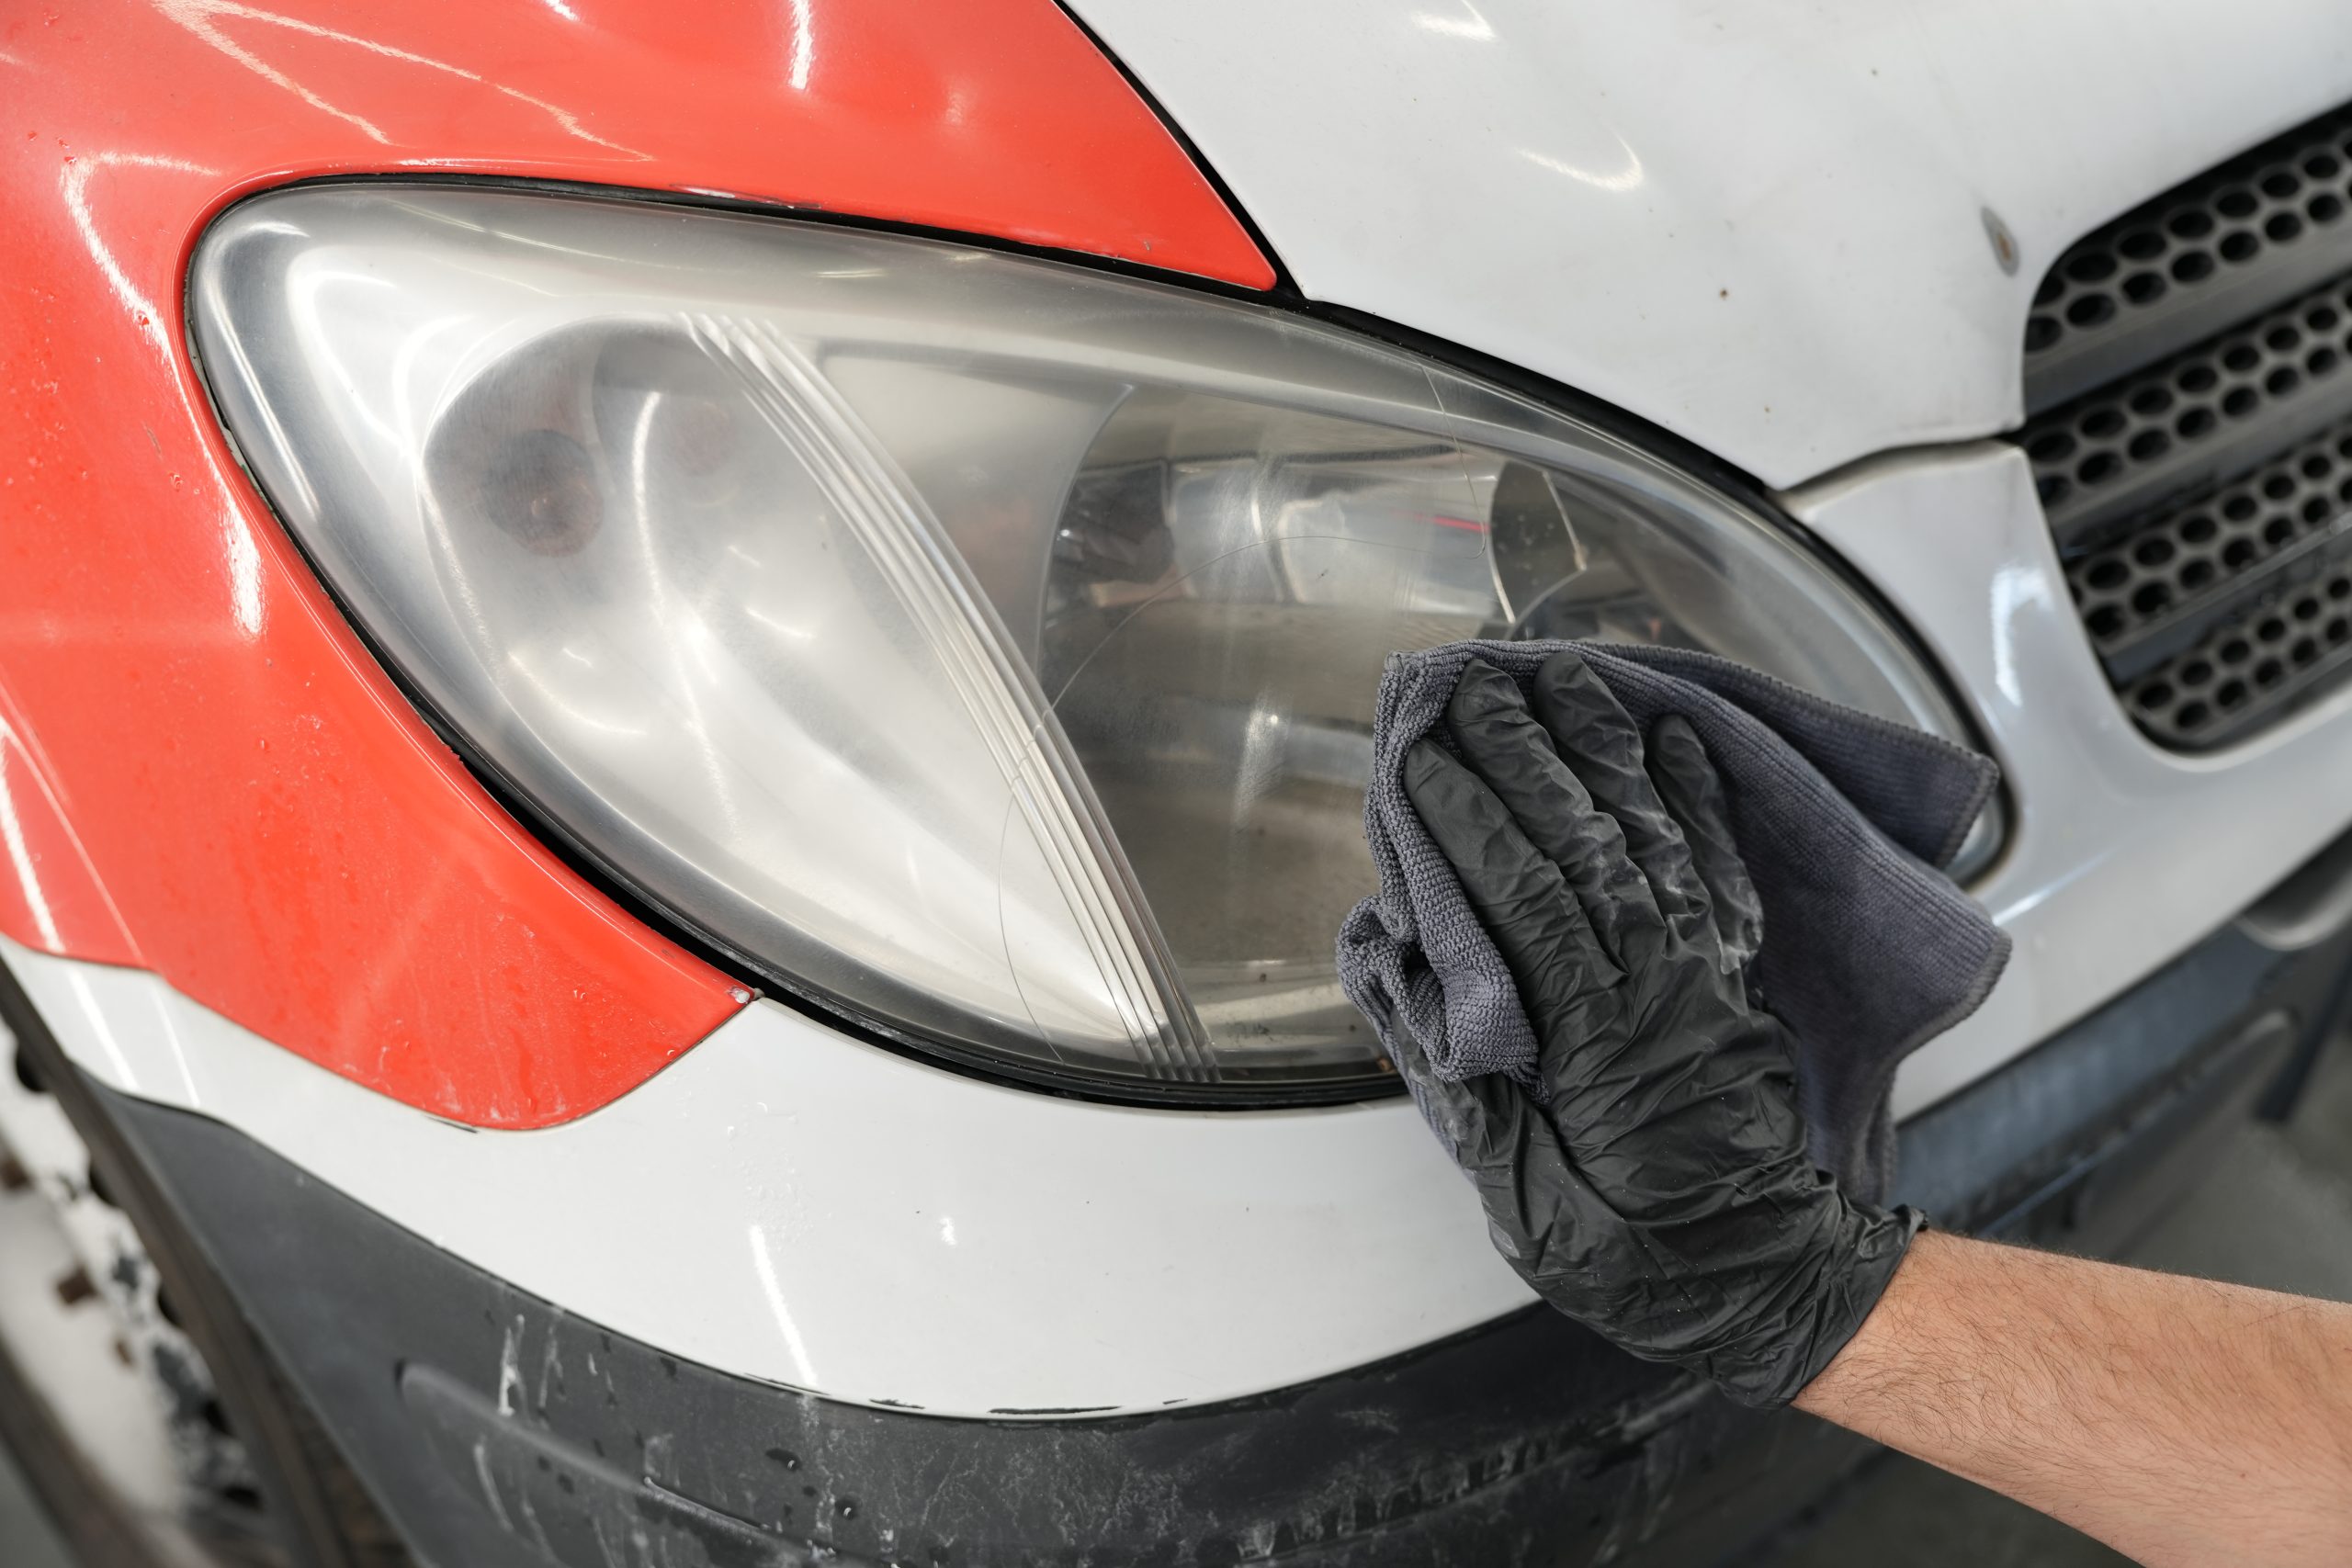
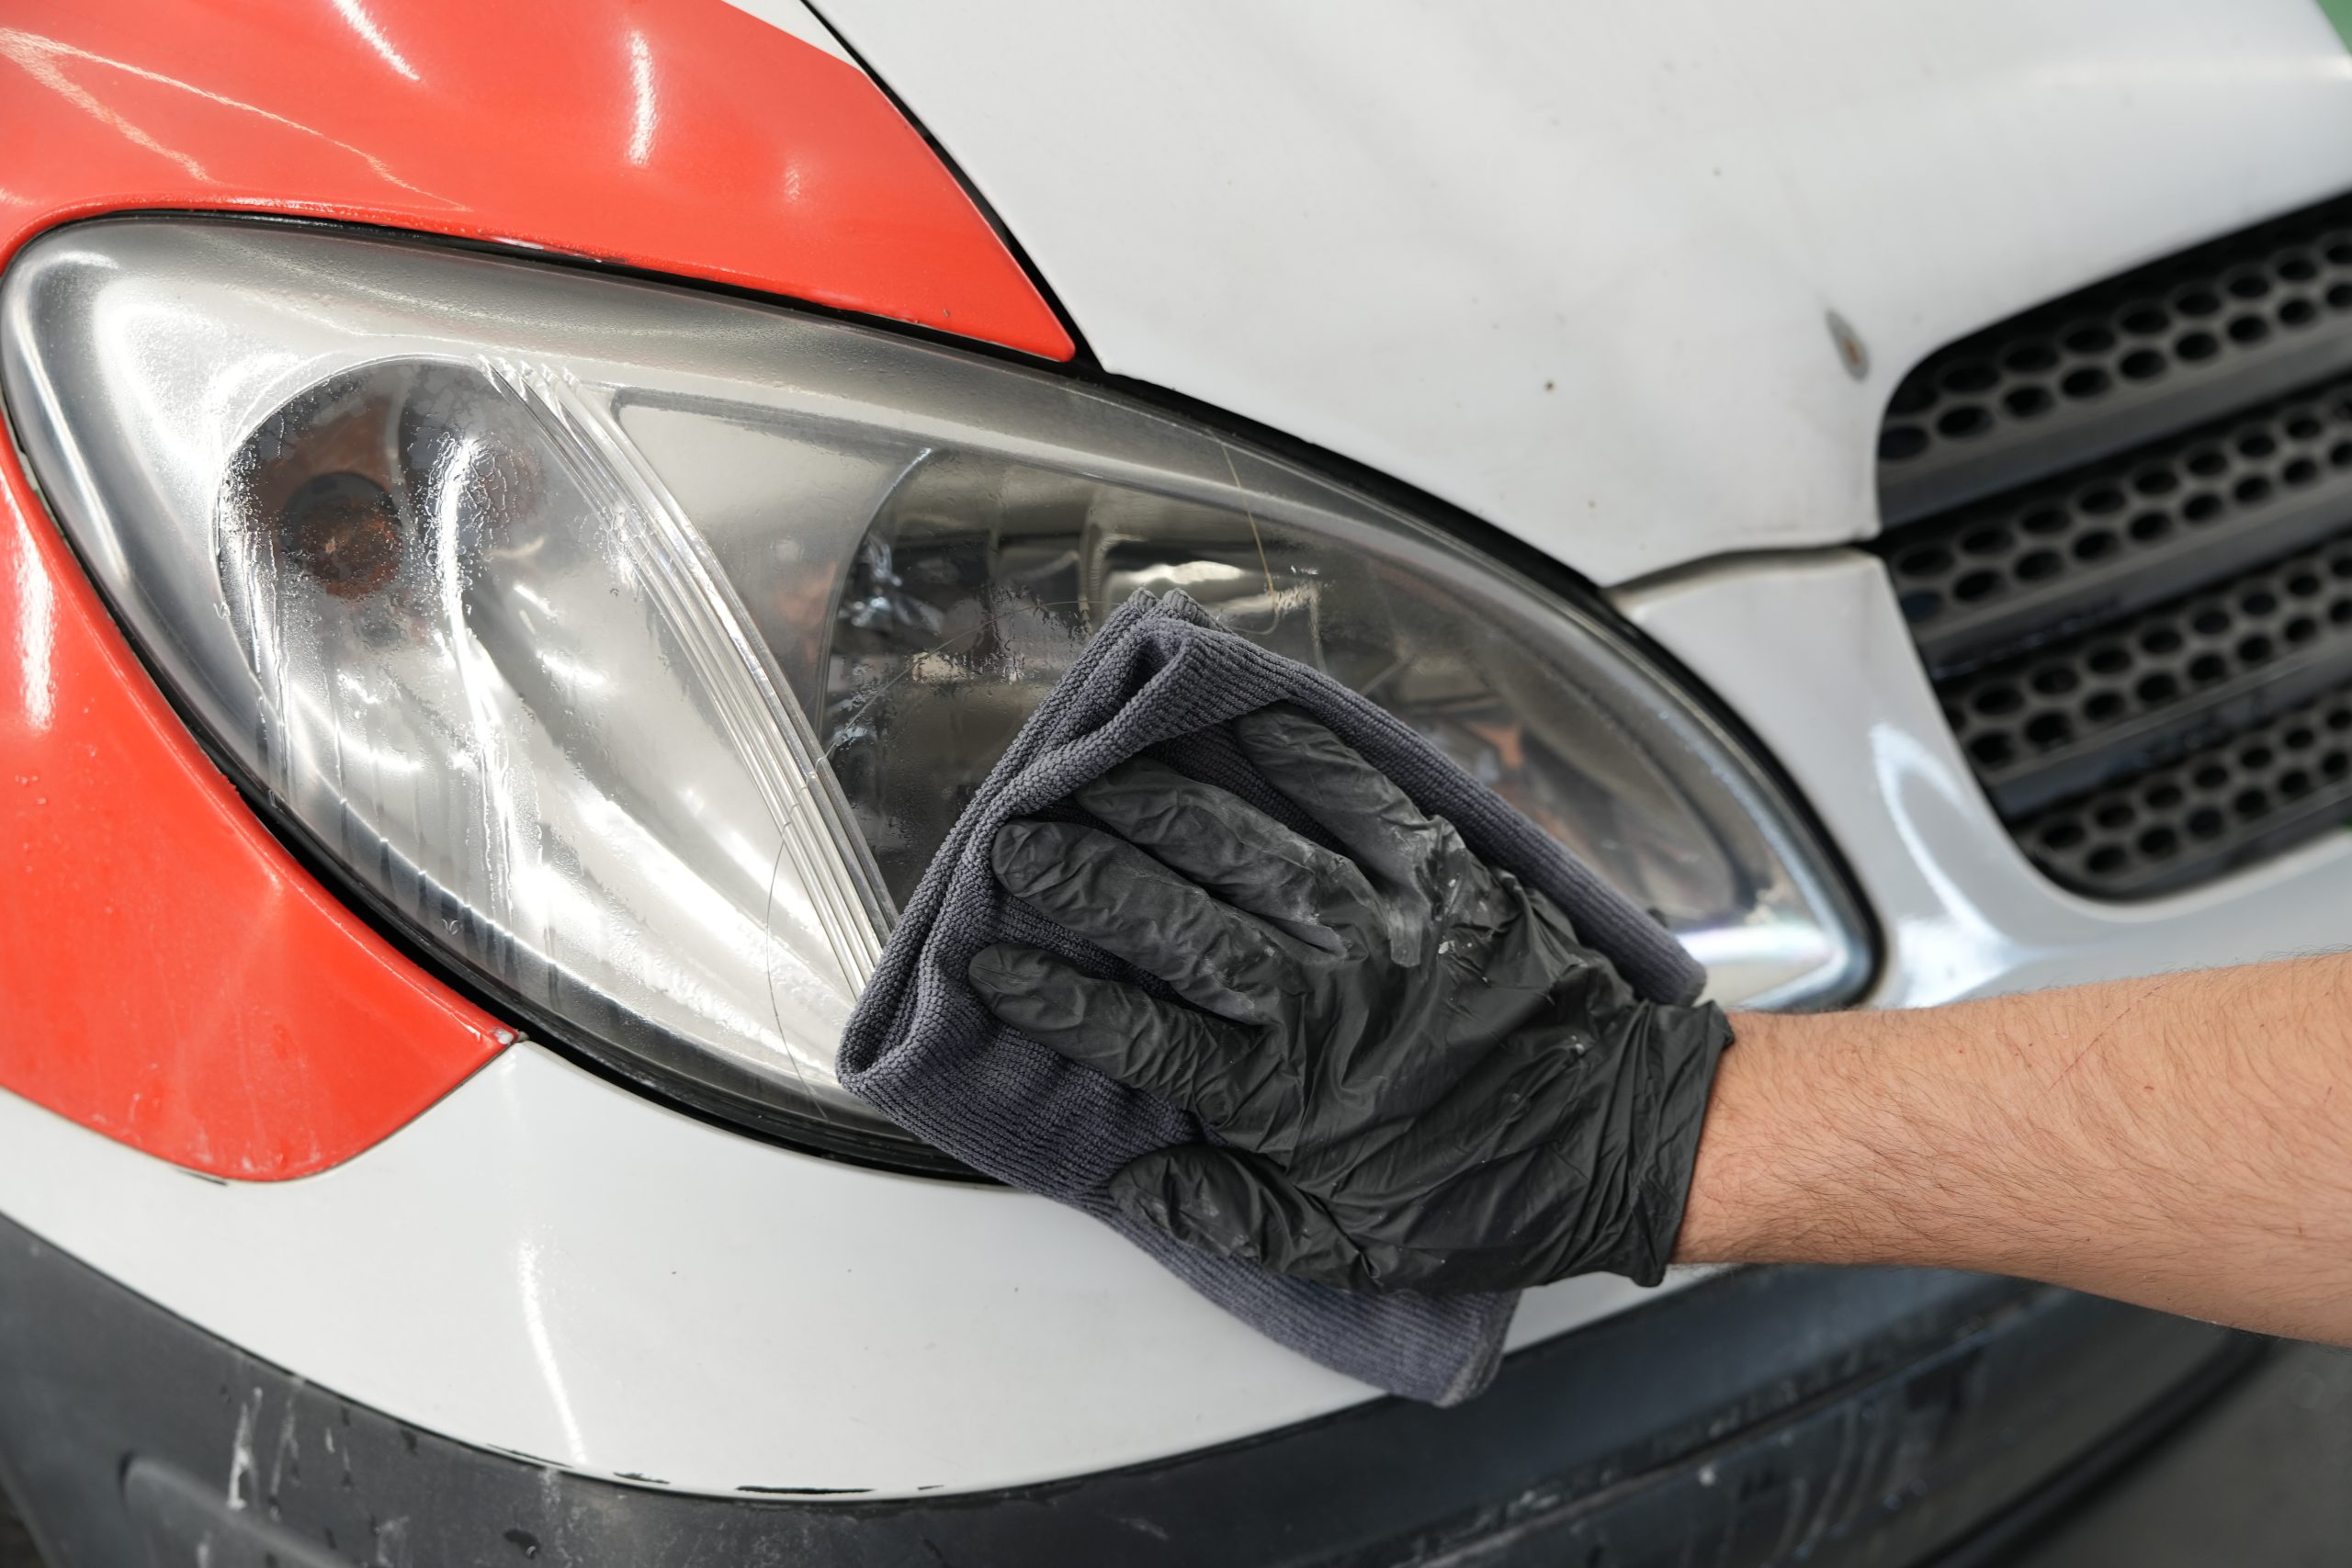
- Preliminary Cleaning with Glass Cleaner
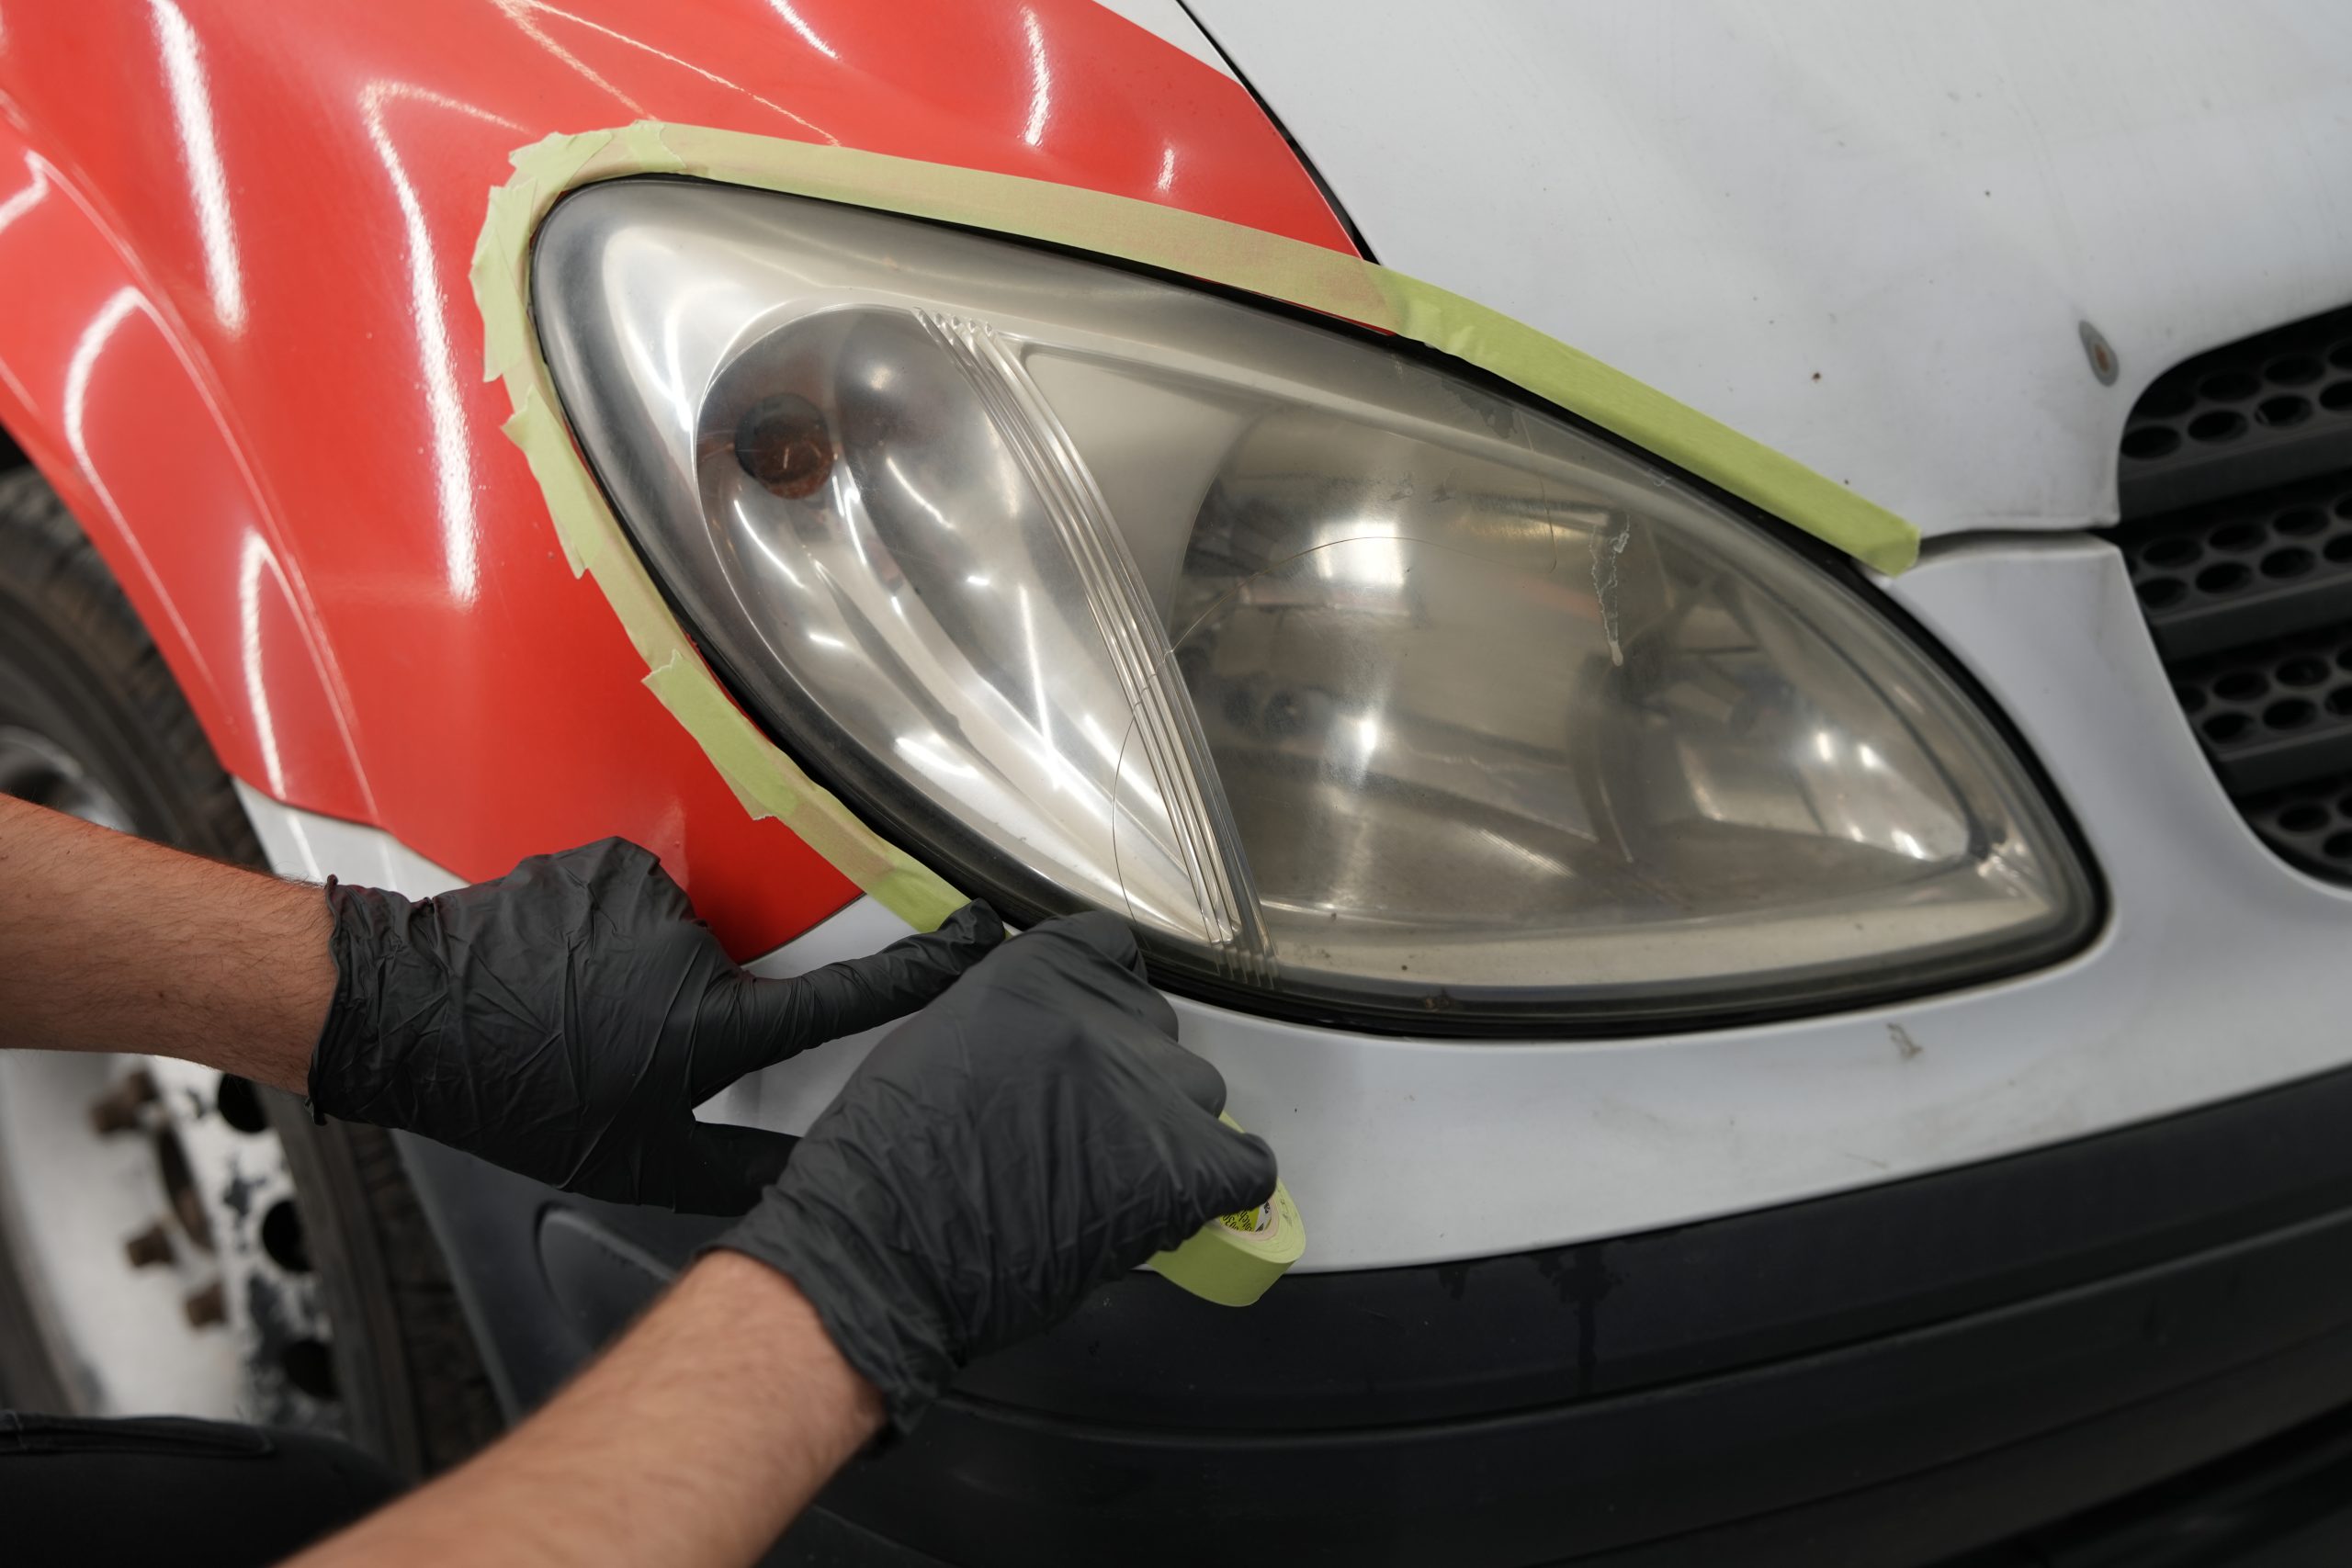
Mist the product directly onto the headlight and wipe with a microfiber cloth to remove dirt, grease and residue. This step is critical to remove any debris that might line the surface during sanding. - Protect the area to be treated
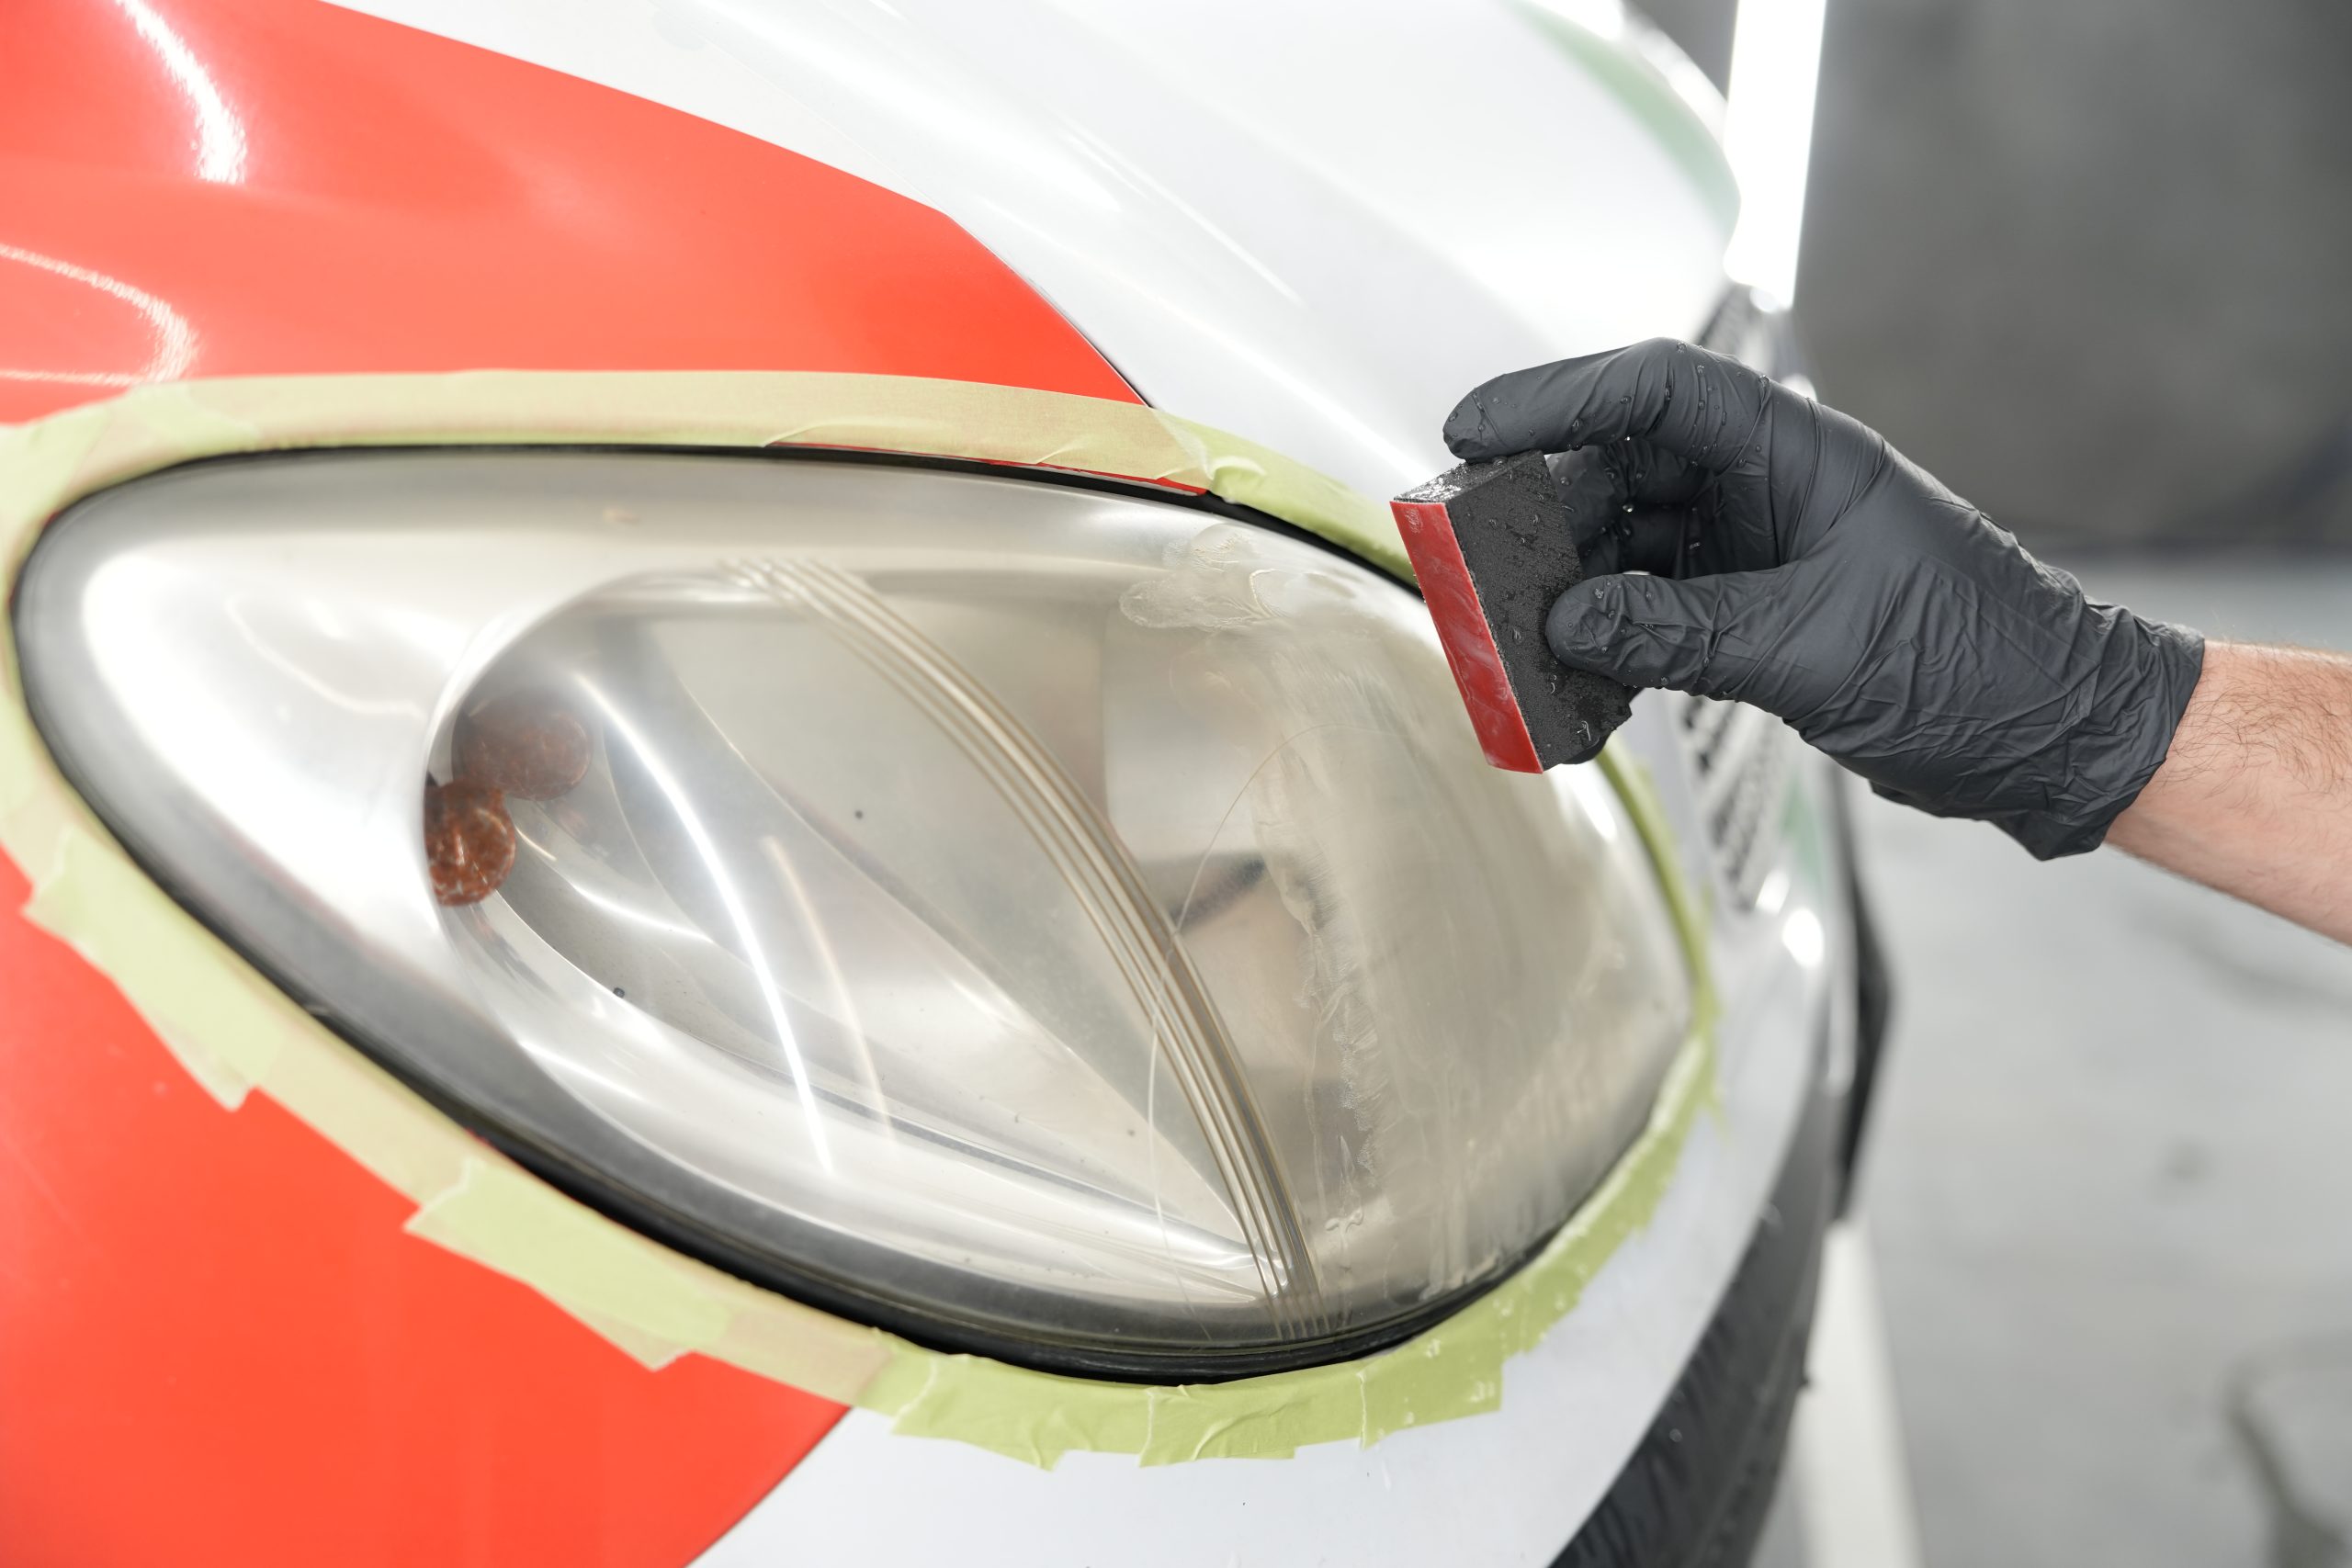
use masking tape to carefully shape the entire perimeter of the headlight, this way you will protect the paint on the hood and fenders from scratches. - Sanding with sandpaper
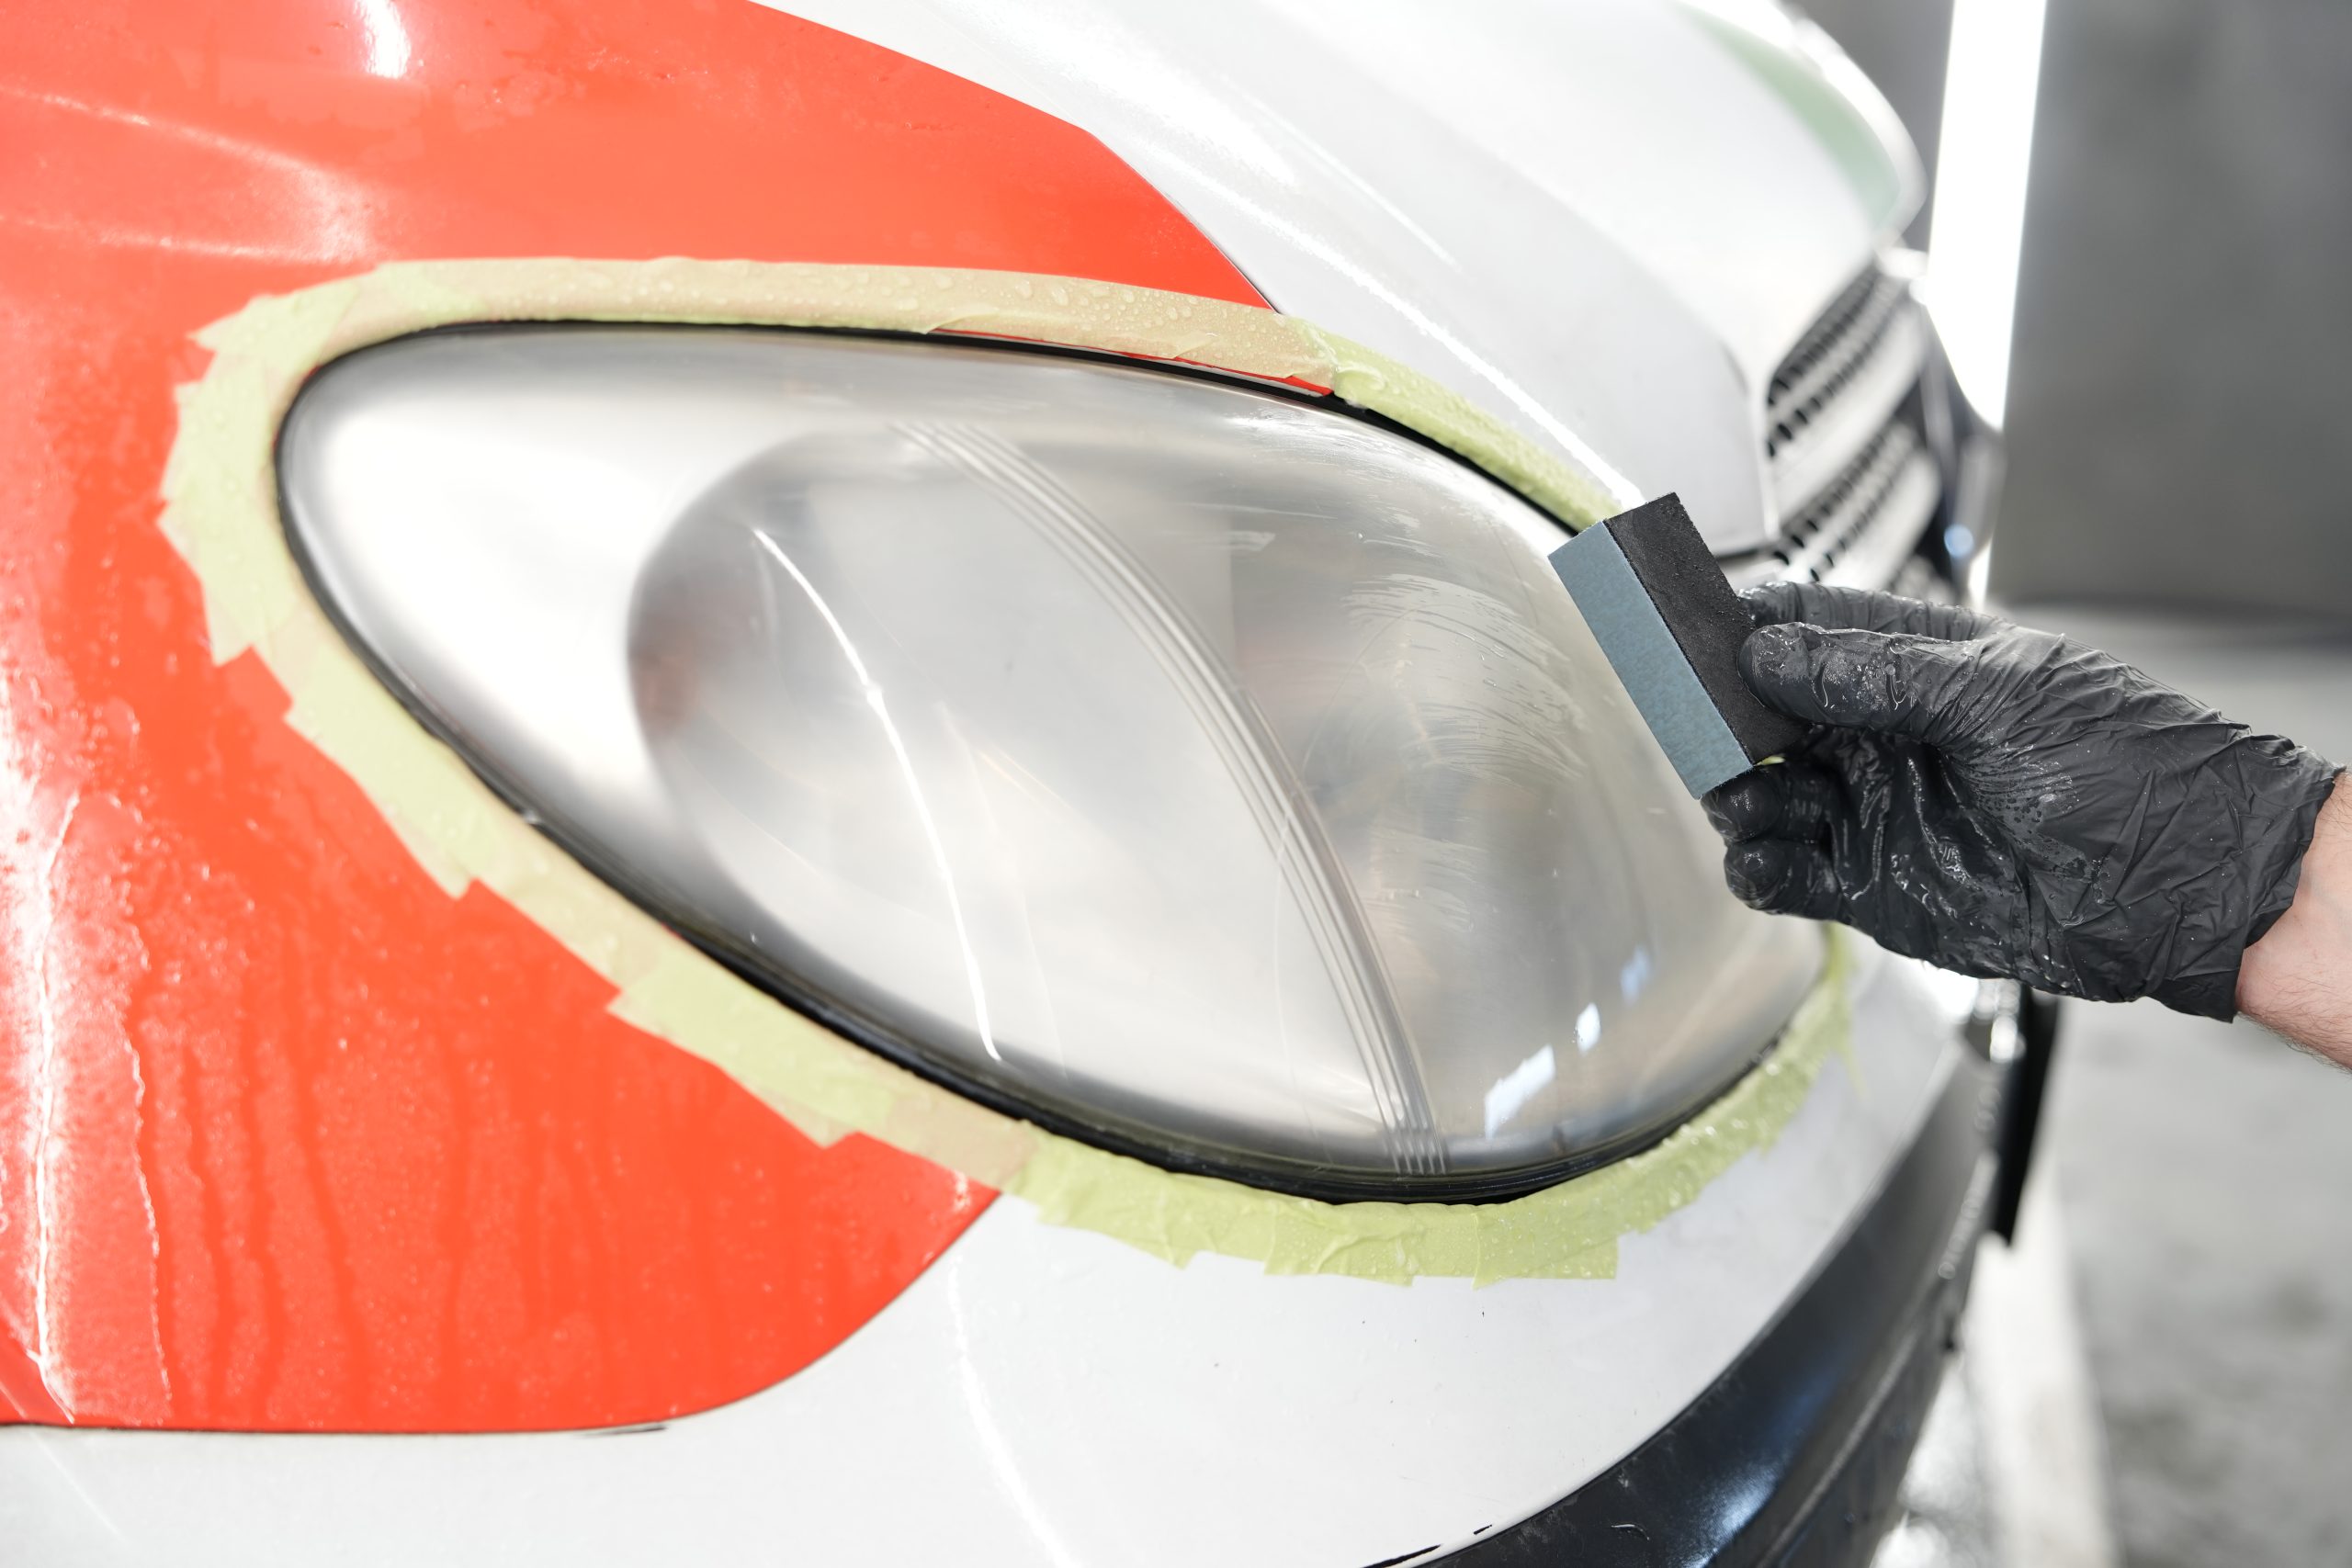
Start with 1500 grit, mounted on the polyurethane pad. Sand the lighthouse evenly, keeping the surface wet and lubricated with Glass Cleaner. Work in longitudinal (never circular) strokes, following the curvature of the headlight. Having removed the first coarse defects, dry and check the homogeneity of the surface. Then proceed with the 2500 grit, carrying out opposite movements than before to more effectively remove the previous sanding marks. Finally, proceed with 4000 grit to completely sand the surface. Remember to keep throughout the polishing process the surface well lubricated with Glass Cleaner. - Polishing with Polish
Apply a small amount of polish to the cloth or to an applicator such as the Microfiber Pad. Polish the headlight, spreading the polish in circular motions, applying light pressure. Continue until the surface appears clear and even. - Protection with Spray Sealant
Without a proper sealant, the headlights would turn yellow again in no time. Then proceed to clean the headlight with Glass Cleaner, dry the headlight and apply the sealant with the Heavy Work cloth, trying to achieve an even effect. Spread the sealant in longitudinal movements and, if necessary, let dry and repeat the operation. . This product creates a protective film, prolonging the life of the treatment. - Drying with Heavy Work Cloth
Finally, use the included microfiber cloth to dry and finish the lighthouse. Thanks to its high absorbency and scratch-resistant surface, you avoid halos and fingerprints.


With this simple procedure, in less than an hour, your car's headlights will be as good as new. And without having to replace them or spend exorbitant amounts of money at the body shop.
Advantages over other methods
The Regénera Fari Kit offers significant advantages over homemade methods or inexpensive products:
- Visible results from the first use
- UV protection
- Zero risk to the body or plastic of the headlight
- Easy to use even for beginners
If you want bright, clear and protected headlights over time, this is the smart choice.
The causes of yellowing and dulling of headlights
Every day your car faces smog, rain, dust and mud. These external agents, combined with the mechanical action of wind and debris lifted from the asphalt, gradually erode the surface of the headlights, scratching it and making it increasingly dull. The result? A discolored appearance and reduced effectiveness.
It doesn't matter if you park in the garage or outdoors: damage accumulates over time. Those who live in cities, with high levels of pollution, will notice yellowing faster than those who drive in rural areas. However, no driver is completely immune.
One of the biggest culprits of headlight yellowing is the sun. UV rays damage the clear polycarbonate of headlights, oxidizing it and turning it yellowish. This effect is similar to what some plastics suffer when exposed to the sun for long periods: they lose transparency and become brittle.
So if you park outdoors often, in summer or in very sunny areas, consider applying a protective headlight treatment periodically. It helps slow wear and keeps the surface smoother and shinier.
Even if you don't use your car much, time takes its toll on the integrity ofyour headlights. Polycarbonate, the material from which most modern headlights are made, tends to degrade naturally over the years. This means that even without special external stress, dullness, small cracks and yellowing will appear sooner or later.
The secret? Take action before the damage is too obvious. The longer you wait, the harder it will be to restore the original transparency. Fortunately, with the right tools you can prevent and treat this process.
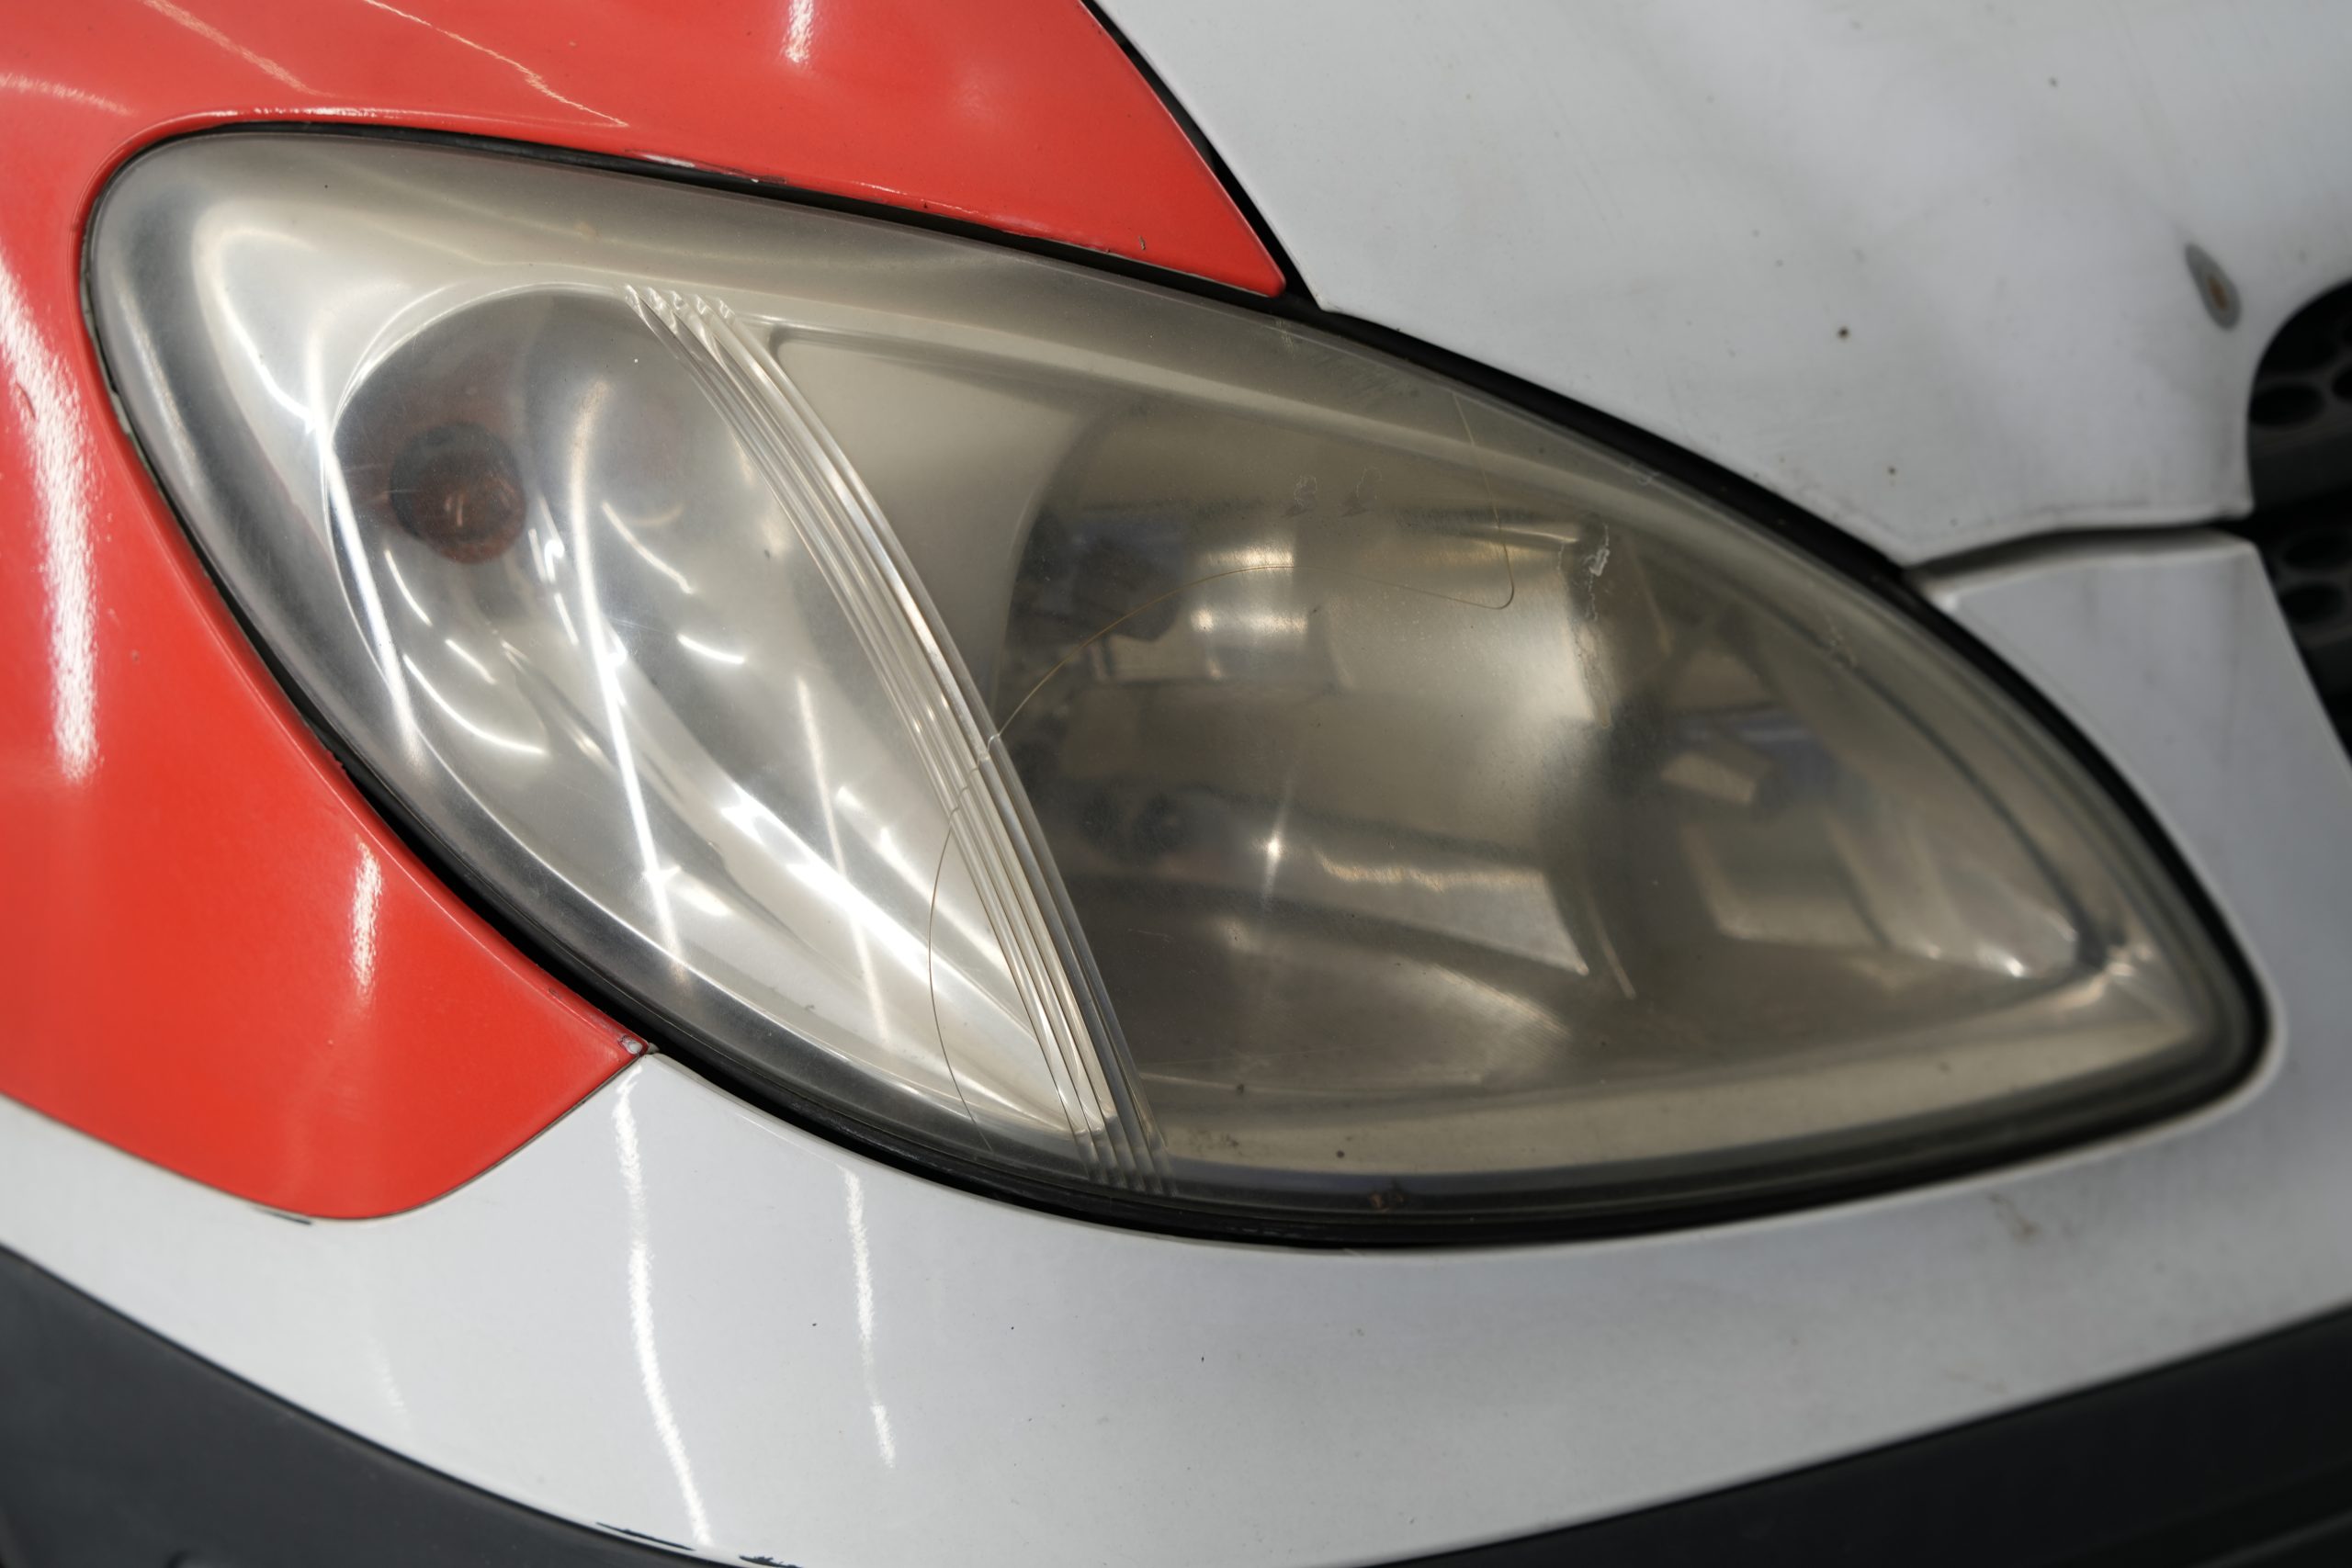
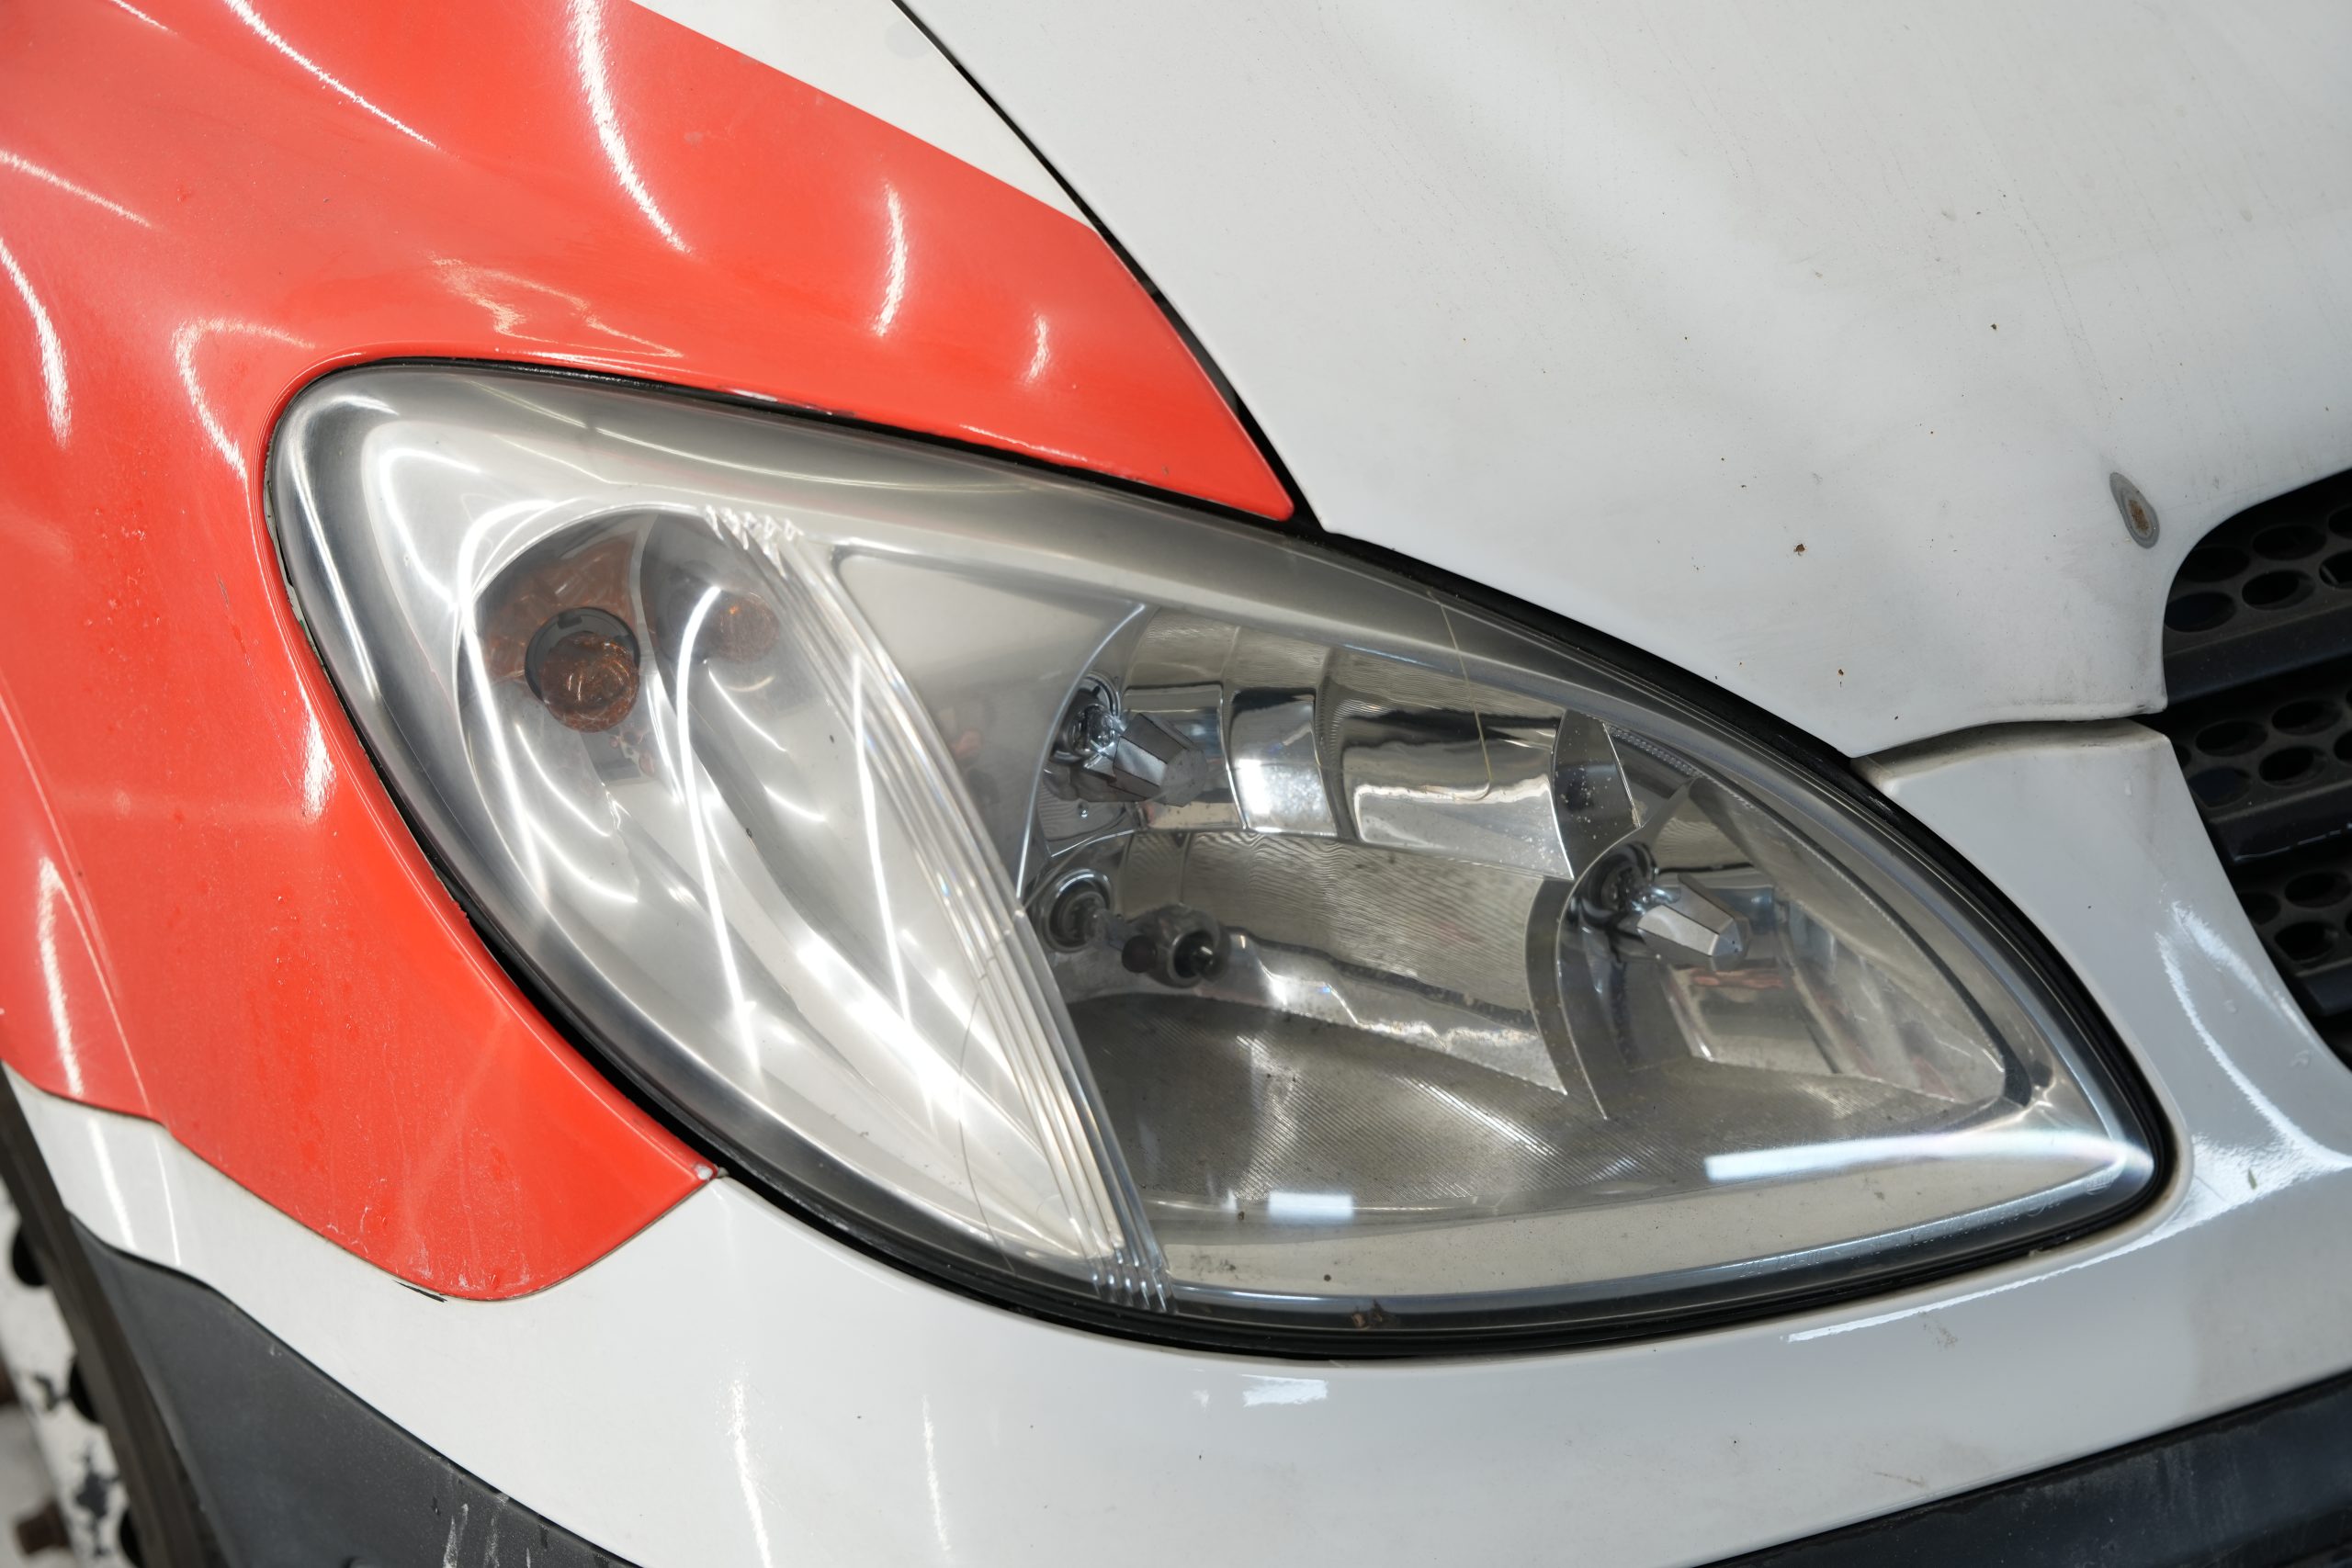
How to recognize yellowed or dulled car headlights
You don't need to be an expert to notice that headlights have lost their shine. The first clue is the color: if the headlights appear yellowish or milky instead of transparent, it's time to take action. The appearance of micro-scratches on the surface is also a red flag.
Observe the headlights from different angles in sunlight. If you notice that the light no longer passes perfectly through the headlight, or you see areas of dullness, it means that the material has degraded. In these cases, a simple external cleaning is not enough: you need an abrasive and polishing treatment.
Another unmistakable sign of headlights needing to be restored is poor visibility at night. If you notice that the illumination is weak or the beam seems "muffled," it is likely that the surface of the headlights is preventing the proper passage of light. This not only impairs your driving but can create problems for you at the inspection stage: in fact, mandatory inspections include an analysis of the headlights, and if they are found to be inefficient, your car may fail the inspection, resulting in a driving ban until the situation is restored.
In many cases, headlights don't look that damaged to the naked eye, but the field test, that is, driving at night, doesn't lie. If the road ahead is no longer as clearly visible as it once was, don't wait-it's time to take action.
If you have doubts, you can do a very simple test. Turn on the headlights in a closed garage or at night and observe the intensity of the light beam. Visually compare both sides: one may be duller than the other. Alternatively, go to your trusted mechanic or electrician: he will be able to give you an accurate assessment and maybe even advise you on the most suitable treatment.
How often should you clean your car headlights
Cleaning car headlights is not a one-time practice. To maintain optimal visibility and a well-maintained appearance, cleaning should be incorporated into the car's regular maintenance routine. But how often should it really be done?
During the year, it is a good idea to check the condition of the headlights every 6 months, while cleaning with a simple Glass Cleaner can be part of the regular washing routine. In the summer months, however, it is advisable to perform a full treatment before the summer and repeat it after about 3 months, at the end of the season. If the car is often exposed to the sun, city smog, or remains parked outdoors, it may be useful to intervene more frequently to keep the headlights clear and efficient.
Signs that tell you when it is time to act include:
- Decreased visibility at night
- Headlights that appear dull or yellowed
- "Dull" appearance even after a car wash
Regular maintenance not only improves the appearance of your car, but also saves you money. Prevention is always better (and cheaper) than replacement.
Common mistakes to avoid when cleaning headlights
Although the cleaning procedure may seem simple, there are several mistakes that can compromise the result or even damage the headlights. Here are the most common ones:
- Use products that are too aggressive
Avoid using nonspecific industrial solvents or degreasers. Some chemicals can damage the polycarbonate of headlights or alter their color. Always prefer products tested and designed specifically for this function. - Dry sanding
Sanding headlights without wetting them with a lubricating product such as Glass Cleaner can deeply scratch the surface, making the headlight even duller and more damaged. - Do not apply a sealant
Once you have polished your headlights, you need to protect them. The sealant is precisely to create a barrier against UV rays, pollution and the elements. Skipping this step means undoing the work you have done. - Be too aggressive with polishing
Polishing with excessive force can irreparably mark the headlamp. Use longitudinal and never circular motions and do not apply too much pressure. - Cleaning with wrong materials
Avoid rough cloths, abrasive sponges or paper. The risk is to further scratch the lighthouse. A microfiber cloth, such as the one included in the Mafra Kit, is the ideal choice.
Pay attention to these details and you can achieve a professional result even with DIY.
When you need a body shop and when a do-it-yourself kit is enough
Understanding when to call in a professional and when to do it yourself is key to saving time and money. The refinisher is the right choice when the headlight has ridges, dull patches or areas where the clear coat is visibly peeling off: in these cases, professional polishing is needed (about €50) or, in more severe cases, a new coat of clear coat (€90-100). Even when the headlight is recessed or hard to reach, it is best to rely on an expert to avoid damage.
If, on the other hand, the headlights are completely yellowed but uniform, and the clear coat is already gone, you can safely use a headlight renewal kit. With an expense of about 20 €, and a little manual dexterity, you can get visibly refurbished headlights, looking almost new for several months.
How to keep headlights clean longer
Have you just polished your headlights and want them to stay as shiny as possible? Here are some practical tips to extend the life of the treatment and keep them looking their best:
- Park in the shade: the sun is the number one enemy of headlights. Whenever possible, park your car in the garage or under a canopy. This reduces UV exposure and slows yellowing.
- Wash your car regularly: dirt, smog and debris also accumulate on headlights. Regular cleaning with gentle products helps prevent dull patinas.
- Apply a UV protective spray periodically: even if you have already used the sealant included in the kit, an extra application every 2 to 3 months can keep the protection going.
- Check your headlights at least once a month: with a simple visual inspection you can tell if it's time to take action. Don't wait for the situation to get worse: acting in time makes all the difference.
With these steps, your headlights will stay shining much longer, providing safety and beauty to your car.
Our advice? Rely on a kit like the one from MA-FRA. It's easy to use, effective and guarantees you long-lasting results. Home remedies may be fine for light maintenance, but if you want a car that shines, there are no good alternatives.
Make your headlights shine, improve your driving experience and extend the life of your vehicle. Don't wait until it's too late: invest a few minutes today and enjoy perfect headlights for months.
-
How to clean car headlights: complete guide for bright and safe headlights?
No. Home methods can damage headlights even irreparably.
-
Is the Car Headlight Cleaning Kit suitable for all vehicles?
Yes, it is compatible with all types of headlights made of polycarbonate, the most popular material for creating headlights.
-
How often should I use the MA-FRA headlight kit?
Under normal conditions, it is advisable to use the kit twice a year: once before summer and once at the end of the season, to counteract the effect of sun, heat and weather. If the car is often exposed to smog, rain, or is parked outdoors, you can consider more frequent interventions, again based on the visual condition of the headlights. A simple checkup every 6 months will help you decide when is the right time to intervene.
-
Is it difficult to use the kit by yourself?
No, it is also designed for the inexperienced. Just follow the step-by-step guide.
-
Do dull headlights fail the audit?
Yes, in many cases, poor visibility at night caused by yellowing headlights can be grounds for rejection at overhaul.